The fastest way to keep porcelain floors looking clean
- Start dry. Sweep, dust mop, or vacuum first so grit does not get spread around.
- Use a neutral-pH cleaner for routine care; warm water and mild soap can work for light soil.
- Dry the floor after mopping to reduce streaks, haze, and water spots.
- Treat grout as the weak point. It needs more attention than the porcelain itself.
- Avoid harsh products like vinegar, bleach, ammonia, and abrasive pads for everyday cleaning.
- In bathrooms, prevent buildup. A squeegee, good ventilation, and quick spill cleanup do a lot of the work.
A simple routine that keeps porcelain tile looking clean
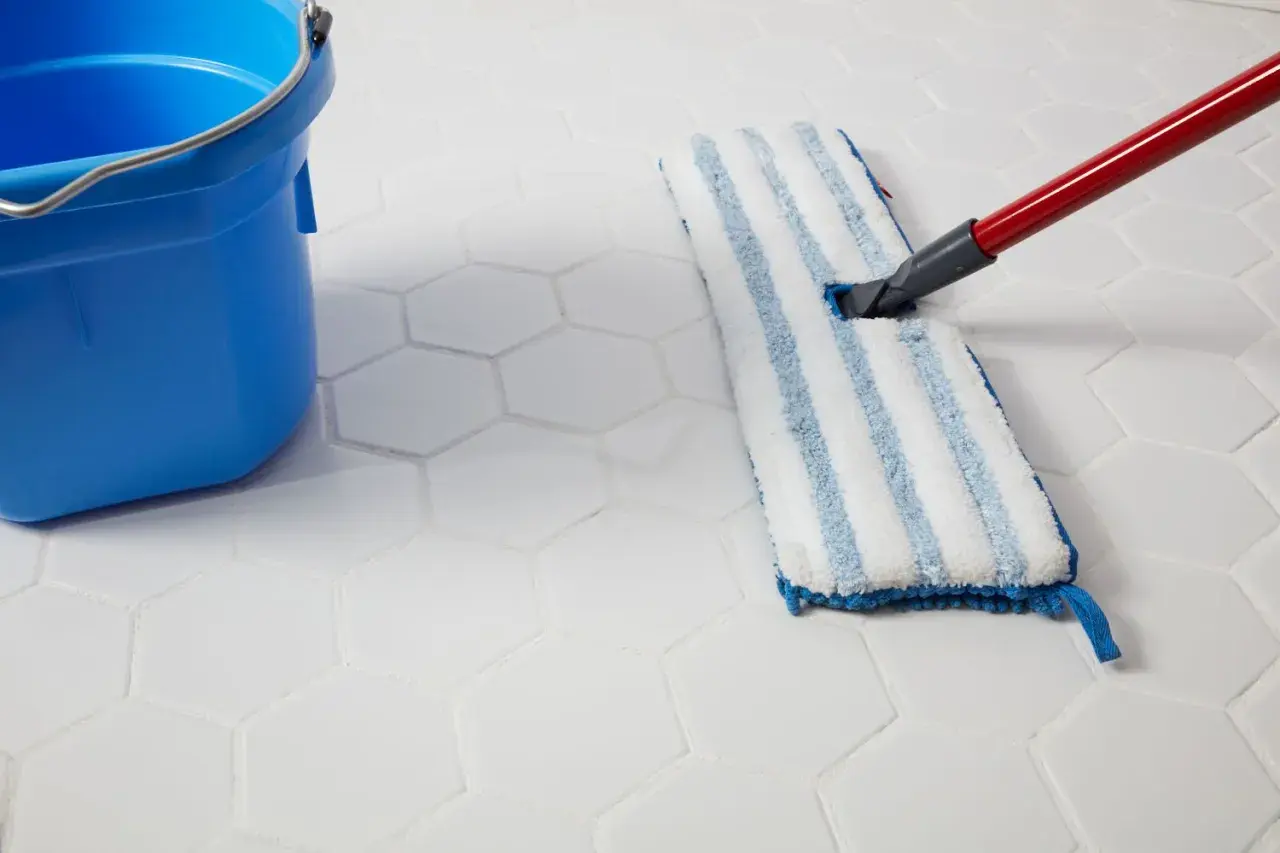
My routine is simple: remove dry debris first, then mop with a lightly damp microfiber mop, then dry the floor. That order matters more than most people think. If you drag grit across the tile with a wet mop, you spread the dirt and make the floor look cloudy.
- Vacuum or dust mop the floor, especially along baseboards and in grout lines.
- Mix the cleaner correctly and use only enough to clean, not enough to leave a film.
- Mop in small sections with a well-wrung microfiber mop or soft mop head.
- Rinse and change water when it turns gray.
- Dry the floor with a clean microfiber towel if the surface is polished or the room is humid.
That last step is the one most people skip, and it is the difference between a clean floor and a streaky one. Once the daily routine is in place, the next decision is picking the right cleaner for the type of mess in front of you.
Which cleaner to reach for and which one to skip
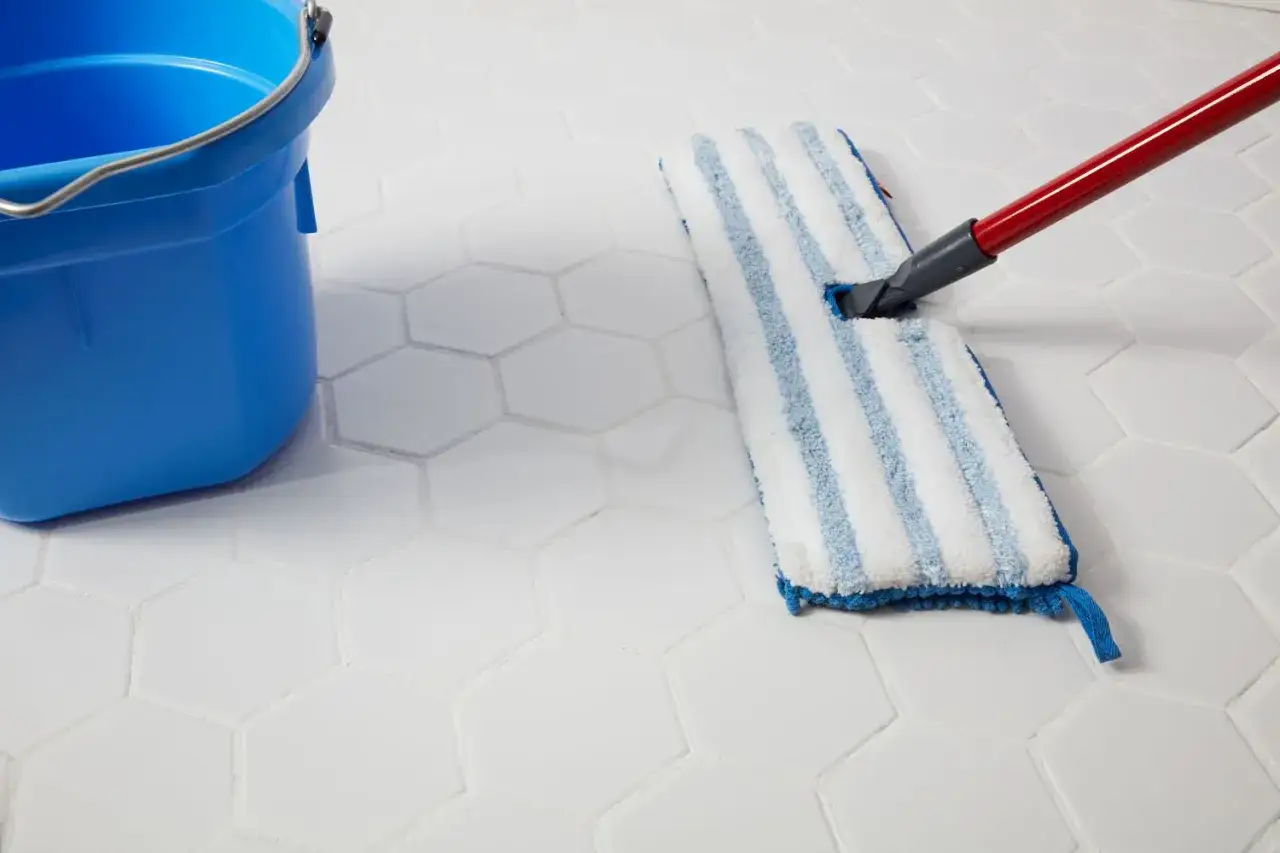
For regular maintenance, I usually stay with a neutral-pH tile cleaner. MAPEI recommends that kind of cleaner for everyday care, and that tracks with what I see on real floors: it cleans without leaving the residue that makes porcelain look dull. Warm water and a small amount of mild soap can also work for light soil, but I would not make heavy soap my default because leftover film is a common complaint.
| Situation | Best approach | Why it works | Watch out for |
|---|---|---|---|
| Light dust and footprints | Dry microfiber dust mop or vacuum | Removes grit before it can scratch or haze the surface | Skipping this step and mopping dirt around |
| Weekly floor care | Neutral-pH tile cleaner with a damp microfiber mop | Handles everyday soil without leaving much residue | Using too much product |
| Greasy kitchen residue | Tile-safe degreaser, diluted per label | Breaks down oil that water alone will not lift | Leaving it on too long or not rinsing afterward |
| Hard-water spots or soap scum | Tile-safe specialty cleaner approved for the grout and finish | Targets mineral buildup more effectively than routine cleaner | Using it as an everyday cleaner |
| After new installation | Grout-haze remover approved for porcelain | Removes construction residue that regular mopping will not touch | Scrubbing with abrasive pads |
Strong products have a place, but only when the problem calls for them. The floor cleaner aisle is full of bottles that promise a shine; I care more about whether they leave the surface truly clean, which is what usually matters next when soap scum or mineral film shows up.
How to remove soap scum, hard-water marks, and greasy film
Bathroom floors are where porcelain gets tested hardest. Soap residue, hard-water deposits, and greasy skincare spills build up faster there than in almost any other room.
Soap scum
Soap scum is the thin, cloudy layer that appears when soap mixes with minerals and dries on the surface. If you see it, start with a neutral cleaner and a microfiber pad. For stubborn buildup, use a specialty cleaner made for tile and grout, then rinse and dry the floor so the residue does not settle back in.
Hard-water marks
Hard-water spots usually look like chalky white rings or streaks near showers, tubs, and sinks. A tile-safe cleaner designed for mineral buildup works better than repeated wiping with plain water. I would avoid aggressive scrubbing here; it often removes the look of the spot at the expense of the finish around it.
Read Also: Clean Marble Floors Right - Avoid Common Mistakes
Grease and tracked-in residue
Kitchen floors and high-traffic mudrooms usually need a little more help. A diluted degreaser can cut through tracked-in oil, but it should be rinsed well so it does not leave a slippery film. If a spot still looks dark after cleaning, blot it again instead of grinding at it with an abrasive pad. That approach leads naturally to the part of the floor that traps soil first: the grout.
Why grout needs different care
Porcelain itself is dense and low-porosity, which is why it resists staining so well. Grout is different. American Olean notes that porcelain does not require sealing, while cementitious grout should be sealed after installation and resealed according to traffic and maintenance. On new work, many grout systems can be sealed after about 72 hours, but I still follow the grout label and the installer’s instructions because cure times vary.
- Vacuum the joints before damp mopping so sand does not pack into the lines.
- Use a soft grout brush for deeper cleaning instead of a metal brush or scouring pad.
- Keep the cleaner on long enough to work, then rinse if the label says to rinse. Dwell time means the few minutes a cleaner sits on the surface before you agitate it.
- Test a small area first if the grout is old, colored, or already sealed.
- Reseal when water darkens the grout quickly rather than beading on top of it.
Once grout is under control, it becomes much easier to keep the whole installation looking intentional instead of patchy. The faster way to lose that edge is to use the wrong products in the first place.
What I would not use on porcelain tile
There are a few shortcuts I do not recommend on porcelain tile floors, even though they are common in homes. The problem is not that they never work; the problem is that they usually work once and leave a residue, finish issue, or grout problem behind.
- Do not use vinegar as a routine cleaner. It can help with some mineral deposits in controlled situations, but regular use can be rough on grout and is unnecessary for daily care.
- Skip bleach and ammonia for normal maintenance. They are too harsh for everyday cleaning and can leave surfaces looking dry or uneven.
- Avoid abrasive powders, scrubbing pads, and steel wool. Porcelain is hard, but the finish and grout are not invincible.
- Do not flood-mop the floor. Too much water slows drying, streaks the surface, and can work dirt into the joints.
- Do not wax porcelain unless the product specifically calls for it. Wax can make the floor look slick at first and dull later.
- Use steam carefully. Some tile-and-grout systems tolerate it, but I only treat steam as an option when the manufacturer approves it for the exact tile and grout on the floor.
Clear rules like these make the job easier, especially in bathrooms where the floor is exposed to moisture every day. Once you remove the risky habits, prevention becomes much more effective than heavy cleaning later.
Bathroom habits that prevent buildup
The easiest way to reduce cleaning time is to stop soil before it settles. In bathrooms, I like three habits that do most of the work for me: a squeegee after showers, a washable bath mat by the tub or shower, and the exhaust fan running long enough to dry the room. That combination cuts soap film and hard-water deposits far more effectively than scrubbing after the fact.
- Wipe up spills immediately, especially toothpaste, makeup, skincare products, and hair color.
- Use entry mats where grit is tracked in from outside, then shake or wash them often.
- Vacuum textured porcelain more often than polished porcelain because texture holds fine dust.
- Dry-polish the floor occasionally with a clean microfiber cloth if you notice streaks after mopping.
- Clean on a schedule: dry clean daily or every other day in busy rooms, damp mop weekly, and do a deeper scrub monthly if traffic is heavy.
That schedule is not rigid, but it keeps the floor from slipping into the “it looks dirty even after I cleaned it” zone. From there, the last thing worth knowing is how the finish and grout color change the amount of work you will actually need to do.
The small details that keep porcelain from looking tired
Finish matters more than many homeowners expect. Polished porcelain shows streaks faster, so drying after mopping pays off. Matte and textured porcelain hide glare better, but they also hold onto fine grit more easily, which means vacuuming before mopping becomes non-negotiable. Grout color changes the picture too: lighter grout shows soil sooner, while medium tones usually forgive normal wear a little better.
If a porcelain floor still looks dull after a proper cleaning, I assume residue first, not damage. Usually the fix is simple: less cleaner, cleaner water, more drying, and a better match between the product and the mess. That is the practical version of keeping porcelain in good shape for the long haul, and it is usually enough for most homes.If I had to reduce the whole job to one rule, it would be this: clean dry soil first, use the mildest effective cleaner, and dry the floor before you call it done. That combination keeps porcelain looking sharp without turning routine care into a bigger job than the floor itself.
