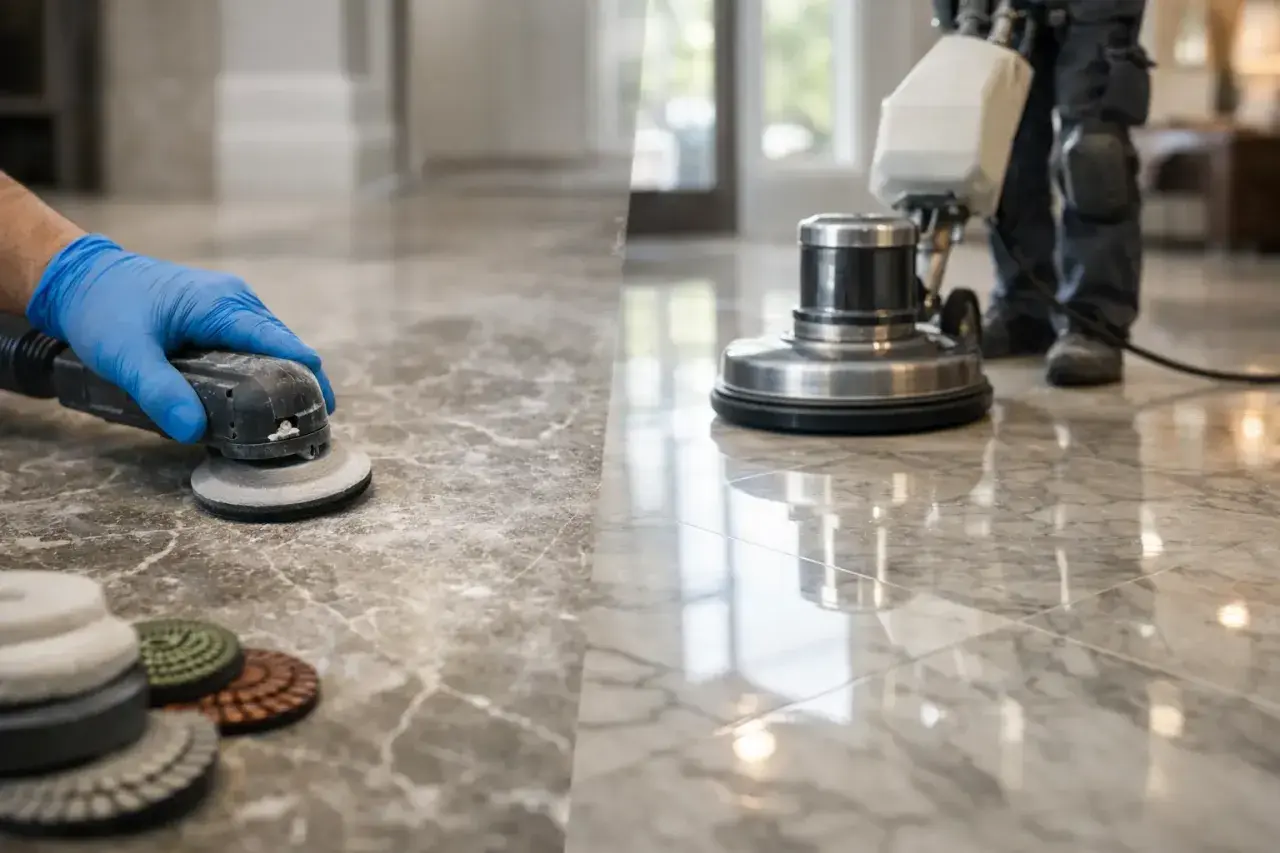
Marble only looks effortless when the surface is clean, even, and protected from the wrong products. The problem is that dullness can come from simple residue, acid etching, or real wear, and each one needs a different fix. This guide walks through the safest way to restore the finish, from the first wipe-down to the point where a machine or professional becomes the smarter choice.
The fastest route back to shine is to diagnose the dullness before you touch the stone
- Film buildup usually comes off with a pH-neutral cleaner, warm water, and a dry microfiber finish.
- Acid etching is a surface change, not just dirt, so it often needs marble polishing powder or repolishing.
- Light scratches can respond to gentle buffing; deep scratches usually need honing or professional repair.
- Sealing helps with stains, but it will not stop etching from vinegar, lemon, or harsh cleaners.
- Bathroom marble dulls faster because soap scum, moisture, and grit keep returning.
Why marble tile loses its shine
Marble is a calcareous stone, which means it reacts to acids. That is why a drop of lemon juice, vinegar, or even a harsh bathroom cleaner can leave a dull spot that looks like damage, even when the stone has not been scratched at all. In a bathroom, the usual culprits are soap residue, hard-water spots, shampoo film, and microscopic grit carried across the floor.
I separate marble dullness into four buckets: surface film, etching, scratches, and overall wear. Film sits on top and usually wipes away; etching changes the stone’s surface texture; scratches interrupt the reflection; and wear shows up in traffic lanes, around sinks, or near shower entries where the finish has simply been abraded over time.
That distinction matters because the fix changes completely. Once you know which type of dullness you have, cleaning becomes much easier to do right.
Start with the gentlest cleaning that can still solve the problem
I always begin with the least aggressive method that has a real chance of working. The Natural Stone Institute recommends a neutral cleaner, stone soap, or a mild liquid dishwashing detergent with warm water, followed by a thorough rinse and drying with a soft cloth. It also warns that too much soap can leave a film and streaks, which is one reason marble can look worse after an overzealous cleaning session.
- Dust-mop or vacuum first so grit does not become sandpaper under the cloth.
- Use a soft microfiber mop or cloth rather than a scrub pad.
- Rinse the surface well and change dirty rinse water often.
- Dry the tile completely so you do not mistake water marks for loss of shine.
- Avoid vinegar, ammonia, bleach, and powdered abrasives on marble.
If the tile still looks flat after that, I assume the problem is no longer simple dirt. The next step is to polish the actual surface, not clean the same haze twice.
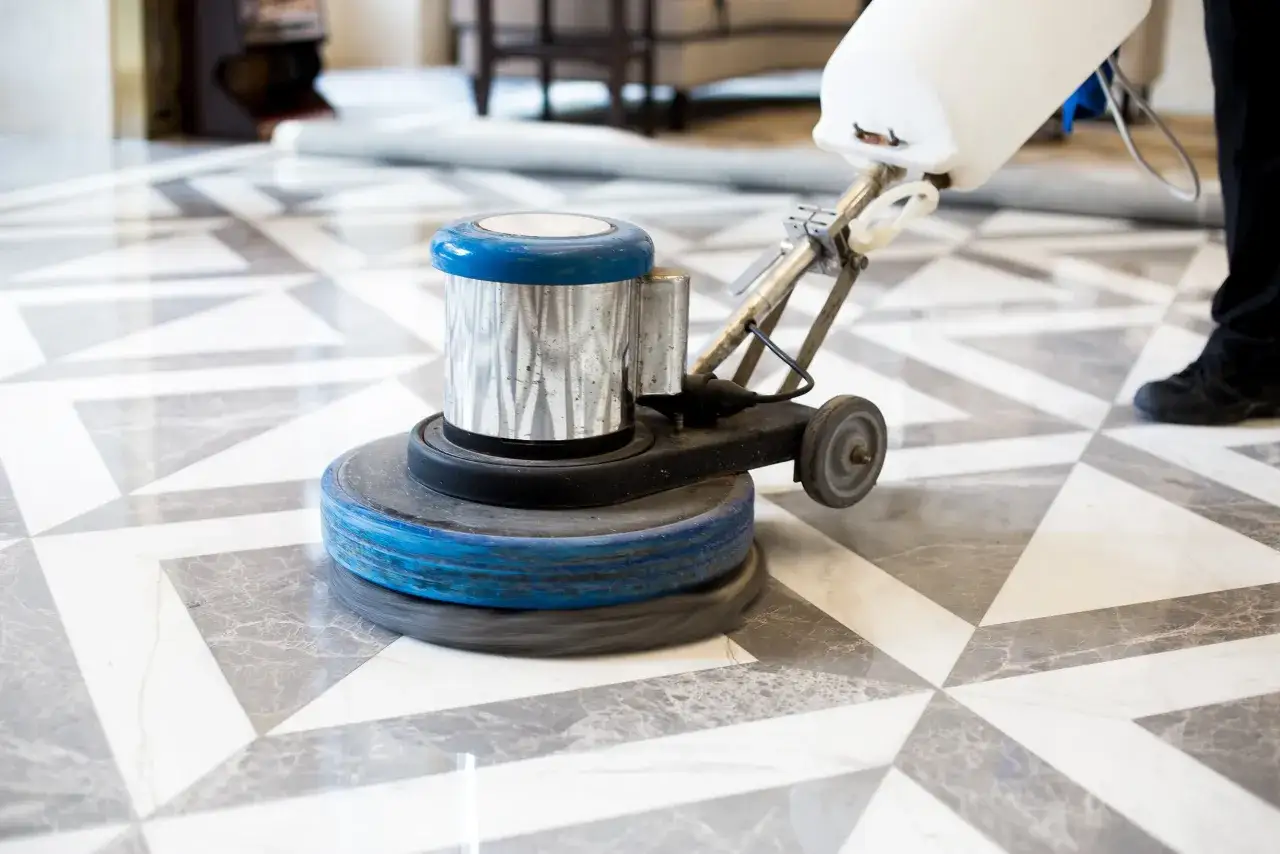
The safest way to restore light dull spots
For spot restoration, I want the mildest abrasive that will do the job. That usually means marble polishing powder on an already-clean surface, or a low-speed buffer with a non-abrasive white pad if the affected area is larger. The goal is not to grind the tile; it is to blend the damaged area back into the surrounding finish.
- Test a hidden corner first so you can confirm the color and sheen respond the way you expect.
- Make sure the tile is clean and fully dry before you start.
- Apply a small amount of polishing powder with a damp cloth.
- Buff in short passes with light pressure, then inspect the surface in good light.
- Wipe away residue, rinse, and dry before deciding whether a second pass is needed.
- Stop as soon as the sheen evens out; pushing for more gloss can make the repair obvious.
The Natural Stone Institute notes that etch marks from acids can often be treated this way, using either a damp cloth or a low-speed power drill with a buffing pad; when the mark is too deep, a stone restorer has to refinish the area. I find that distinction useful because polishing helps surface etching and haze, but it does not rebuild missing stone.
That is the point where the finish either responds cleanly or stops responding at all, and the next section separates those cases more clearly.
Match the method to the damage
When I am choosing between powder, pads, or a full re-hone, I look at the damage first, not the product label. That saves time and keeps a small repair from becoming a patchy one.
| What you see | Best match | What I would use | When to stop |
|---|---|---|---|
| Gray film, soap scum, or a hazy layer | Cleaning, not polishing | pH-neutral cleaner, warm water, microfiber, full dry-down | If the sheen comes back once the residue is gone |
| Bright dull spots from lemon, vinegar, wine, or bath products | Acid etching | Marble polishing powder or spot repolishing | If the mark blends into the surrounding finish |
| Light scratches or traffic wear | Surface refinement | Progressive diamond pads, often moving through common grits such as 400, 800, 1500, and 3000 | If the scratch pattern is even and the reflection looks consistent |
| Large dull areas or uneven sheen across a room | Honing or professional repolishing | Controlled machine work or a restoration pro | If the finish no longer looks uniform after spot work |
| Chips, deep gouges, or lippage | Repair first | Stone repair before any polishing step | If you can feel the damage with your fingertip |
The rule I use is simple: powders correct chemistry damage, pads correct surface texture, and honing corrects stone that has actually lost a thin layer. If you use the wrong approach, you can make the finish patchy instead of brighter.
When a machine or pro is the better call
Once the dullness covers a large floor or shower wall, a machine can save time, but only if it is the right machine. I prefer a low-speed buffer with a flat, controlled pad over a high-speed tool, because marble responds better to even pressure than to aggressive heat and friction.
- Work wet when possible so you can see the scratch pattern and keep dust down.
- Keep the pad moving so you do not create swirls or hot spots.
- Mask grout, trim, and adjacent surfaces if the area is tight.
- Use machine polishing for broad dullness or uneven sheen, not for chips or deep gouges.
- Call a professional if the scratch catches a fingernail or the tile already looks blotchy from a previous attempt.
This is the point where I stop treating the project like a cleaning task and start treating it like restoration. That shift keeps a small problem from turning into a floor you have to hone twice.
Keep the new shine from disappearing again
Once marble is back to looking right, maintenance matters more than the polish itself. I treat the finish as something to protect every day, not something to rescue once a year.
- Dust-mop or vacuum regularly so sand and grit do not act like abrasive paper.
- Wipe spills quickly, especially citrus, wine, vinegar, and bath products with acids.
- Use a pH-neutral stone-safe cleaner for routine washing, then dry the surface.
- Use bath mats, soft-backed rugs, and coasters where water and friction keep returning.
- Check the sealer by watching how water behaves: beading suggests it still has life, while darkening means the stone is absorbing moisture again.
Sealing is useful, but I never treat it as a cure-all. It can slow staining, yet it will not stop etching, so the cleaner you choose matters just as much as the finish you are trying to preserve.
The one rule I use before polishing marble again
If the tile is dirty, I clean it. If it is etched, I polish only the affected area. If the damage is deep, I stop pretending a surface fix will solve it. Marble rewards restraint: the less aggressive the correction, the more likely the stone keeps an even, natural look.
That is the practical takeaway for bathrooms and other high-use spaces. Start with pH-neutral care, move to polishing powder or fine pads only when the surface truly needs them, and bring in a restorer when the sheen no longer responds evenly. That approach protects both the finish and the stone underneath it.
