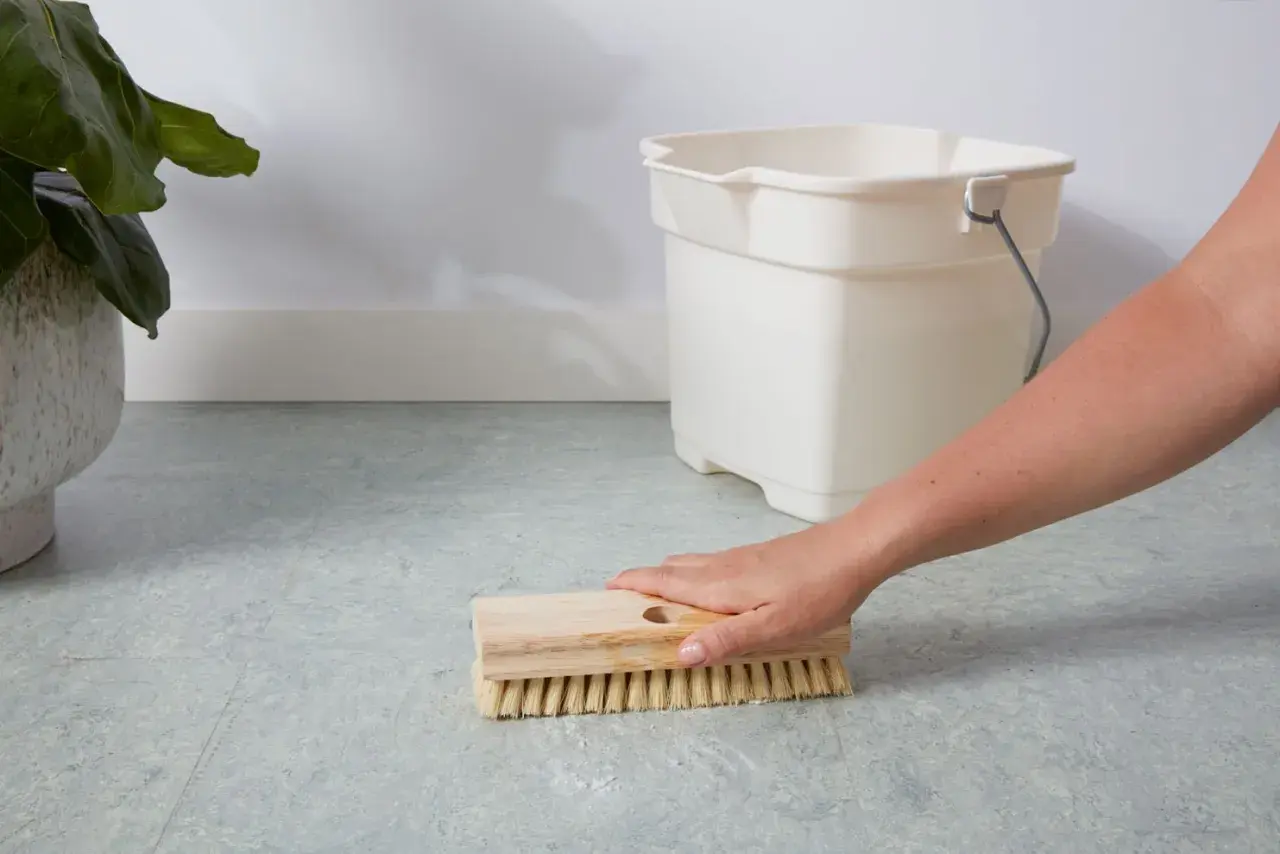
When I explain how to clean linoleum floors, I start with the part most people miss: moisture control. Linoleum looks sturdy, but it stays attractive only when you remove grit before mopping, use the right cleaner, and keep water from lingering at seams and edges. That matters even more in kitchens and bathrooms, where spills and traffic build up fast.
The essentials for safe linoleum care
- Sweep or vacuum first so dirt does not scratch the surface.
- Use a microfiber mop that is only lightly damp, not wet.
- Choose a pH-neutral cleaner or a tiny amount of mild dish soap in warm water.
- Dry the floor after mopping, especially along seams and baseboards.
- Avoid bleach, abrasives, and routine vinegar unless the manufacturer allows them.
Check the finish before you start
Not every linoleum floor should be cleaned the same way. A newer, sealed floor can handle a gentle damp mop, while an older or worn floor needs less water and a little more caution around edges, cuts, and seams. If the surface darkens quickly when wet, feels porous, or has dull spots that never seem to wipe away, I treat it as a more delicate floor and keep the cleaning method very light.
| Floor condition | What I do | Why it matters |
|---|---|---|
| Sealed or newer linoleum | Light damp mopping with neutral cleaner | The finish gives you some protection against everyday grime |
| Older, worn, or unsealed areas | Use less liquid, work in small sections, dry immediately | Too much water can seep in and damage the material |
| Edges, seams, and cutouts | Keep them the driest part of the floor | These are the first places to lift, curl, or discolor |
Once you know how much protection the floor already has, the day-to-day routine becomes much easier to manage.
The safest everyday cleaning routine
This is the method I trust most for routine cleaning. It is simple, cheap, and gentle enough for most homes.
- Sweep or vacuum to remove loose grit. Use a soft brush or hard-floor setting and skip any beater bar.
- Fill a bucket with warm water and a neutral floor cleaner, or use a very small amount of mild dish soap. You want clean water, not suds.
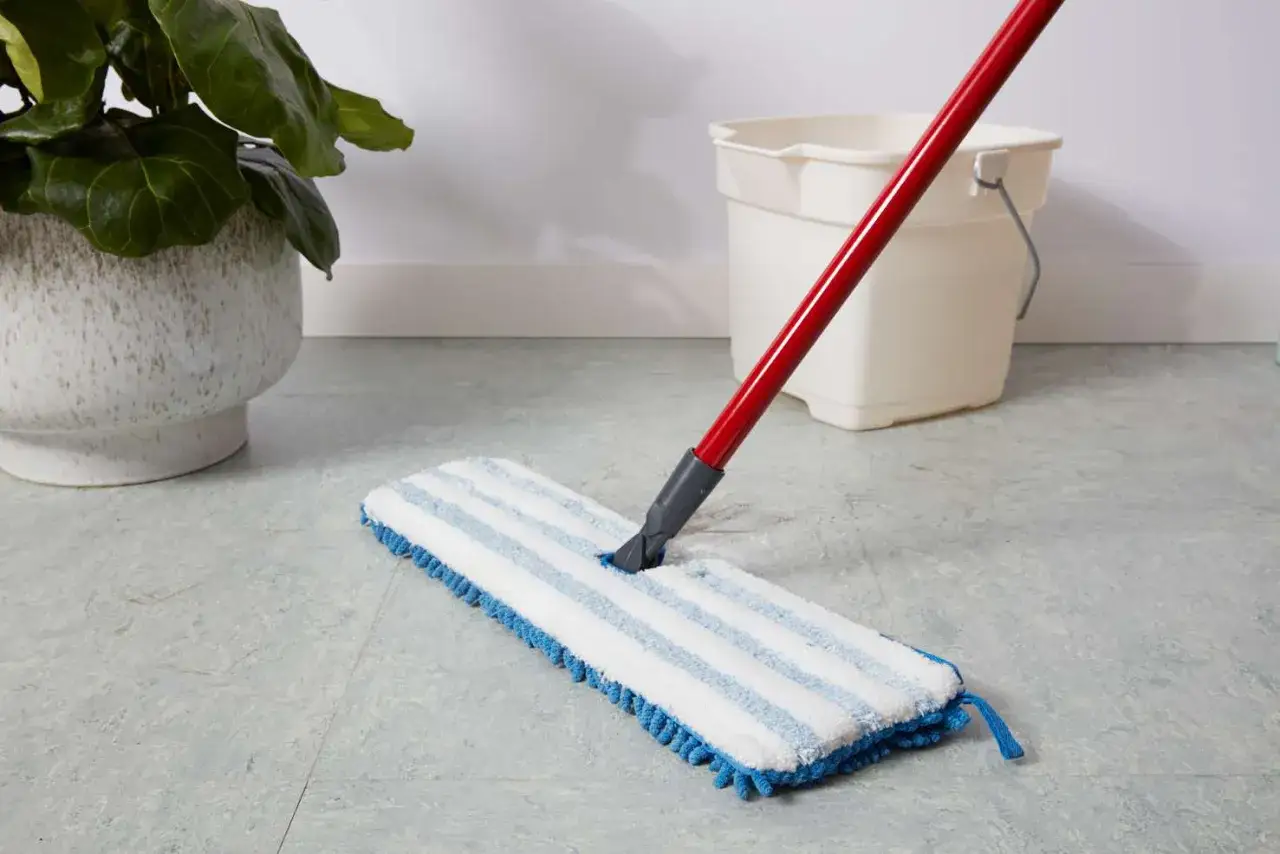
- Dip a microfiber mop into the solution, then wring it out until it is barely damp.
- Mop one small section at a time, overlapping strokes so you do not miss the corners.
- Rinse the mop often, and change the bucket when the water turns cloudy.
- Dry the floor with a clean towel if any water pools near seams, cabinets, or toilets.
If I am cleaning a kitchen, I usually keep a second dry microfiber cloth nearby so I can catch drips right away. That single habit prevents a lot of long-term wear.
Choose cleaners that work with the material
Most linoleum does best with a mild, pH-neutral cleaner. That sounds boring, but boring is what protects the finish and keeps the floor from looking streaky a week later. I would rather use a plain cleaner that rinses clean than a powerful product that leaves film, softens the surface, or makes the floor tacky.| Cleaner or tool | My take | Best use |
|---|---|---|
| pH-neutral floor cleaner | Best default choice | Routine mopping and general maintenance |
| Mild dish soap in warm water | Works well when diluted | Light kitchen soil and everyday grime |
| Plain warm water | Fine for dust and light dirt | Quick refresh between deeper cleanings |
| White vinegar | Use only if the floor maker specifically permits it | Not my routine choice for linoleum |
| Bleach, ammonia, abrasive powders | Avoid | These can dull, discolor, or weaken the finish |
| Steam mop | Only with clear manufacturer approval | Risky on older, worn, or moisture-sensitive floors |
There is one thing I am especially strict about: do not let a cleaner sit on the floor and dry there. Residue is one of the fastest ways to make linoleum look cloudy and dirty even after you have just cleaned it. From there, stubborn marks are usually the next problem.
Remove stains before they settle in
For spills, speed matters more than strength. Linoleum is usually forgiving if you blot quickly, but dried stains get harder to remove because they sit in the wear layer or work into texture.
- Food spills - Wipe them up with a damp microfiber cloth, then go over the area again with a lightly soapy solution if needed.
- Grease - Use a small amount of dish soap in warm water, then rinse the spot with a clean damp cloth so no film remains.
- Mud and tracked-in dirt - Let the mud dry, vacuum or sweep it up, then damp mop the area.
- Scuff marks - Rub gently with a damp cloth before reaching for anything stronger.
- Ink or dye stains - Test a hidden area first and stop if the mark starts spreading; this is where a manufacturer-approved spot cleaner matters most.
If a stain will not budge after a few careful passes, I do not keep scrubbing harder. At that point, the issue may be discoloration in the floor itself, and aggressive cleaning can do more harm than the stain.
Skip the habits that make linoleum look tired
Most linoleum problems I see come from well-meant cleaning habits, not from dirt itself. The floor usually looks dull because it has been over-wet, over-scrubbed, or coated with products that leave a film behind.
- Using a dripping mop instead of a wrung-out one.
- Cleaning with abrasive pads or powdered scrubbers.
- Relying on bleach, ammonia, or strong all-purpose sprays.
- Using vinegar as an everyday cleaner when the manufacturer does not approve it.
- Putting off spills until they dry into sticky residue.
- Using wax or shine products that are not meant for that specific floor finish.
One practical rule helps almost every time: if the product promises instant shine, I read the label twice. A glossy finish is not worth a floor that feels sticky, attracts dirt, or loses its protective top layer. That difference matters even more when people confuse linoleum with vinyl.
Linoleum and vinyl are not the same floor
I mention this because the cleaning advice changes more than most homeowners expect. Linoleum is made from natural materials and has a different relationship with moisture than vinyl, which is synthetic and generally more water-resistant. If you use a vinyl-safe habit on linoleum without checking the label, you can end up with swelling, edge lift, or a dull finish that takes a long time to recover.
| Feature | Linoleum | Vinyl |
|---|---|---|
| Material | Natural, plant-based ingredients on a backing | Synthetic plastic-based material |
| Moisture tolerance | More sensitive, especially at seams and worn spots | Usually more forgiving |
| Best cleaning style | Lightly damp mop, neutral cleaner, quick drying | Still prefers gentle cleaning, but handles moisture better |
| Main risk | Over-wetting and harsh chemicals | Heat, abrasion, and product mismatch |
If you are unsure which floor you have, check the installation paperwork, look for manufacturer marks on leftover material, or test an inconspicuous corner with the mildest method first. That small pause can save you from using the wrong cleaner in a bathroom or kitchen where water already works against you.
Keep the finish easy to live with
The best care routine is the one that keeps you from needing rescue cleaning later. For most homes, I would follow a simple rhythm: sweep or vacuum high-traffic areas often, damp mop about once a week, and inspect corners, seams, and dull patches each month.
| Task | How often | What it does |
|---|---|---|
| Sweep or vacuum | Daily in busy kitchens, every few days elsewhere | Removes grit before it scratches the finish |
| Damp mop | Weekly, or sooner if the floor feels tacky | Lifts residue before it builds up |
| Spot clean spills | Immediately | Prevents staining and sticky patches |
| Check seams and edges | Monthly | Helps you catch lift, wear, or moisture damage early |
| Consider deeper maintenance | As needed | Only if the finish calls for polishing or resealing |
If your floor is older and looks flat no matter how carefully you clean it, the problem may be maintenance, not dirt. In that case, I would look at whether the finish needs a manufacturer-approved refresher instead of simply adding more cleaner.
What I would remember before the next cleanup
Linoleum is easy to live with when you treat it like a natural floor, not a plastic one. Keep the water light, the cleaner gentle, and the drying fast, and most of the common problems never get a chance to start.
If you remember only one rule, make it this: clean linoleum lightly and dry it quickly. That one habit does more to preserve the finish, protect the seams, and keep the floor looking cared for than any aggressive product ever will.
