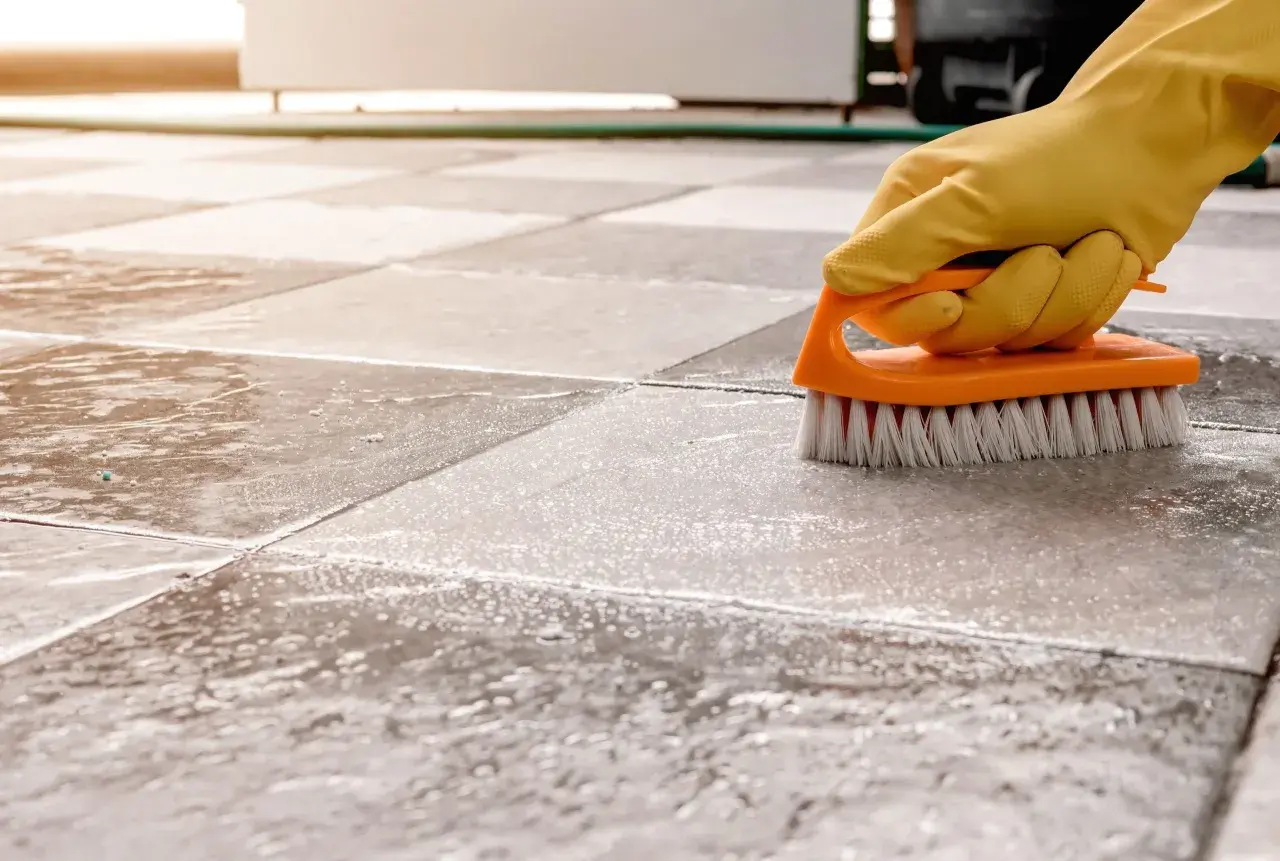
What changes is the level of buildup: a kitchen floor needs grit removed before mopping, a shower wall needs soap scum handled differently, and textured or unglazed tile needs more brushing and less liquid. I’ll walk through the routine I use, the products I trust, and the mistakes I avoid so you can keep porcelain looking clean without damaging it.
The safest routine keeps porcelain bright and the grout intact
- Start with dry cleaning first; grit is what scratches and clouds the finish.
- Use a neutral-pH cleaner or a mild soap solution, not vinegar or ammonia.
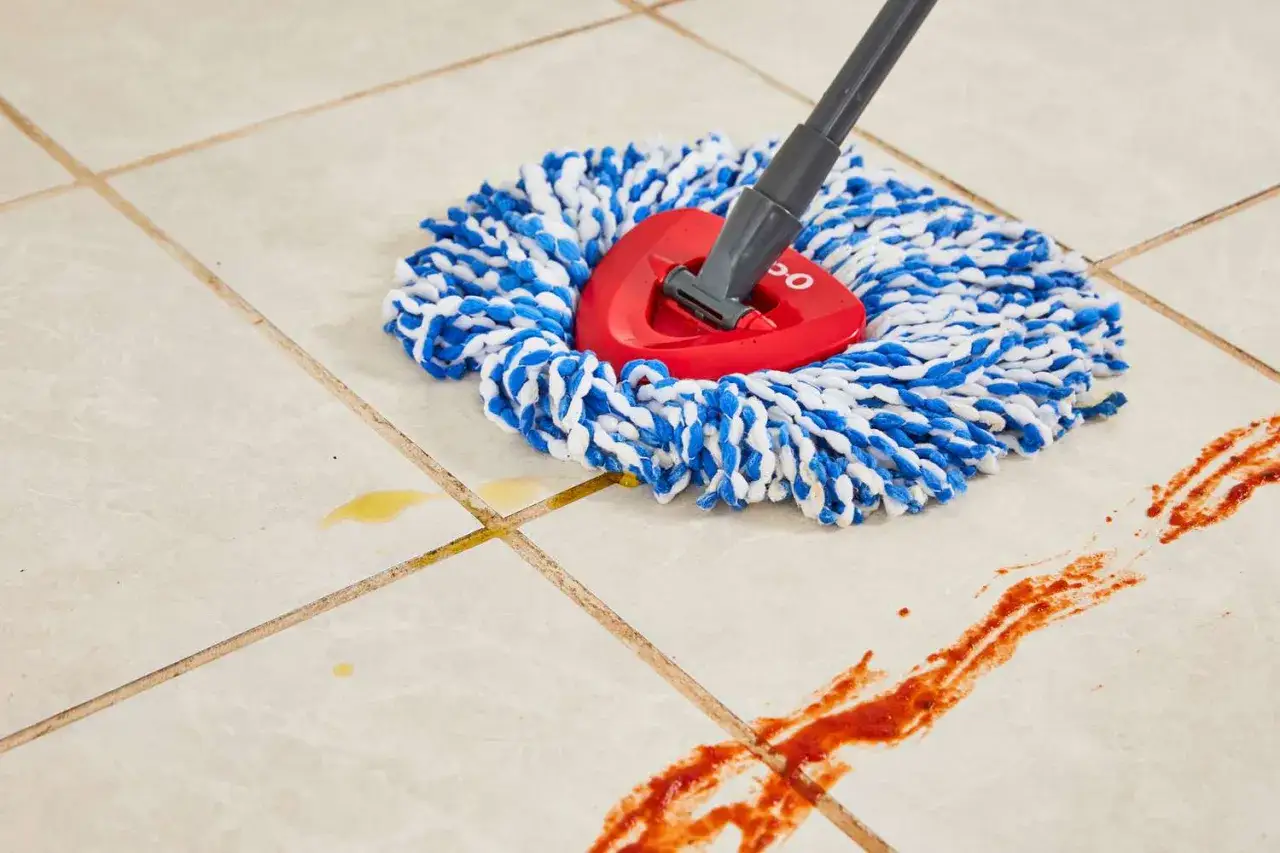
- Work with a damp microfiber mop or soft cloth, then rinse and dry if the surface looks streaky.
- Use a soft nylon brush for textured tile and grout lines instead of abrasive pads.
- For shower walls and bathroom floors, dry the surface after cleaning to reduce spots and film.
- Test stronger cleaners in a hidden spot before using them on a full wall or floor.
Why porcelain responds best to gentle cleaners
Porcelain is dense and durable, which is why it shows up so often on bathroom floors, shower walls, and busy kitchens. That durability can create a false sense of security: the tile itself is hard to hurt, but the finish, grout, and any factory coating or texture still react badly to the wrong chemistry. I treat porcelain as a low-maintenance surface, not a no-maintenance one.
Glazed porcelain usually cleans up with a light touch. Unglazed or textured porcelain is a different story because soil can settle into the micro-texture, which means you need more agitation and less residue. Tile America’s maintenance advice lines up with that approach: keep the cleaner neutral rather than acidic or alkaline, and avoid turning a simple wash into a chemical strip. Once you understand that difference, the daily routine becomes much easier to choose.
The daily and weekly routine I use for floors and walls
The goal is not to scrub porcelain hard. The goal is to remove dust, body oils, soap residue, and the fine grit that turns into haze if it stays on the surface too long. For most homes, I keep the routine short and predictable.
| Area | What I do | How often |
|---|---|---|
| Kitchen and entryway floors | Dry sweep or vacuum first, then damp mop with a microfiber mop and neutral cleaner | Daily for high traffic, weekly for lighter use |
| Bathroom floors | Pick up hair and dust first, then wipe with a damp mop or cloth and dry the edges | 2 to 3 times a week |
| Wall tile and shower surrounds | Spray lightly, wipe with a soft cloth, and dry when water spots are likely | Weekly, plus after heavy use |
My basic sequence is simple:
- Remove loose dirt first with a vacuum, dust mop, or dry microfiber cloth.
- Mix the cleaner as directed on the label, or use a mild soap solution in warm water.
- Clean with a damp mop or cloth, not a soaking-wet one.
- Rinse if the product leaves any film, then dry with a clean microfiber towel.
How I deep-clean porcelain without leaving residue
When porcelain starts looking cloudy, the problem is usually one of three things: too much cleaner, not enough rinsing, or soil that has been sitting in the same place for too long. I do not jump straight to a harsh degreaser unless the tile is truly neglected. Most of the time, a controlled deep clean is enough.
- Vacuum or sweep first so the cleaner does not turn grit into paste.
- Choose a tile-safe cleaner designed for porcelain or ceramic, especially if the room has grease, soap scum, or mildew residue.
- Apply it in small sections and let it sit only as long as the label recommends.
- Agitate with a soft nylon brush, microfiber pad, or non-scratch sponge.
- Rinse thoroughly with clean water and dry the area fully.
What I never use on porcelain tile
Porcelain can survive more abuse than many surfaces, but that does not mean every household cleaner belongs on it. The shortcuts people reach for most often are the ones that create haze, dullness, or grout problems later.
- Vinegar or other acidic cleaners can be rough on grout and some surface treatments, even if the tile itself survives.
- Ammonia and bleach are too harsh for routine use and can make grout or adjacent materials look tired faster.
- Abrasive powders, scouring pads, and steel wool can scratch polished surfaces and make matte finishes look uneven.
- Wax or oil-based polishes leave a coating that attracts dirt and can make porcelain look smeared instead of clean.
- Too much cleaner creates residue, which is why a small amount with a proper rinse usually works better than a heavy application.
Tile America’s maintenance tips are blunt on this point: neutral is the safe zone, not acidic or alkaline. That is also why I am cautious with anything that promises instant shine. On porcelain, shine is usually the result of clean rinsing and dry towels, not a glossy chemical layer. Once that is clear, the special cases become easier to handle without damaging the surface.
Special cases that need a different touch
Some porcelain tile only needs a light mop. Other surfaces need targeted attention because the problem is not general dirt but a specific deposit. When I break cleaning down by stain type, the whole process becomes more predictable.| Problem | Best approach | My caution |
|---|---|---|
| Soap scum | Use a tile-safe bathroom cleaner, then wipe and dry | Do not leave product sitting on grout for long periods |
| Hard water spots | Use a cleaner labeled for mineral deposits if it is safe for porcelain | Test first, especially near grout and metal trim |
| Kitchen grease | Use a concentrated tile cleaner and repeat the wash rather than scrubbing harder | Grease often comes back if the rinse is weak |
| Textured tile and grout lines | Use a soft nylon brush and short, controlled strokes | Abrasives can catch in texture and make cleaning harder next time |
For shower walls, I usually start by wiping down the surface after use, because prevention beats cleanup every time. In kitchens, I focus on grease and airborne film near the backsplash and the area behind the cooktop. If I am dealing with a stubborn mineral spot or a neglected shower, I test the product in a hidden corner before treating the full area. That small pause prevents a lot of avoidable damage.
The maintenance rhythm that saves the most work later
The homes that stay easiest to clean are not the ones with the strongest products. They are the ones where porcelain never gets the chance to build a layer of grit, soap film, or dried water spots in the first place. My practical rhythm is simple: dry clean regularly, wash gently, dry the surface when you can, and reserve stronger products for the rare times the tile actually needs them.
- Keep a microfiber mop, a soft brush, and a neutral tile cleaner together so the job is easy to start.
- Wipe spills quickly instead of letting them dry into a film.
- Check grout monthly, because grout usually ages before the porcelain does.
- Increase cleaning frequency in kitchens, entryways, and showers where soil appears fastest.
- Use the mildest cleaner that gets the job done, then stop.
That is, in practice, the best way to clean porcelain tile for most homes: use the gentlest effective cleaner, remove grit before it scratches, and finish by rinsing and drying so the surface does not stay cloudy. Keep that rhythm, and porcelain stays easy instead of becoming another room that needs rescue cleaning every weekend.
