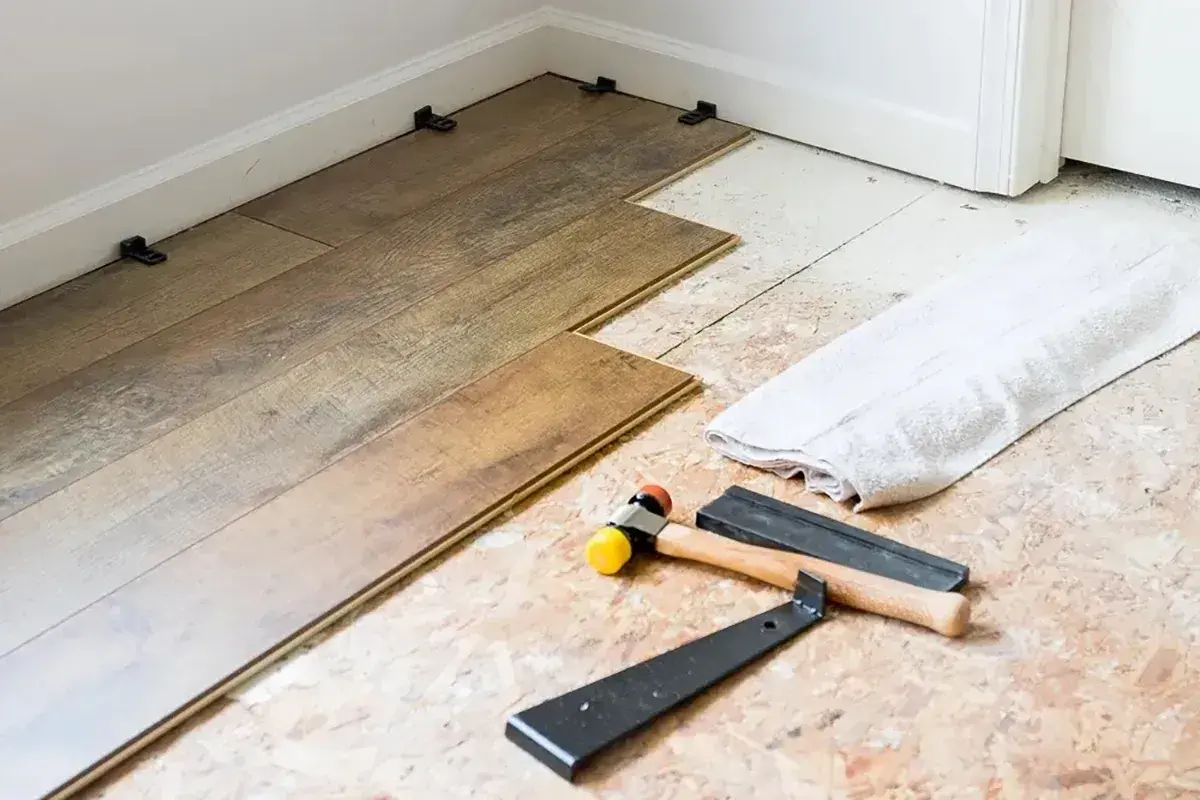
The cleanest LVT cuts come from choosing the method before you cut
- Straight cuts are usually fastest with a sharp utility knife, a speed square, and a score-and-snap approach.
- Door jambs and trim often look better when the casing is undercut instead of notched around.
- Curves, pipes, and toilet openings are easier when you trace a template first and finish with a jigsaw or oscillating tool.
- Fresh blades matter more than most people expect; dull steel is a common cause of torn edges.
- Dry-fitting saves installs because a cut that looks close on the bench can still fail in the room.
Start by separating straight cuts from shaped cuts
I sort every LVT cut into three buckets: straight, notched, or irregular. Straight cuts are the ones I want to score and snap; notched cuts are the ones that usually need a saw; irregular cuts, especially around pipes or toilet bases, are the ones I trace first and trim second.
- Straight cuts trim a plank to length or narrow a row at a wall.
- Notched cuts fit around door jambs, cabinet legs, and similar obstacles.
- Irregular cuts handle curves, pipe penetrations, and toilet flange openings.
That simple classification keeps you from using the wrong method and tearing the wear layer before the piece even reaches the floor. Once the shape is clear, the tool choice becomes much easier.
Use the right tools for the cut you actually have
You do not need a truck full of gear, but you do need the right blade in the right moment. Armstrong Flooring still points installers toward score-and-snap for many LVT products, which is a good reminder that the simplest method is often the cleanest one for straight work.
| Tool | Best use | Why I keep it nearby | Watch out for |
|---|---|---|---|
| Utility knife and speed square | Straight rip cuts and crosscuts | Fast, quiet, and usually the cleanest edge on standard cuts | Dull blades and trying to cut through in one pass |
| Jigsaw with a carbide blade | Door jambs, notches, and curved cutouts | Handles shapes that a knife cannot follow | Chatter, overheating, and pushing too hard through the cut |
| Oscillating multi-tool | Flush trimming and small relief cuts | Very controlled in tight bathroom spaces | Moving too fast and removing more material than planned |
| Circular saw or miter saw with a fine-tooth blade | Long straight cuts and repetitive trimming | Useful when you are batching several pieces at once | Rough blades that tear the surface instead of slicing it |
| Cardboard or kraft-paper template | Toilet flanges, pipes, curved walls, and odd returns | Lets you transfer the shape before you commit to the plank | Skipping the template and freehanding a critical fit |
I replace blades sooner than most DIYers want to. That is not wasteful; it is cheaper than throwing away a plank because the edge looked fuzzy, wandered off line, or chipped at the finish.
Use score-and-snap for the cleanest straight cuts
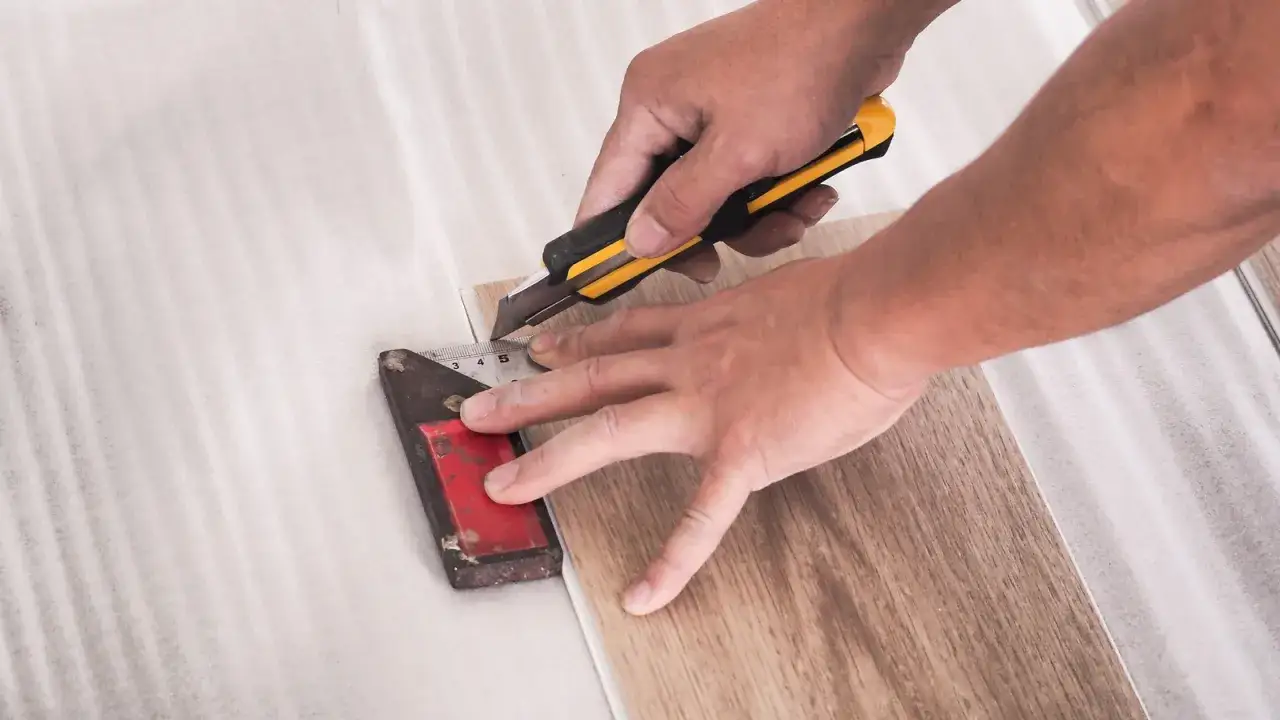
For most straight cuts, I start with a sharp pencil mark, a speed square, and a utility knife. The goal is not to slice through the whole board in one heroic pass. The goal is to score the surface cleanly so the plank breaks where I want it to.
- Measure from the visible edge and mark the cut line on the finished face.
- Set a speed square or straightedge on the mark so the knife cannot wander.
- Score the surface several times with firm, even pressure.
- Bend the plank downward to snap it cleanly along the score line.
- Turn the piece over and trim the backing from underneath if needed.
- Dry-fit the piece before locking or gluing it into place.
The important part is patience. If the first score looks shallow, I make another pass instead of forcing the break. That usually gives a straighter edge and less damage to the decorative layer. From there, the tricky bathroom shapes are much easier to handle.
Handle bathroom obstacles with templates and relief cuts
Bathrooms create the cuts that punish guesswork. Door casings, toilet flanges, pipe penetrations, and vanity returns all sit in the same small visual field, so a rough edge shows faster than it would in a larger room. I slow down here because this is where a floor starts to look custom or careless.Door jambs and trim casings
Whenever possible, I undercut the casing so the LVT slides underneath instead of stopping in front of the trim. Shaw Floors recommends undercutting door casings and leaving proper expansion space around fixed objects, and that advice matters in a bathroom where every edge is visible. A scrap of flooring makes a useful height gauge, because it helps me cut to the finished floor height, not the subfloor.
- Mark the cut line slightly long, then trim back in small passes.
- Vacuum the area before test-fitting so grit does not throw off the fit.
- Keep the cut edge hidden under the casing whenever the layout allows it.
Toilet flanges and pipe penetrations
For round openings, I trace a cardboard template first and transfer that shape to the plank. Then I drill a starter hole inside the waste area and open the cut with a jigsaw or oscillating tool. I want a clean reveal around the flange, not a hole so tight that the piece binds when the toilet is reset.
With pipes, I usually cut a small relief notch from the edge toward the opening, then close the gap later with trim or sealant if the product allows it. That is slower than forcing the piece around the pipe, but it avoids cracked corners and awkward stress points.
Read Also: Vinyl Plank Not Flat? Fix It Right – Expert Guide
Curved walls and awkward returns
Curves are where a paper or kraft-card template earns its keep. I trace the wall, transfer the shape to the plank, cut it slightly proud, and then sneak up on the final line. That extra minute is cheaper than replacing a tile that was cut too aggressively. For a tub skirt or a rounded vanity base, a template usually beats freehand cutting every time.
The mistakes that cause chipped edges
Most bad-looking LVT cuts come from a handful of preventable habits. None of them are complicated, which is why they are so easy to repeat when you are moving fast.
| Mistake | Why it causes trouble | Better move |
|---|---|---|
| Using a dull blade | The knife starts dragging and tears the wear layer instead of scoring it | Change blades as soon as the cut stops feeling crisp |
| Trying to cut through in one pass | The line wanders and the surface can fracture instead of breaking cleanly | Use multiple score passes and let the snap do the work |
| Measuring from the wrong edge | The finished piece ends up short once the visible edge, gap, or profile is accounted for | Measure from the edge that will actually show after installation |
| Forcing a snap on a weak score | The break runs off line or leaves a ragged corner | Rescore the line before you bend the plank |
| Skipping the dry-fit | You discover the error only after the piece is already locked in | Test every critical cut before final placement |
| Using the wrong saw blade | Coarse teeth chip the finish and leave a rough edge | Use a carbide or fine-tooth blade suited to vinyl work |
I am also careful not to crowd the perimeter. LVT needs the expansion space specified by the manufacturer, especially around fixed objects and room edges. If the fit looks perfect but leaves no movement room, the cut is not actually correct.
The last dry-fit is where a clean install stays clean
Before I lock, glue, or set any piece permanently, I dry-fit it in the room and look at it from standing height. If the edge disappears under trim, the gap is consistent, and the plank sits flat without pushing the neighboring pieces out of line, I know the cut is good enough. If any of those checks fail, I trim again.
- Check the piece in daylight if possible, because small gaps show more clearly.
- Confirm the manufacturer’s expansion gap at walls, tubs, cabinets, and other fixed fixtures.
- Keep a few offcuts for future repairs, pattern matching, or small patch work.
