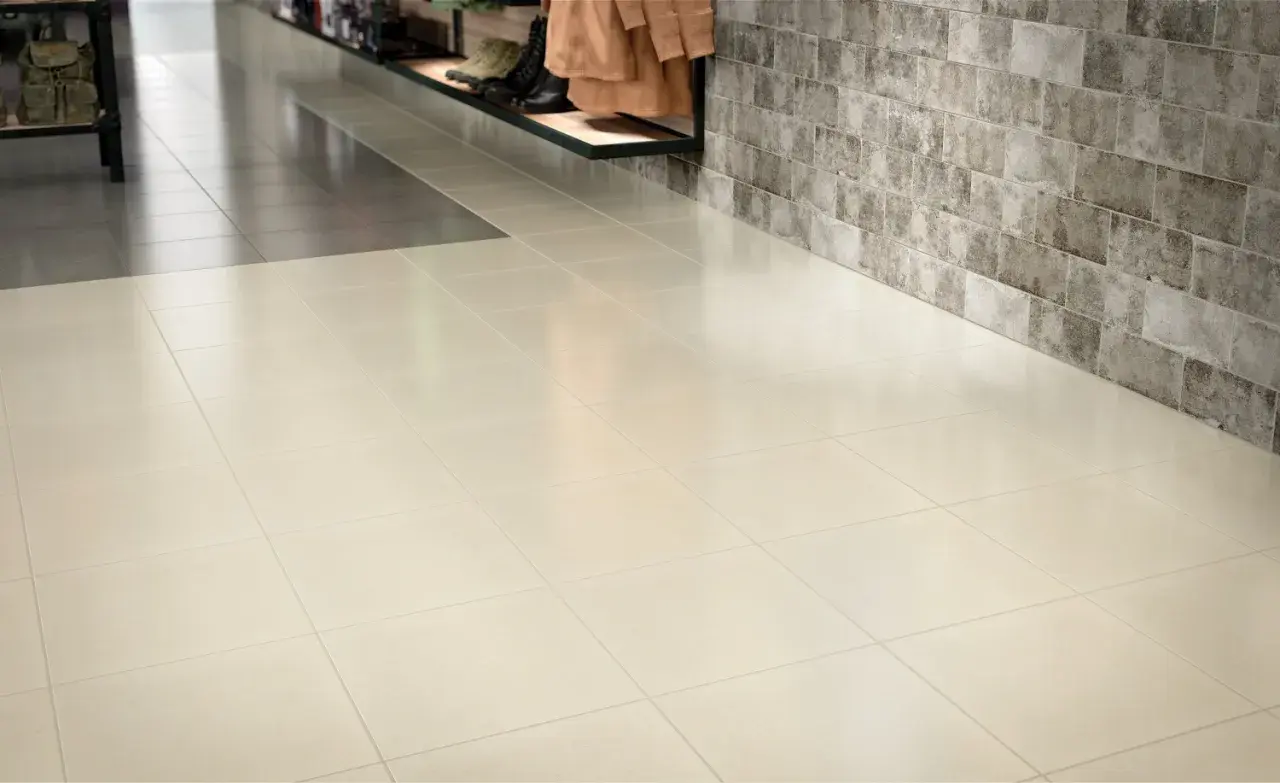
Porcelain tile usually loses its crisp look for reasons that are fixable: film from cleaners, hard-water spots, grout haze, and everyday grime. The practical answer to how to make porcelain tile shine is usually simpler than people expect, but the right method depends on whether the surface is polished, glazed, matte, or textured. In this guide, I’ll show the safest way to clean it, what actually restores luster, and where people accidentally make the floor look worse.
What matters most when you want porcelain tile to look bright again
- Start gentle: sweep, mop with a pH-neutral cleaner, rinse, and dry thoroughly before trying anything stronger.
- Residue is the enemy: soap film, hard-water deposits, and no-rinse sprays can leave the surface hazy.
- Grout is often the real problem: dark or dirty joints make good tile look dull.
- Polished porcelain can be revived; matte tile can be cleaned and brightened, but not turned into a glossy finish.
- Avoid waxes and harsh acids: they can leave film, damage grout, or reduce slip resistance.
Why porcelain tile looks dull in the first place
In bathrooms and other high-use spaces, porcelain usually does not get dull because the tile has failed. It gets dull because something is sitting on top of it. The usual culprits are soap scum, body oils, hard-water minerals, leftover cleaner, grout haze, and fine grit that gets dragged across the surface. When that buildup spreads evenly, it creates the soft, cloudy look people interpret as a loss of shine.
That distinction matters. A dirty film can be removed. Scratches, etched glaze, and a factory matte finish are different stories. Polished tile also tends to show dust, footprints, and water spots faster, so it may look tired even when the surface itself is still intact. Once you understand the cause, the cleaning method becomes much easier to choose.
- Soap film leaves a greasy haze, especially around showers, tubs, and sinks.
- Hard-water residue dries as chalky spots or a cloudy veil.
- Grout haze often appears after installation and looks like a cement-colored film.
- Grit and sand make polished porcelain look scratched long before it is actually damaged.
That is why I always start by identifying the source of the dullness before I reach for anything stronger. Once you know what you are fighting, the safest routine usually does most of the work.
Start with the safest cleaning routine
For most porcelain floors, the best first move is plain and disciplined: remove loose dirt, clean with a neutral solution, rinse well, and dry the surface. I use this approach because it restores shine without leaving behind the kind of residue that creates another problem two days later.
- Sweep or vacuum first so grit does not get pushed around the tile.
- Mix a pH-neutral tile cleaner according to the label, or use warm water with a mild soap that is safe for tile.
- Apply it with a microfiber mop, soft cloth, sponge, or non-metallic brush.
- Let the cleaner sit briefly on heavier soil. A few minutes is usually enough for most floors, while more textured areas may need a little more dwell time.
- Rinse with clean water so no film is left behind.
- Dry thoroughly with a microfiber towel or soft buffing pad to remove water spots and bring back the reflectivity.
For a bathroom floor, that final drying step is not optional. If you leave water beads, they dry into spots that make the tile look cloudy again. I also avoid overapplying cleaner; too much product can create the exact haze you were trying to fix. A light, controlled clean almost always beats a heavy one.
Once the routine is solid, the next question is whether the floor needs a deeper reset or just a better daily method.
Use a deep-clean method when film or haze is the problem
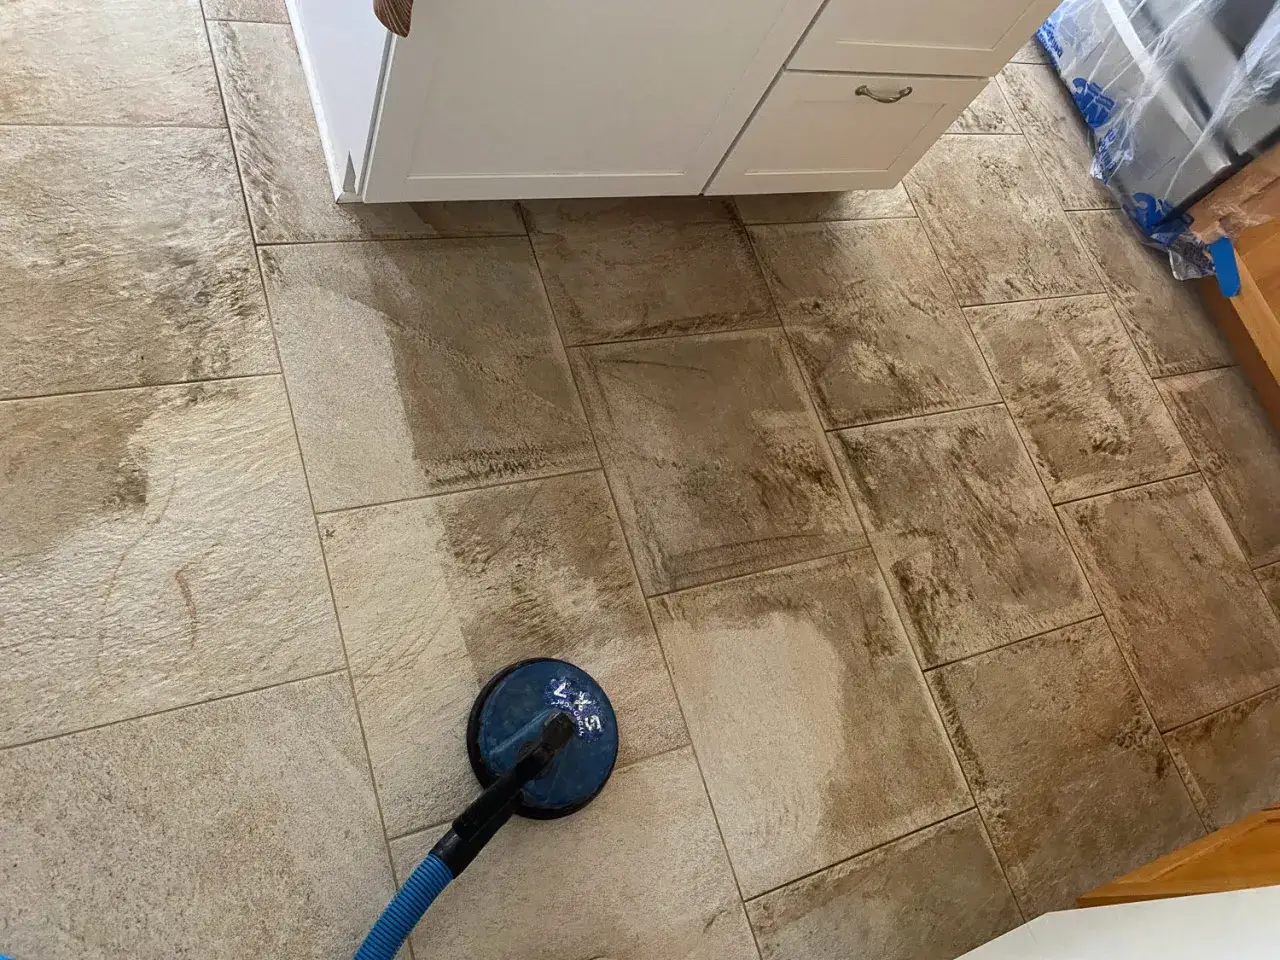
If the floor still looks flat after normal cleaning, you are probably dealing with a stubborn surface film rather than a finish problem. Bathrooms are the worst for this because soap, shampoo, and hard water keep layering on top of one another. New installations can also leave grout haze, which looks like dust that never fully wipes away.
| What you see | What is usually causing it | What to do first |
|---|---|---|
| Cloudy sheen near the shower or tub | Soap film and body oils | Use a pH-neutral cleaner, rinse well, then dry |
| White spots that return after mopping | Hard-water residue | Use a tile-safe cleaner made for mineral buildup and test a small area first |
| Chalky film after installation | Grout haze | Use a grout haze remover labeled for porcelain |
| Patchy dullness that never improves | Residue from wax, polish, or the wrong cleaner | Stop adding product and strip the film with a porcelain-safe cleaner |
For heavier soil, I let the cleaner dwell a little longer before scrubbing, then I rinse thoroughly and remove the rinse water instead of letting it dry on the tile. On textured porcelain, a soft brush helps lift the soil from low points that a mop cannot reach. If the issue is grout haze after installation, a product made for that specific residue is the right tool; random scrubbing usually just moves the haze around.
My rule is simple: if a floor looks dull because of residue, the answer is removal, not coating. That leads naturally to the products worth using and the ones I would skip.
Choose products that help and skip the ones that haze the surface
The wrong cleaner can make porcelain look worse even when it seems to work at first. A lot of glossy-looking products are really residue makers. They leave a thin layer behind, which catches dust and makes the tile look hazy again.
| Use | Why it helps | What to watch for |
|---|---|---|
| pH-neutral tile cleaner | Safest option for routine cleaning and daily maintenance | Follow the dilution directions closely |
| Warm water and mild soap | Good for light soil when rinsed properly | Too much soap leaves a film |
| Microfiber mop or soft cloth | Lifts dirt without scratching the finish | Dirty pads can drag grit across polished tile |
| Soft nylon brush | Useful for grout lines and textured tile | Skip metal bristles and abrasive pads |
| Porcelain-safe grout haze remover | Targets post-install haze that normal cleaning will not remove | Test a small area first and follow the label exactly |
| Wax, oil soap, generic floor polish | Usually none for porcelain tile | Can leave residue, attract dirt, or create a slippery film |
| Vinegar, bleach, ammonia, abrasive powders | Rarely appropriate for routine porcelain care | Can damage grout, dull the finish, or leave the floor harder to maintain |
I avoid any product that promises an instant shine unless the label clearly says it is safe for porcelain tile and grout. If a cleaner does not need rinsing, I am even more cautious, because leftover residue is one of the fastest ways to sabotage a bright finish. The less film you leave behind, the less work you create for the next cleaning.
That also explains why the grout deserves its own section. A lot of people think the tile has gone flat when the grout is actually what is making the whole floor look tired.
Check the grout before you blame the tile
Grout changes the way porcelain reads in a room. When grout lines are dark, dingy, or patchy, even a clean tile field can look older than it is. In bathrooms, that effect is exaggerated because moisture, soap residue, and hairline dirt settle into the joints first.
Porcelain tile itself usually does not need sealing, but cement-based grout often does. That matters because sealed grout resists stains and is easier to keep bright. The tile face and the grout lines are not the same surface, and they should not be treated as if they were.
- If the tile is dull but the grout is darker, clean the grout separately before deciding the porcelain needs more aggressive treatment.
- If the grout is new and chalky, you may be dealing with haze left from installation rather than everyday soil.
- If the grout keeps darkening, moisture and residue are probably settling into the joints faster than you are removing them.
- If the grout is cement-based, periodic sealing helps it stay cleaner and keeps the whole installation looking sharper.
I like to clean grout lines with a soft brush and a grout-safe cleaner before I judge the tile finish. It is a small step, but in a bathroom it often makes a bigger visual difference than people expect. Once the joints are under control, it becomes much easier to decide whether the tile itself needs anything else.
Know when shine comes from the finish and not from polish
This is the part that saves people the most time and frustration. Some porcelain tile is supposed to be glossy. Some is supposed to be satin. Some is matte or textured by design and will never look like a mirror, no matter how much you clean it.
| Finish | What to expect | Best care approach |
|---|---|---|
| Polished or glossy | Strong reflection, but it shows water spots and dust quickly | Clean gently, rinse well, and dry after mopping |
| Satin or low-sheen | Soft glow, not a mirror finish | Keep residue off the surface and avoid waxy products |
| Matte | Minimal shine by design | Focus on cleanliness, not gloss creation |
| Textured | Visually muted, with more grip and surface variation | Use a brush and rinse thoroughly so soil does not settle in the texture |
That is also why I do not recommend trying to turn matte porcelain into something it is not. Topical coatings sit on top of the surface and can become maintenance problems of their own. They may look good for a while, but they are rarely the cleanest long-term answer for porcelain. If you want a higher-gloss look in a wet area, the safest path is usually to choose a finish that already has it, rather than layering on a product that may be difficult to maintain.
And if the tile is in a bathroom floor or shower zone, I would think about slip resistance before I chase extra sheen. A little less shine can be the right design decision when the floor gets wet often.
The habits that keep porcelain bright without extra work
Most shine problems return because the cleaning routine is too aggressive or too random. I prefer a lighter system that repeats consistently: remove grit, clean with the right solution, rinse, and dry. For smooth porcelain, weekly cleaning is often enough in a normal home, while busy bathrooms and textured floors usually need attention more often.
- Dry dust or vacuum first so grit does not scratch the surface.
- Wipe splashes quickly around sinks, tubs, and showers before they dry into film.
- Rinse after cleaning so the floor does not hold on to soap or cleaner residue.
- Dry the tile with a microfiber cloth or soft towel if you want the brightest finish.
- Keep bath mats clean so they do not become dirt reservoirs that re-soil the floor.
- Test new products in a small area before you commit to the whole room.
If you do those things well, porcelain stays easier to maintain, and the shine you see is the tile itself rather than a layer of product sitting on top of it. When a floor still looks cloudy after that, I treat it as a sign to check for haze, residue, or surface damage instead of reaching for a stronger cleaner out of habit. That last bit of restraint is often what keeps a good porcelain installation looking good for years.
