Vinyl is popular because it looks good without demanding much, but it still needs a method. When I’m cleaning vinyl floors, I focus on removing grit first, keeping moisture under control, and choosing cleaners that protect the finish instead of chasing a quick shine. In this guide, I cover the routine I actually trust, the tools worth using, the mistakes that make vinyl look tired, and the bathroom-specific details that matter when the floor lives near sinks, tubs, and wet footprints.
The safest vinyl-floor routine is light, regular, and low-moisture
- Dry cleaning comes first, because dust, sand, and hair do more damage than most spills.
- A lightly damp microfiber mop is usually enough for normal upkeep.
- Steam, wax, abrasive pads, and “mop-and-shine” products can leave vinyl dull or sticky.
- Bathroom floors need faster drying and more careful mat choices than dry rooms do.
- Cloudiness is often residue, not dirt, so harder scrubbing is not always the answer.
What vinyl flooring actually needs day to day
Vinyl does not ask for much, but it is unforgiving about the wrong kind of maintenance. Grit behaves like fine sandpaper, and excess water can creep into seams, soften adhesive edges, or leave a film that makes the surface look older than it is. I treat vinyl as a finished surface: protect the top layer first, then clean only as much as the floor needs.
For most homes, the rhythm is simple. Pick up loose dirt daily in busy areas, do a proper damp clean once a week, and deal with spills immediately. In kitchens and bathrooms, I shorten that cycle because hair, soap residue, and tracked-in moisture appear faster than they do in a bedroom or office.
That mindset matters because vinyl usually does not fail from one dramatic mistake. It looks worn because of repeated small ones: too much water, the wrong cleaner, or abrasive tools used to chase a better shine. Once you see the floor that way, the rest of the routine becomes much easier to get right.
A weekly routine that keeps the finish intact
I like a routine that takes less than 10 minutes in a typical kitchen or bath, because the best maintenance is the kind you actually repeat. The goal is not to flood the room with product; it is to remove grit, lift soil, and leave the surface dry enough to use right away.
- Start dry. Sweep, dust mop, or vacuum with a hard-floor attachment so you remove loose grit before it gets dragged around the room.
- Spot-clean first. If you see a spill, sticky splash, or food residue, handle that area before you mop the whole floor.
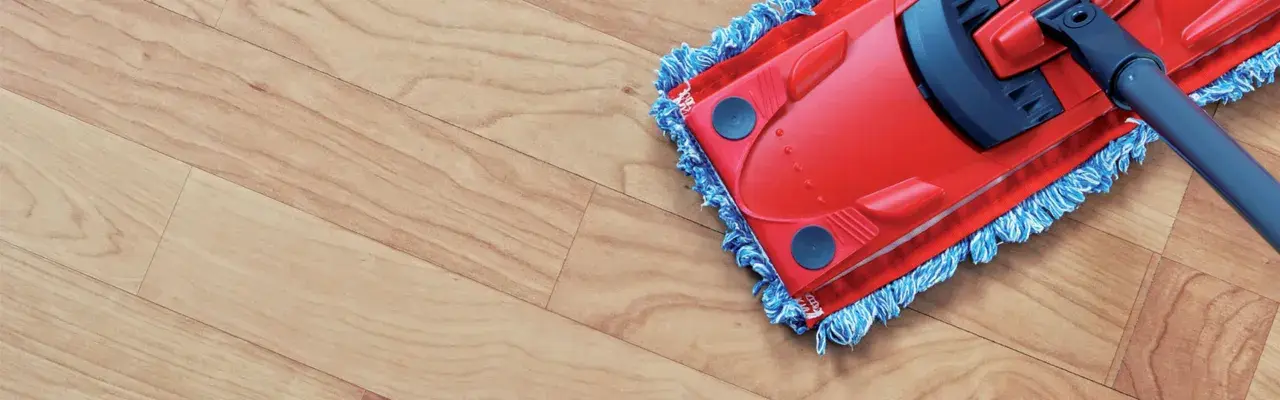
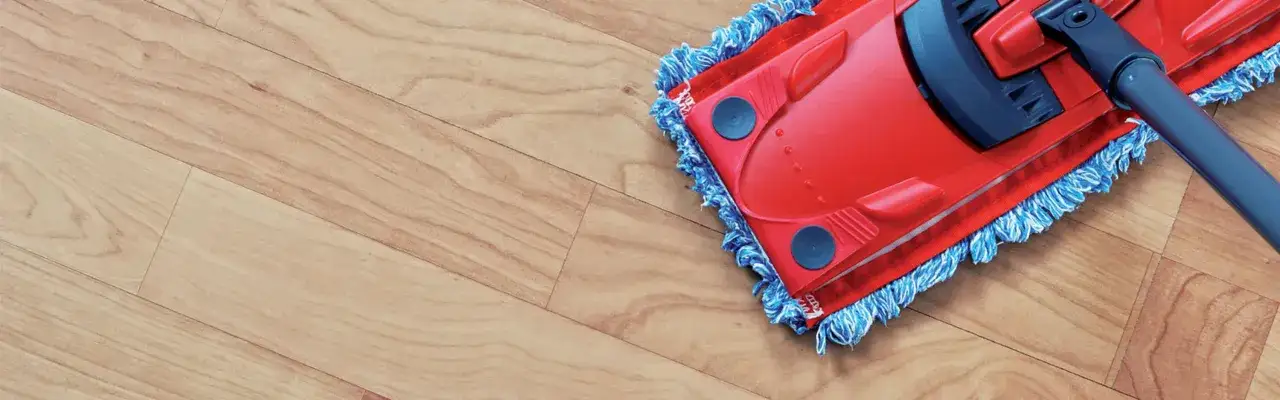
- Use a lightly damp mop. A microfiber mop works well because it picks up soil without needing a lot of water. If your cleaner is meant to be sprayed on the floor, use it sparingly.
- Work in sections. I clean one small area at a time so the product does not sit long enough to dry into a film.
- Dry edges and seams. Around cabinets, toilets, and baseboards, I wipe away any standing moisture with a soft cloth.
That routine is usually enough for everyday maintenance. If the floor still looks dull after this, I look for residue or product buildup before I assume it needs a more aggressive treatment. From there, the next question is which tools deserve a place in your cleaning closet.
The tools and cleaners I would actually use
There is a big difference between a product that cleans and a product that leaves vinyl looking clean. I prefer tools that remove soil without polishing, coating, or soaking the surface. The simpler the system, the less likely it is to cause trouble later.
| Tool or cleaner | Best use | Why I like it |
|---|---|---|
| Microfiber dust mop | Daily dust, crumbs, pet hair | It traps grit instead of pushing it around, so it protects the finish. |
| Vacuum with a hard-floor setting | Corners, textured vinyl, hair | Useful when the head has no rotating brush or beater bar. |
| Vinyl-safe spray cleaner | Weekly wipe-downs and spot cleaning | Good for light soil when used sparingly and wiped dry. |
| Soft cloth or white microfiber towel | Blotting spills and drying edges | Gentle enough for fresh messes without spreading them. |
| Steam mop | I skip it | Heat and moisture are a bad combination for floors I want to keep stable. |
| Wax or mop-and-shine product | I skip it | It often leaves film or buildup instead of a real improvement. |
The big idea is consistent across most care sheets I checked: remove grit first, then use a cleaner made for resilient vinyl rather than a general-purpose detergent. If a product promises instant gloss, I read the label twice. A shiny floor is not useful if it feels slick, hazy, or harder to maintain next week.
What I avoid because it causes dullness and buildup
Vinyl is easy to care for, but it is easy to overcomplicate too. Most problems I see come from trying to make the floor cleaner than it needs to be, or from borrowing habits that work better on tile, stone, or hardwood.
- Too much water. A soaking wet mop can weaken adhesive edges and leave corners vulnerable.
- Steam. The combination of heat and moisture is rarely worth the risk on vinyl.
- Abrasive powders or pads. They can scratch the wear layer and make the finish look patchy.
- Vinegar used as a default cleaner. I avoid it unless the manufacturer specifically allows it, because it can leave a film on some floors.
- Wax and “mop-and-shine” products. These often create buildup rather than true protection.
- Rotating brush heads or beater bars. They are useful on carpet and annoying on vinyl.
The key issue is not just damage, but residue. A floor that looks cloudy is often not dirty in the usual sense; it is coated with something the cleaner left behind. That is why I prefer a gentle, repeatable process over a big corrective scrub.
How I handle spills, scuffs, and sticky residue
Not every problem needs a full floor cleaning. When a spill is isolated, I deal with it like a spot repair, not a whole-room project. That keeps the floor drier and reduces the chance of spreading the mess.
Spills
For liquid spills, I blot first and wipe second. I do not rub aggressively, because rubbing tends to spread the spill and push it into seams or texture. Once the area is clean, I dry it with a soft cloth so there is no lingering moisture.
Scuffs
Scuffs from shoes or furniture usually respond to a soft cloth and a small amount of vinyl-safe cleaner. I use light pressure and short strokes. If I have to work harder than that, I stop and reassess the product rather than keep scrubbing. The goal is to remove the mark, not polish through the finish.
Sticky residue or haze
If the floor feels tacky or looks cloudy after cleaning, I suspect residue before I suspect deep dirt. In that case, I go back to a cleaner intended for vinyl and wipe the surface once more with a clean, damp cloth. If the problem is stubborn buildup, a manufacturer-approved deep cleaner is safer than stronger scrubbing.
On grouted vinyl tile, I am even more careful. Some strong strippers can damage grout or leave the joints looking uneven, so I avoid improvising with harsh products. That becomes especially important in bathrooms, where moisture and cleaning habits are more aggressive than in the rest of the house.
Why bathrooms and new installations need extra caution
Bathrooms are the place where vinyl care gets tested most often. The floor sees bare feet, soap residue, standing moisture, and cleaning products all in the same week. Because of that, I use a slightly stricter routine there than I would in a living room or hallway.
Bathrooms are about drying fast
In a bathroom, I like to dry the floor quickly after splashes around the tub, sink, or toilet base. A bath mat helps, but only if the backing is floor-safe. I avoid rubber- or latex-backed mats unless the maker says they are safe, because those backings can stain some vinyl floors. If I want a safer choice, I look for a colorfast, non-staining mat that is easy to lift and wash.
Ventilation matters too. A fan or open door helps the room dry faster, which is especially useful on humid mornings. The faster the surface dries, the less chance there is for water to sit in seams or around edges.
New glue-down floors need a cure window
If the floor was recently installed, I follow the installer’s instructions before I wet mop anything. Some glue-down vinyl floors should not be washed or scrubbed for about five days while the adhesive cures. That waiting period is annoying, but it protects the bond and prevents moisture from interfering with the set.
Once the floor is ready, I still start gently. First cleaning after installation should remove dust, residue, or light haze, not attack the surface like a renovation project.
Read Also: How to Clean Limestone - Keep Your Bathroom Stone Pristine
Disinfecting should stay occasional
If a bathroom really needs disinfection, I use a properly diluted liquid disinfectant and nothing stronger than necessary. Repeated disinfectant use can leave buildup or make the floor feel slippery if it is not diluted correctly. For everyday cleaning, plain vinyl-safe maintenance is usually enough; disinfecting is a separate step, not a replacement for routine care.
Those rules sound strict at first, but they keep the floor looking newer for longer, which is the whole point. Once that part is under control, the final gains come from a few habits that are easy to repeat.
The habits that keep vinyl looking newer for longer
If I had to reduce vinyl care to a small set of rules, I would keep it brutally simple: remove grit often, use as little water as possible, and never reach for a harsh product just because the floor needs a reset. That approach prevents the dullness and film that make vinyl seem harder to maintain than it really is.
I also think people underestimate how much a room’s habits matter. A bathroom that dries quickly, has a good mat, and gets a short weekly wipe-down will stay cleaner than one that is “deep cleaned” once in a while with the wrong products. Consistency beats intensity here.
If your floor has unusual seams, a grouted installation, or a finish that already looks cloudy, I would check the maker’s care guidance before experimenting. Vinyl is forgiving, but it rewards restraint more than enthusiasm. Keep the routine light, stay ahead of the grit, and the floor will usually keep its clean look without much effort.
