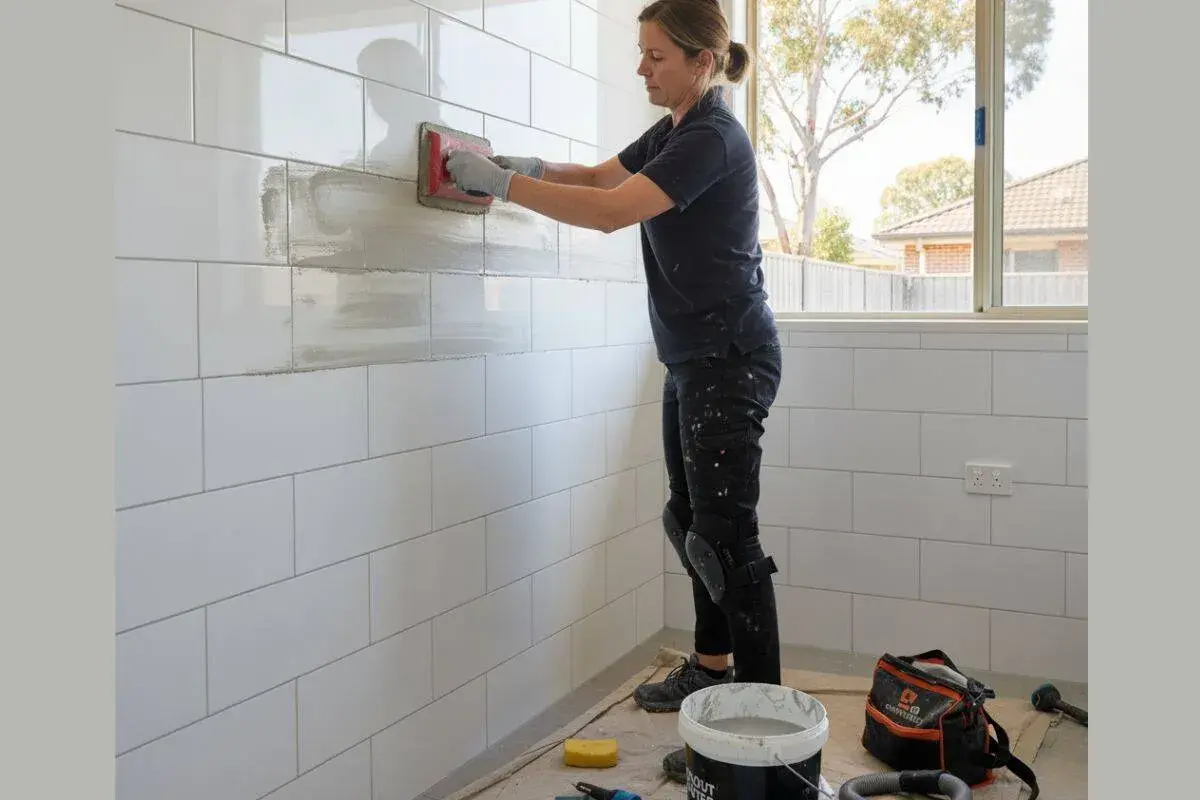
Old grout changes the whole feel of a bathroom long before the tile itself looks dated. A proper regrouting job restores the lines, tightens the surface, and can help keep moisture problems from spreading into the wall or floor assembly. In this guide I cover when the repair is worth doing, which grout belongs where, how the work is actually done, what it costs in the US, and the details that keep it from failing early.
These are the decisions that matter most before you start
- If the joints are stained but still solid, cleaning or color sealing may be enough.
- If grout is cracked, crumbling, or missing, replacement is the right fix.
- Sanded grout is usually used for joints from 1/8" to 5/8"; unsanded works best up to 1/8"; epoxy is the most water- and stain-resistant but costs more and is harder to install.
- DIY materials often land around $100-$200 for a shower-sized project, while professional regrouting commonly runs $600-$2,500, with an average near $1,500.
- Corners, tub edges, and other change-of-plane joints should be caulked, not grouted.
- Sealing cement grout and keeping the room dry will do more for longevity than any clever cleaner.
When fresh grout is the right fix and when cleaning is enough
I split this into three buckets. Cleaning removes surface soil, color sealing improves the look of sound but stained grout, and replacement is for joints that have lost their structure. If the tile is loose or the wall feels soft, the problem is no longer just the grout.
| Problem | Best move | Why it matters |
|---|---|---|
| Surface dirt, soap scum, light staining | Deep clean or color seal | The joint is still intact, so you do not need to rebuild it |
| Minor wear in a few spots | Partial repair | Good for isolated damage when most of the field still holds up |
| Cracks, powder, missing sections | Regrout | The joint has lost enough material that cleaning will not solve the problem |
| Loose tile, soft drywall, damp backer board | Inspect the substrate and waterproofing | Fresh grout will not stop movement or hidden water intrusion |
Color sealing is a tinted coating that evens out the look of sound grout; it does not rebuild a joint that has already crumbled. If all you are chasing is dull color, a deep clean or color seal can save money, but if the joint itself is failing I would stop polishing and replace it. Once that decision is clear, the warning signs become much easier to read.
The signs the joints are past saving
In bathrooms, failure usually shows up before complete breakdown. I look for a pattern rather than one bad spot.
- Cracks that keep reopening. If a line breaks again after cleaning, the joint has likely lost flexibility or adhesion.
- A sandy or powdery texture. If grout rubs off on your finger, it is breaking down instead of behaving like a solid fill.
- Recessed joints. When the grout sits below the tile edge, water and soap residue can collect more easily.
- Recurring mildew or dark staining. If it returns quickly after a good scrub, the surface may be too porous or damaged to recover.
- Missing material around corners or edges. Those are high-movement areas, and they often fail first.
- Loose tile or damp drywall. Drywall, the gypsum board used in many interior walls, should never feel soft near a shower; if it does, the repair needs to go deeper than grout.
If you are seeing several of those at once, the bathroom is telling you that the grout is only the visible part of the problem. That is why the next choice is the material itself, because the wrong product in the right bathroom still fails.
Choosing the right grout for the room and the tile
Bathroom grout is chosen as much by the tile as by the room. A polished marble backsplash, a porcelain shower wall, and a busy floor all ask for slightly different behavior. I usually think in terms of joint width, maintenance, and how much abuse the surface gets every day.
| Grout type | Best use | Benefits | Tradeoffs |
|---|---|---|---|
| Sanded cement grout | Floors and wider joints, typically 1/8" to 5/8" | Affordable, durable, widely available, good for wider lines | Can scratch delicate tile and still needs sealing |
| Unsanded cement grout | Narrow joints up to 1/8", glass, polished marble, and metal tile | Smoother finish, gentler on delicate surfaces | Not for wider joints and still porous |
| Single-component grout | Busy bathrooms where easier cleanup matters | No mixing, usually no sealer, less room for batch mistakes | Higher cost and product-specific limits |
| Epoxy grout | Showers, steam-prone spaces, and heavily used bathrooms | Best stain and water resistance, no sealer needed | Most expensive and least forgiving to install |
One rule I never bend: changes of plane are caulk joints. Corners, the tub-to-tile line, and any spot where two surfaces meet and movement is expected should get a matching silicone caulk, not rigid grout, because movement will crack a hard fill sooner or later. With the material chosen, the job becomes a sequence rather than a guess.
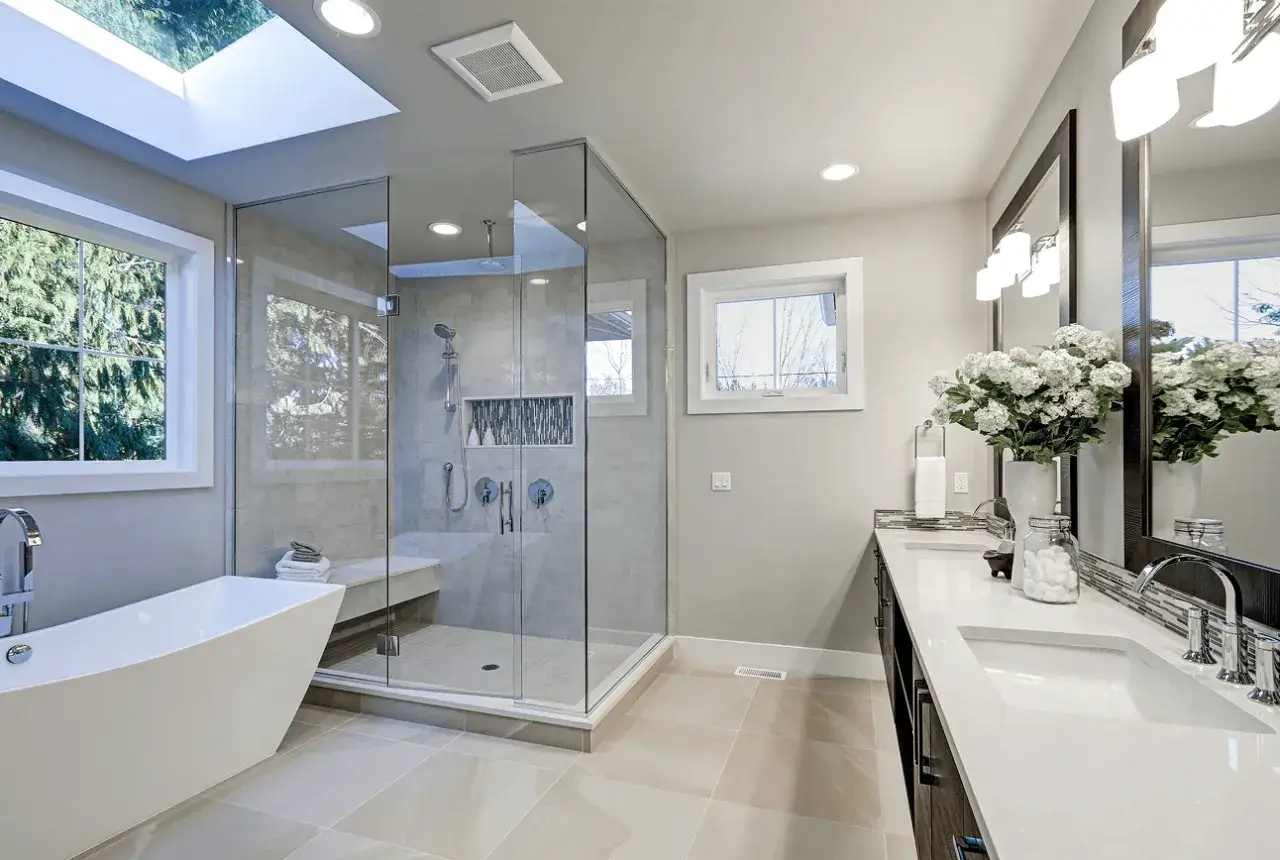
How I would handle the job step by step
For a typical bathroom, I would have a grout saw or oscillating tool with a grout blade, a vacuum, a margin trowel, a rubber float, sponges, buckets, and a pH-neutral cleaner on hand. I like to work in small sections because grout haze hardens faster than people expect.
- Remove the damaged grout. Cut out the loose or crumbling material carefully so you do not chip the tile edges.
- Vacuum and clean the joints. Dust, soap film, and loose grit all weaken the bond, so the joint should be clean before new material goes in.
- Choose the right batch. Sanded, unsanded, epoxy, or single-component grout all behave differently, so match the product to the tile and joint width.
- Pack the joints fully. Hold the float at roughly 45 degrees, force grout into the line, then scrape diagonally to remove the excess.
- Wash the haze at the right moment. Start when the surface skins over, usually within minutes, and use a lightly damp sponge rather than flooding the joint.
- Let it cure and finish the edges. Many cement grouts need 24-48 hours before light use and about 72 hours before a shower sees regular water again; some products have different cure windows, so the label wins.
At corners, around tubs, and at other movement points, I switch to silicone caulk after the grout has cured. The part people underestimate is cleanup: rushed haze removal ruins more good joints than bad mixing does. Once the new lines cure, the question shifts from installation to cost and scope.
What it costs in the US and when a pro makes sense
Cost changes quickly because bathrooms are small, detailed spaces. The square footage may be modest, but labor climbs when there are niches, benches, glass walls, tight corners, or delicate tile that needs careful handling.
| Scenario | Typical US cost | When it makes sense | Main limitation |
|---|---|---|---|
| DIY materials | $100-$200 for a shower-sized project | Sound tile, a small area, and a homeowner who can give the project time | Time, cleanup, and the risk of damaging tile edges |
| Professional regrouting | $600-$2,500, with many showers around $1,500 | Larger showers, premium tile, complex layouts, or a short timeline | Labor cost varies with region, tile type, and job complexity |
| Cleaning or color sealing | About $0.50-$3 per sq ft for cleaning, roughly $500 for color sealing, and $2-$5 per sq ft for sealing | Grout is still structurally sound but looks tired | Does not solve a failing joint or movement problem |
The biggest cost mistake is paying for grout when the shower really needs waterproofing, the membrane behind the tile that keeps water out of the wall assembly, or tile repair. If water is coming through the wall, I stop there and inspect the structure first. Budget is part of the decision, but the room still has to look finished.
The details that keep the finish looking intentional
The color and finish choices decide whether the repair reads as deliberate or just patched. In a bathroom, that means I think about cleaning habits, lighting, and how much visual contrast the room can actually carry.
- Match for calm. A grout color close to the tile makes the surface feel quieter and hides small variations in line width.
- Contrast for pattern. A darker grout can sharpen subway tile or geometric layouts, but it will show soap residue and limescale sooner if maintenance slips.
- Pick a middle tone for heavy-use showers. I usually prefer a mid-tone on family bathrooms because it ages better than bright white and looks less harsh than black.
- Seal cement grout and refresh it regularly. A penetrating sealer helps reduce staining, and refreshing it every one to two years is a practical maintenance rhythm for many bathrooms.
- Keep the room dry. Run the fan, wipe down wet walls, and clean with mild products instead of abrasive pads or acidic cleaners that can shorten the life of cement grout and natural stone.
- Watch repeated cracking. If the same line keeps failing, treat it as movement or moisture, not as a cleaning problem.
I like this part because the room can tell you what kind of maintenance it will actually receive. When the grout color, product, and care routine fit the bathroom, the result looks intentional instead of temporary. Handled that way, fresh grout is one of the smartest small upgrades you can make: modest cost, visible impact, and a real chance to protect the tile assembly while the rest of the room stays sound.
