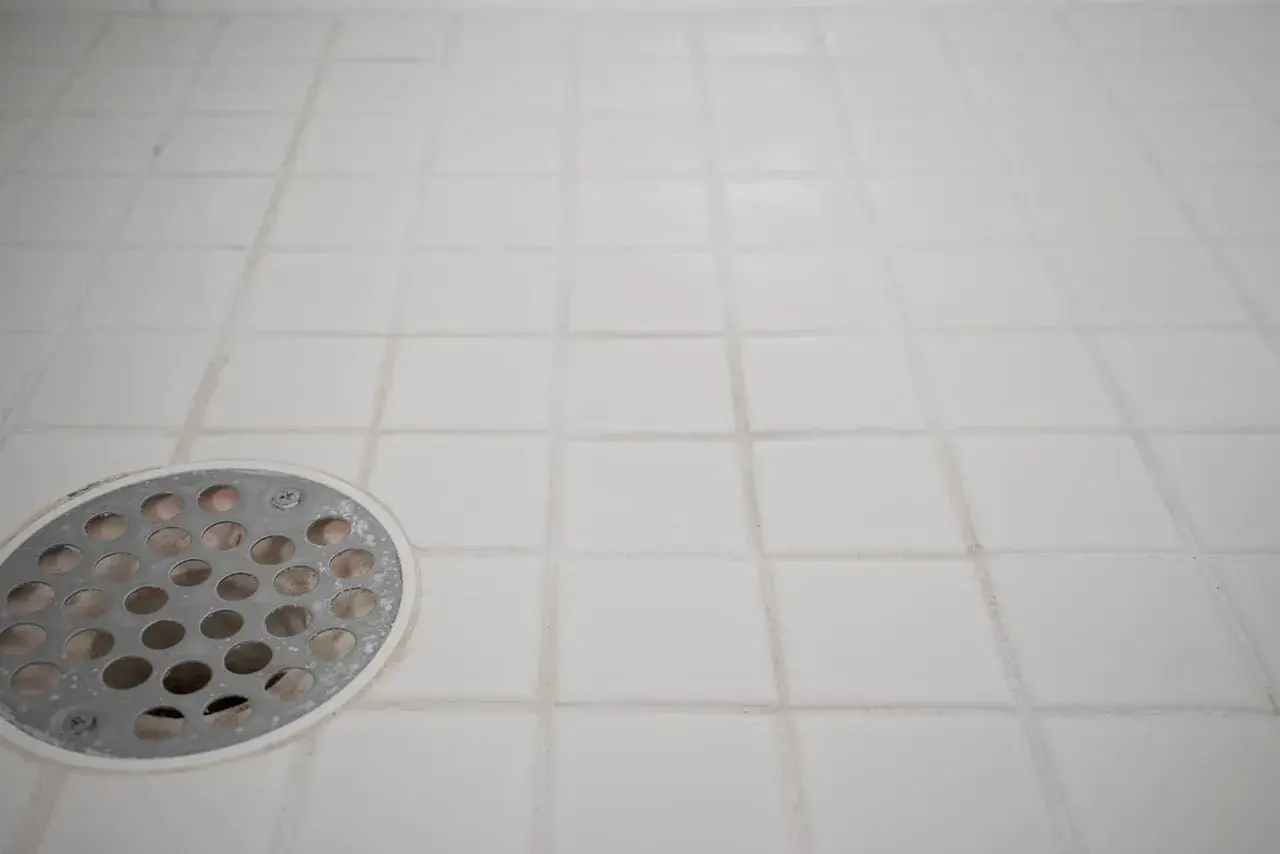
Cracked, stained, or missing grout is more than a cosmetic flaw. A proper tile grout repair can keep moisture out of the assembly, stop edges from chipping, and make a bathroom look finished again. In this guide I break down when a small patch is enough, when regrouting is the smarter move, which grout belongs in which joint, and what a realistic U.S. budget looks like.
What matters most before you start
- Isolated hairline cracks can often be patched if the tile is still solid.
- Recurring cracks at corners, tub edges, and floor changes usually need flexible caulk, not more grout.
- Joint width matters because sanded, unsanded, and epoxy products behave very differently.
- Sealing helps cement-based grout, but it does not fix movement or a leak.
- Loose tile, damp smells, or spreading stains are signs to inspect below the surface before you spend money on a cosmetic fix.
The fastest way to tell what kind of damage you have
I always start by asking whether the problem is actually in the grout or just showing up there. If the tile shifts, the grout keeps cracking in the same line, or the joint feels soft and sandy all the way through, the underlying issue usually matters more than the surface finish.
| What you see | What it usually means | Best next move |
|---|---|---|
| Hairline crack in one joint | Minor shrinkage or normal wear | Spot repair if the tile and substrate are stable |
| Missing chunks in a few spots | Impact, age, or aggressive cleaning | Remove loose material and refill the joint |
| Dark staining that does not clean up | Embedded dirt, soap residue, or mildew in porous grout | Deep clean or color refresh if the grout is still sound |
| Cracks at inside corners or where tile meets a tub | Normal movement at a change of plane | Use color-matched silicone caulk instead of grout |
| Loose tile or a hollow sound behind it | Movement, failed bond, or moisture damage | Inspect the substrate before any cosmetic repair |
If a crack keeps returning along the same line, I assume movement or moisture first and product failure second. Once you know which category the damage falls into, the repair method becomes much easier to choose.
Which repair method fits which kind of grout failure
Once I know the failure pattern, the method usually narrows quickly. Small, stable defects deserve a local fix; broader cracking or crumbling deserves regrouting; movement joints deserve caulk; and water damage means the cosmetic layer is not the real problem.
| Method | Best for | What you gain | Main limitation |
|---|---|---|---|
| Spot patch | A few chipped or missing joints in one area | Fast, inexpensive, and low disruption | Only works if the surrounding grout is still firm |
| Partial regrout | A run of damaged joints on a backsplash, shower wall, or floor edge | Better bond and more consistent color | Takes more cleanup and matching work |
| Full regrout | Widespread cracking, crumbling, or staining in one room | Uniform finish and a fresh, sealed surface | Labor-intensive and not cheap on showers |
| Silicone caulk at movement joints | Inside corners, tub lines, shower pan edges, and transitions | Flexibility where grout would fail | Must be maintained and eventually replaced |
| Tile or substrate repair | Loose tile, recurring wet spots, or repeated cracking in the same place | Addresses the real cause | More invasive than a surface repair |
Colorant or grout refresh products are useful when the grout is structurally sound but looks tired. I would not use them to disguise cracks that still move or crumble, because they cover the symptom, not the failure. That choice sets the tone for the tools, the cost, and the time you need next.
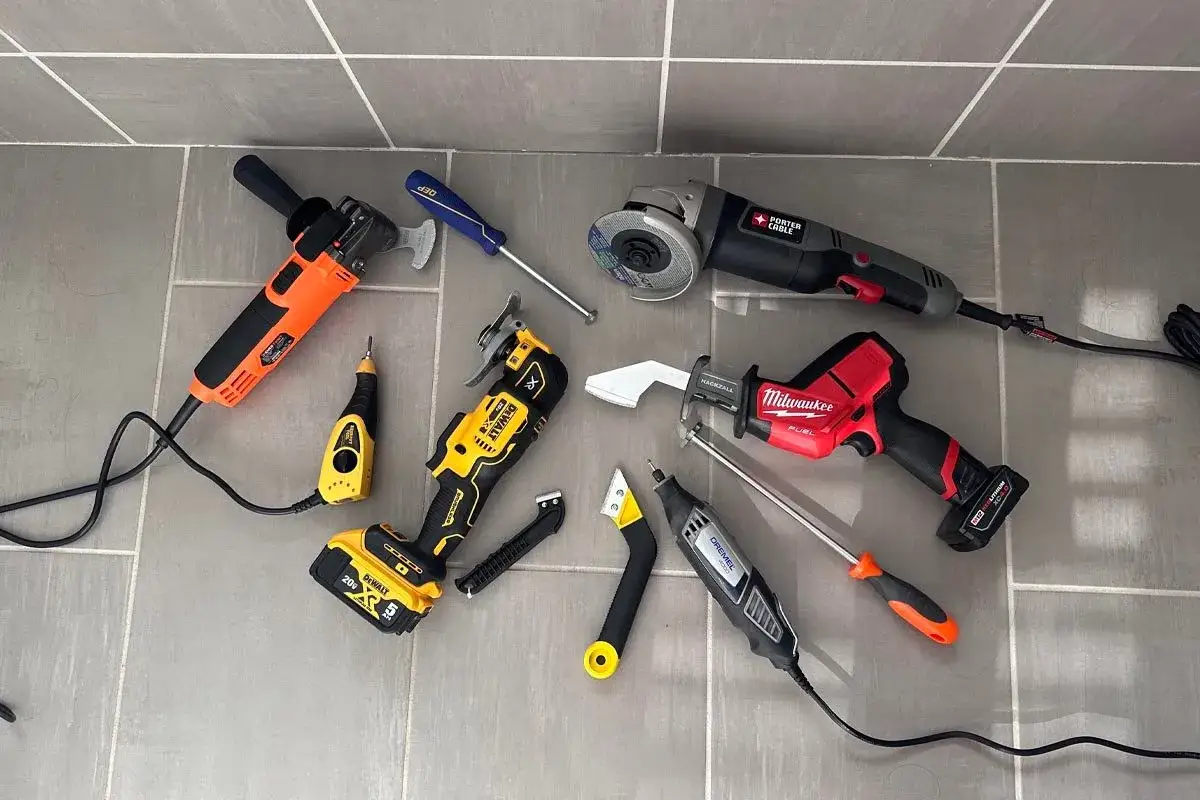
How I would repair a small section of grout
For a localized repair, I work slowly and cleanly. The goal is to remove only the weak material, not chip the tile edges or leave dust that breaks the new bond.
- Cut out the loose grout with a grout saw or oscillating tool until you reach firm material. Vacuum the joint as you go so powder does not sit under the new mix.
- Clean the gap with a dry brush or damp cloth and let it dry fully. If the joint stays damp, the new grout is fighting the surface before it even cures.
- Mix or open the replacement product that matches the existing joint width and finish. On a small visible repair, color matching matters more than most people expect.
- Pack the grout in with a float, pressing across the joint from several directions so the voids fill completely. Then scrape off the excess at a shallow angle.
- Wipe the tile face with a barely damp sponge after the initial set, then rinse the sponge often. Too much water can weaken fresh cement grout and leave a washed-out surface.
- Let it cure before heavy use. For cement-based grout, many sealers are applied after the grout has cured, and Custom Building Products' guidance is 48 to 72 hours for new grout before sealing.
If the repaired line still looks slightly different, I usually wait before judging it. Fresh grout lightens as it cures, and rushing the color assessment leads to unnecessary do-overs. The product you choose is what makes that work last, so I look at grout type next.
Choosing the right grout for the tile and joint width
Material choice matters because grout is not one-size-fits-all. As MAPEI notes, sanded grout generally suits joints from 1/8 inch to 5/8 inch, while unsanded grout is used for joints from 1/16 inch to 1/8 inch. That width rule is not a branding detail; it is the difference between a joint that packs cleanly and one that shrinks, scratches, or crumbles early.| Type | Best use | Strengths | Tradeoffs |
|---|---|---|---|
| Sanded cement grout | Wider joints, floors, ceramic, and porcelain tile | Stable in larger gaps, affordable, easy to find | Can scratch soft stone and is not ideal for very narrow joints |
| Unsanded cement grout | Narrow joints and delicate tile surfaces | Smoother finish, better for tight gaps | Can crack if forced into wider joints |
| Epoxy grout | Showers, steam rooms, and stain-prone areas | Low porosity, strong stain resistance, durable | Higher cost, shorter working time, harder cleanup |
| Premixed high-performance grout | Smaller wall areas and faster DIY work | Convenient and consistent out of the bucket | Product-specific limits, so I read the label closely |
For marble, travertine, or other soft stone, I stay cautious with sanded or strongly pigmented products because they can scratch or stain the surface. In those cases, the safest move is often to test a hidden spot or follow the tile maker's installation guidance. Material choice also explains most of the price spread, which is where I go next.
What the repair will cost in the U.S.
The bill is driven less by the material and more by labor, access, and whether the job stays cosmetic. Small jobs are not always cheap because the contractor still has to travel, protect the room, remove the weak grout, clean the joints, and come back after curing.
| Repair type | Typical U.S. range | What that usually includes |
|---|---|---|
| DIY spot repair materials | $20 to $100 | Grout, caulk, cleaner, sponge, sealer, and a basic removal tool |
| Professional small-area grout repair | $200 to $400 | Localized removal, refill, clean-up, and color matching |
| Shower regrouting | $450 to $2,000 | Removing old grout, installing new grout, and often sealing |
| Per-square-foot repair pricing | $3 to $25 for tile and grout repair, or about $10 to $35 for shower regrouting | Common contractor pricing model when the scope is larger |
| Water damage behind tile | $1,500 to $2,000+ | Backer board, membrane, drywall, or leak-related repairs |
If matching tile is discontinued or the substrate has failed, I stop thinking about grout repair and start thinking about replacement. That is the moment when a cheap cosmetic patch becomes false economy. Even the best estimate means little if the wrong habits caused the failure in the first place.
Mistakes that make the fix fail early
The mistakes I see most often are small, but they add up fast.
- Leaving loose material in the joint so the new grout bonds to dust instead of a firm edge.
- Using grout at movement joints such as inside corners, tub lines, or floor-to-wall transitions.
- Overwetting fresh grout during cleanup, which weakens the surface and lightens the color unevenly.
- Sealing too early or sealing a product that was never meant to be sealed.
- Ignoring recurring cracks, which usually means movement, not bad luck.
- Trying to color over a structural problem with stain or refresh products.
My rule is simple: if the line keeps failing in the same place, I treat it as a movement or moisture issue until proven otherwise. That mindset saves a lot of repeat work and a lot of frustration. If you avoid those traps, the repair usually lasts long enough to be boring, which is exactly what grout should do.
The habits that keep bathroom grout stable after the repair
Once the new joint has cured, maintenance is mostly about controlling moisture and cleaning gently. I would run the exhaust fan long enough to clear the room, squeegee shower walls when it is practical, and use a pH-neutral cleaner instead of acidic products that can wear cement grout over time. In wet bathrooms, I also check caulked corners once or twice a year. If the caulk splits, the grout near it often starts failing next, and a quick recaulk is far cheaper than chasing water damage later. For cement-based grout, I would inspect the sealer yearly in high-use showers and refresh it when water stops beading cleanly on the surface.If you keep an eye on those small details, the repair does not have to become a cycle of patching and redoing. The goal is a joint that looks calm, holds together, and quietly disappears into the rest of the tile work.
