Damaged grout is more than a cosmetic issue: once it starts cracking, powdering, or pulling away from the tile, water and residue have an easier path into the assembly. In a bathroom, that usually means stains spread faster, corners fail sooner, and the whole surface starts to look older than it is. This guide covers how I decide between patching, regrouting, or caulking, the tools worth using, the repair sequence that holds up, and the maintenance that keeps the fix from falling apart again.
The right fix depends on whether the joint is stained, cracked, or moving
- Hard but dirty grout usually needs cleaning, color correction, or sealer rather than removal.
- Hairline cracks in stable field joints can often be repaired locally if the tile beneath is still solid.
- Crumbling or missing grout means the weak material has to come out before new grout goes in.
- Corners and tub edges should normally be flexible caulk, not rigid grout.
- Most cement-based grout should cure before sealing, and 48 to 72 hours is a common window.
- Recurring cracks usually point to movement or waterproofing trouble, not just age.
Know whether you are patching, regrouting, or recaulking
The first thing I check is whether the grout is actually failing or just looking rough. That distinction saves time, because a surface stain and a structural crack are not the same job.
| What you see | What it usually means | Best first move |
|---|---|---|
| Hard grout that is simply discolored | Soap film, mildew staining, or a worn sealer | Clean deeply, then consider a grout colorant or sealer |
| Hairline cracks in a few straight joints | Minor shrinkage or a small amount of movement | Remove the damaged section and spot-repair it |
| Powdery, soft, or missing grout | Poor bond, age, or water exposure | Remove loose material and regrout the affected area |
| Cracks in inside corners or around a tub | Normal movement at a change of plane | Replace the grout with flexible caulk |
| Loose tile, hollow sounds, or repeated cracking | Substrate movement or a deeper failure | Stop patching and inspect the assembly |
If the grout still feels solid, I rarely start by tearing it out. If it crumbles under a fingernail or opens again after a quick repair, I assume the joint has a real failure and move from cosmetic fix to removal. The practical rule is simple: hard but ugly can often be refreshed, soft or moving needs rebuilding. Once that is clear, the tools and materials become much easier to choose.
The tools and materials I would gather before starting
For a small bathroom repair, I keep the kit tight. Too many products make the job slower, not better.
- Grout saw, oscillating tool with a grout blade, or a stiff scraper for removing loose material
- Vacuum, stiff brush, and microfiber towels for dust control
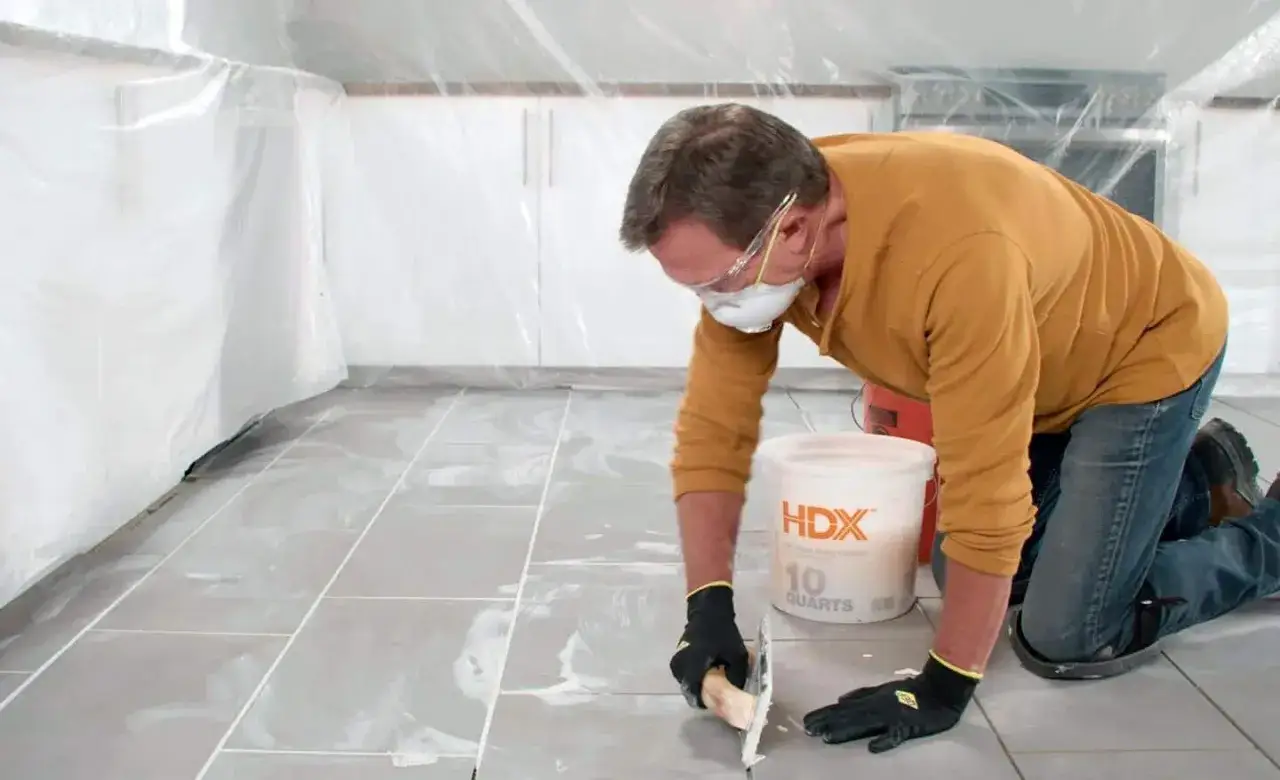
- Painter’s tape, sponge, bucket, and a medium to hard rubber grout float
- Replacement grout that matches the joint width and the existing finish
- 100% silicone or another flexible sealant for corners and other movement joints
- Penetrating sealer if the grout type calls for sealing after cure
- Nitrile gloves and eye protection, especially if you are using a power tool
With the right material on the bench, the repair itself becomes a straightforward sequence instead of a guessing game.
How I would repair damaged grout step by step
For a typical wall section or shower detail, I work in small zones rather than trying to do the whole room at once. That keeps cleanup manageable and helps the new material cure evenly.
- Clear and dry the area. Stop using the shower or sink long enough for the joint to dry fully. Moisture trapped in the line makes cleanup harder and weakens the bond.
- Remove every loose section. Cut back to firm material with a grout saw or oscillating tool. I do not skim over powdery edges, because weak edges usually keep shedding.
- Vacuum and wipe the joint clean. Dust is the enemy here. If powder stays in the line, the new grout or caulk will not bond the way it should.
- Mask delicate surfaces if needed. Painter’s tape helps on glossy tile, tight corners, or polished stone where cleanup marks would stand out.
- Mix or open the product exactly as directed. I follow the label, not the temptation to add extra water for a smoother feel. Too much water is one of the fastest ways to end up with weak, blotchy grout.
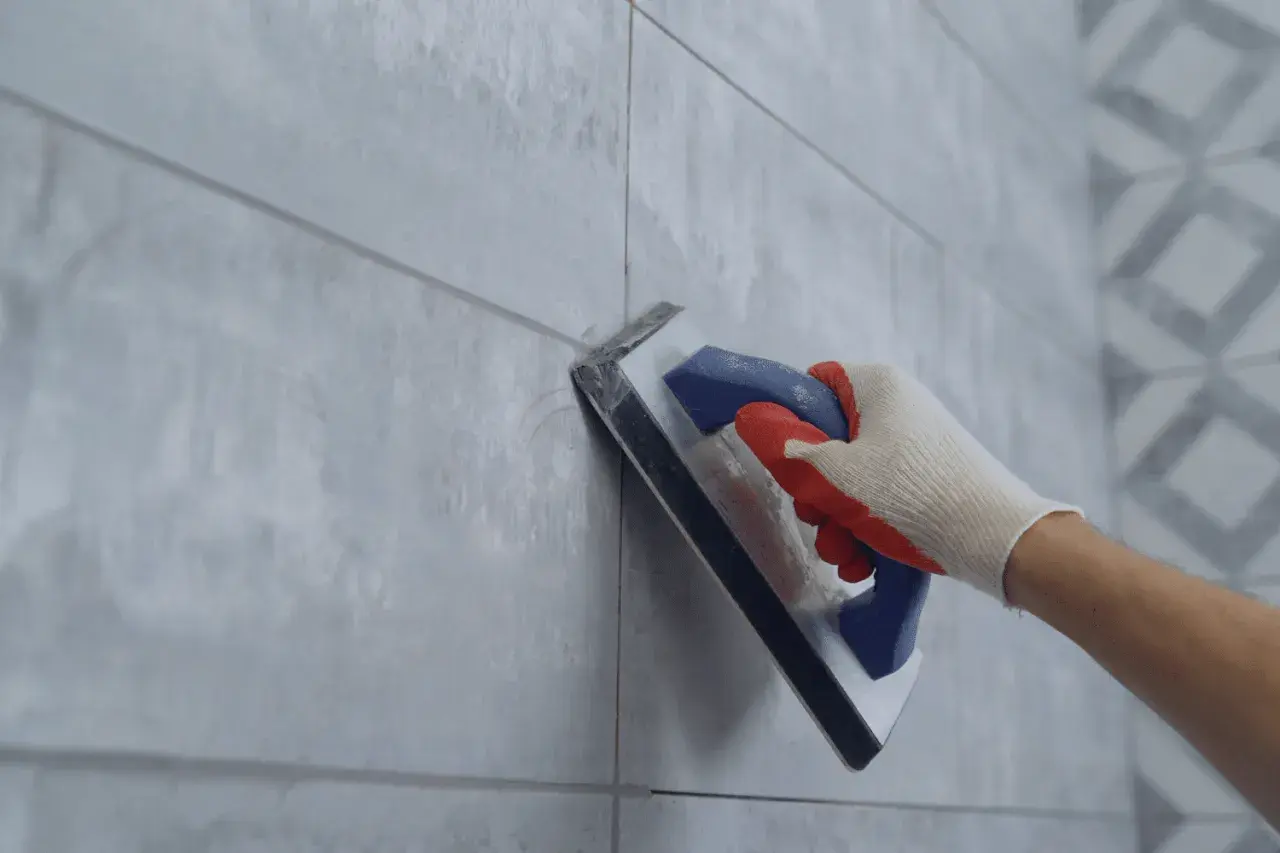
- Pack the joint firmly. Hold the float at roughly a 45-degree angle and force the material diagonally into the gap. The goal is to fill the whole joint, not just coat the top.
- Clean in stages. Wipe with a damp sponge after the product begins to firm up, then make a second light cleanup pass. I use as little water as I can get away with, because over-washing can pull material out of the joint.
- Let it cure before water hits it. Keep the area dry for the full cure window on the package. Many cement-based products need 24 to 72 hours before sealing, and wet use may need longer.
One detail I never skip is working small. On a repair product that skins over quickly, I keep the active area to about 10 to 15 square feet so I can clean before the surface locks up. That one habit saves more bad outcomes than any fancy tool does. Once the field joints are sound, the next question is whether some of those joints should have been grout in the first place.
Why corners, tub edges, and floor transitions need caulk instead
Not every joint in a tiled bathroom is meant to be rigid. The Tile Council of North America treats changes of plane as movement joints, and that matches what I see in real bathrooms: corners and transitions move differently from the flat field of tile. Rigid grout in those spots tends to crack again, usually sooner rather than later.
- Inside corners where two tiled walls meet
- The joint where the wall meets a tub or shower base
- Floor-to-wall transitions
- Edges around niches, shelves, or tile terminations where movement is expected
- Any joint that keeps reopening after a grout patch
For these spots, I use a flexible sealant, usually 100% silicone in a bathroom-grade formula that resists mold and mildew better than generic acrylic caulk. The process is slightly different from grouting: remove the old grout first, clean the joint thoroughly, add backer rod if the gap is deep, then tool a neat bead so it bonds to both sides. Color matching matters, but flexibility matters more. Caulk may need more maintenance than grout, yet it is the correct material where the tile assembly moves.
Once the joint is repaired correctly, protection and routine care decide how long the finish stays clean. That is where sealing comes in.
Seal the right grout at the right time
I see a lot of confusion around sealer. It helps, but it is not magic. A penetrating sealer can slow staining and make cleanup easier, but it does not make grout waterproof and it does not fix movement.
- Cement-based grout usually benefits from sealing after it has fully cured.
- Epoxy grout and many ready-to-use specialty grouts may not need sealing, but I still check the label before assuming anything.
- Most cement grout should have 48 to 72 hours of cure time before sealer goes on, although the product instructions always win.
- Sealer should be applied to a clean, dry joint, or the protection is patchy from the start.
- If water no longer beads or the joints darken quickly after cleaning, it is usually time to reseal.
My own rule is to treat sealer as insurance, not rescue. If the grout is soft, cracked, or missing, sealer will only preserve the problem. But if the joint is sound and the bathroom gets daily use, sealing buys real time and reduces the way grime settles into the line. That brings up the question most homeowners actually care about next: what this costs, and when hiring help makes more sense than doing it twice.
What grout repair usually costs and when I call a pro
In the U.S., the price gap between a small DIY fix and professional regrouting can be wide, mostly because labor adds up fast when grout has to be removed carefully around tile. For a simple materials-only repair, I usually expect a modest outlay. For larger shower work, the number climbs quickly.
| Option | Typical cost | Best for | Tradeoff |
|---|---|---|---|
| DIY spot repair | $15 to $75 in materials | Hairline cracks, a few missing joints, or a small color refresh | Cheap, but it will not solve movement or hidden moisture issues |
| DIY regrout section | $40 to $150 if you already own tools; more if you need a grinder or oscillating tool | One wall section, backsplash, or a small shower patch | More time and more risk of chipping tile |
| Professional grout repair | About $8 to $30 per square foot | Medium to large areas, tricky tile, or repairs that need a clean finish | Labor cost can outweigh the materials quickly |
| Professional shower regrout | Roughly $600 to $2,500, with many jobs landing near the middle | Widespread failure, mildew concerns, or repeated cracking | More expensive up front, but often more durable |
I call a pro when the tile is loose, the crack keeps returning, or the damage sits near waterproofing details that I do not want to guess about. Natural stone and glass can also justify outside help because both are easier to scratch during removal. If the work area is large enough that cleanup turns into a second job, paying for experience is usually cheaper than replacing chipped tile afterward.
The biggest mistake I see is people trying to make a grout problem solve a movement problem. That is why the last checks matter more than the fresh color on day one.
The small details that keep the repair from failing again
When I finish a grout repair, I look at three things before I call it done: whether the joint was the right material for its location, whether it cured without being rushed, and whether water will hit it before it is ready. Those details sound minor, but they are usually what separates a repair that lasts from one that comes back in a month.
I also make one last pass for movement. If a crack reappears in the same corner, the problem is probably not the grout line itself. It is the assembly underneath, or the decision to use a rigid filler where a flexible one belongs. That is the point where I stop patching and start looking at the tile system as a whole.
For bathroom surfaces, the cleanest fix is rarely the fastest one. Remove only what is failed, use the right product for the joint, respect cure time, and do not force grout into a joint that needs to move. That is the difference between a surface that looks repaired and one that stays repaired.
