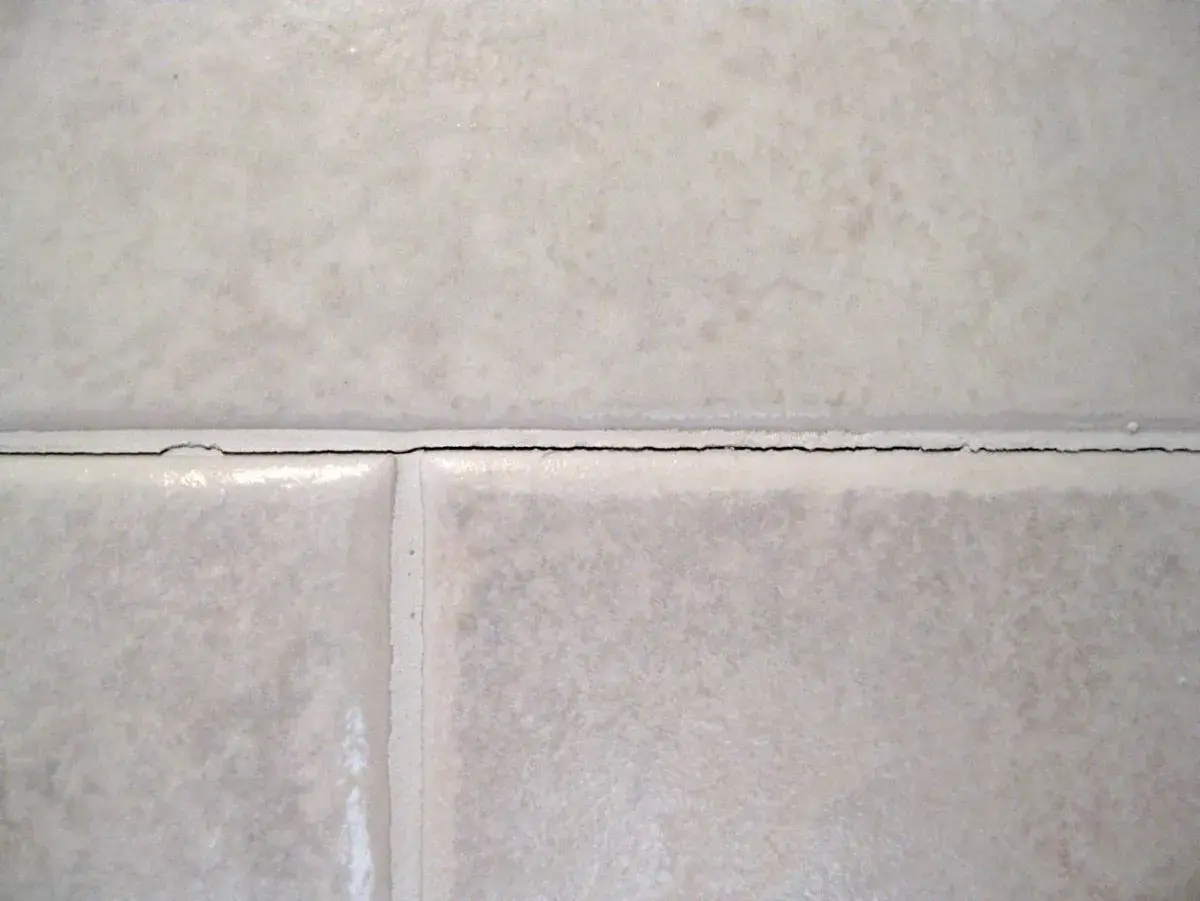
Grout is meant to stay stable, but tile assemblies are not perfectly rigid. A few hairline cracks can happen, especially in corners, at tub edges, and where a floor or wall moves a little, yet repeating cracks usually point to a problem worth fixing. This guide explains what is harmless, what is not, how to tell the difference, and what to repair first so the same line does not keep failing.
Most grout cracks are a movement warning, not a normal finish detail
- Hairline cracks can happen, but repeated cracking usually means movement, shrinkage, or a bad material choice.
- Inside corners, tub edges, and shower transitions should usually be flexible caulk, not rigid grout.
- If the tile feels loose, sounds hollow, or the crack comes back after repair, the issue is probably deeper than the surface.
- Sealer helps with stains and maintenance, but it does not stop structural cracking.
- Small stable repairs are usually affordable; recurring cracking can turn into a much larger regrout or substrate fix.
Is it normal for grout to crack?
Not really in the sense of “this is fine and should be expected everywhere.” Grout is a rigid filler, so a tile installation can tolerate only a limited amount of movement before the joint starts to split. A single hairline crack may be cosmetic, especially in an older bathroom, but once I see the same area cracking again, I treat it as a clue rather than a nuisance.
The simplest rule is this: a crack can happen, but a healthy installation should not keep cracking. If the crack sits at a corner, along a tub joint, or where two surfaces meet, that often points to a movement joint that should have been flexible from the start. If it runs through the middle of a tile field, I start thinking about shrinkage, weak support, or movement below the tile.
That distinction matters because the right fix depends on whether the problem is only on the surface or built into the assembly underneath, and that is where many repairs go wrong.
What usually causes grout to crack
Most cracked grout comes down to one of a handful of issues. Some are minor once, but none should become a pattern.
- Normal building movement - Houses expand, contract, and settle. Floors flex a little, and bathrooms see constant temperature and humidity swings.
- Grout shrinkage - Too much water in the mix, overworking the joints, or fast drying can leave grout weaker and more likely to split.
- Movement at changes of plane - Inside corners, tub surrounds, shower-to-floor transitions, and wall-to-ceiling joints should usually be sealed with silicone or another flexible product.
- Substrate problems - If the backer board, underlayment, or subfloor moves, the crack often returns even after the grout is replaced.
- Wrong grout for the joint - Joint width matters. Many cement grouts are designed for specific joint ranges, commonly around 1/16 to 1/8 inch for unsanded and 1/8 to 1/2 inch for sanded products, but the label always wins.
- Age and wear - In busy showers and floors, repeated cleaning, moisture, and small impacts eventually wear grout down.
Movement in a concrete slab or wood subfloor can transfer straight into the tile surface, which is why grout is often the first place the system shows stress. Once you know the likely cause, the next step is figuring out whether the crack is just ugly or actually telling you the tile work is moving.
How to tell a small cosmetic crack from a movement problem
This is the part I would not rush. Two cracks can look similar from a distance and mean very different things. A shallow line that stays put for months is one thing; a crack that opens, closes, or keeps returning after repair is another.
| What you see | What it usually means | How concerned I would be |
|---|---|---|
| Thin crack in one isolated joint | Small shrinkage issue or minor wear | Low, if the tile is solid and the crack does not grow |
| Crack in an inside corner or tub edge | Rigid grout used where flexible caulk should be | Moderate, because water can work into the joint |
| Repeated cracks along the same line | Ongoing movement below the tile | High, because surface repair alone may fail again |
| Loose or hollow-sounding tile near the crack | Bond failure or substrate movement | High, and worth inspecting further |
| Cracks plus staining, mold, or soft drywall nearby | Water intrusion | High, especially in showers |
If the line is hair-thin, stays dry, and never widens, it is often a cosmetic issue. If it changes with the seasons, shows up after traffic or a leak, or appears in a wet corner, I treat it as a maintenance problem that deserves a real repair plan. That leads directly to the part most people want next: what to do about it without making it worse.
What to do about the crack you already have
My rule is simple: do not just smear new grout over the old line and hope for the best. That usually hides the problem for a short time and makes the eventual repair messier.
- Clean the crack and let the area dry fully so you can see how wide it really is.
- Press lightly on nearby tile to check for movement or hollow spots.
- If the crack is in a corner or at a change of plane, remove the rigid grout and replace it with color-matched silicone or another flexible sealant.
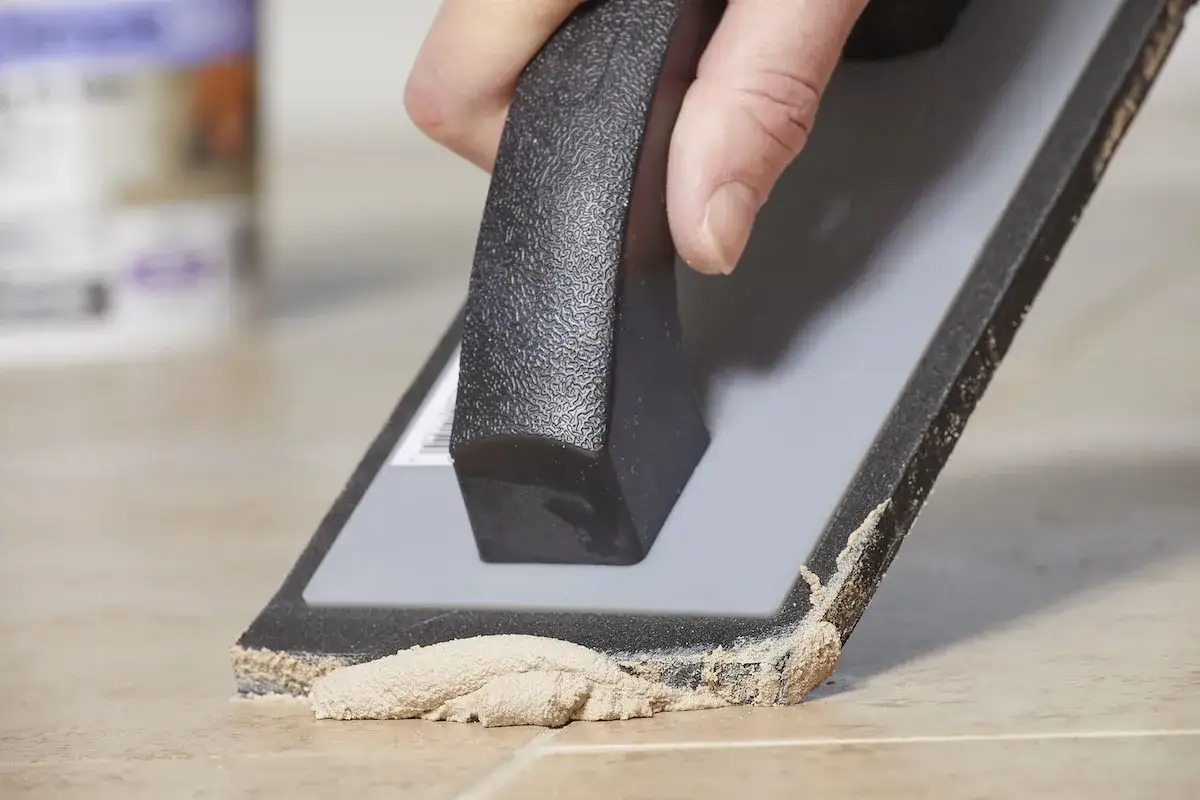
- If the crack is in a stable field joint, rake out loose grout to sound material before regrouting.
- Match the repair to the root cause. If the surface is moving, fix the movement path first or the crack will come back.
That last step is where many DIY repairs fail. Cement grout is not meant to act like caulk, and caulk is not a substitute for rebuilding a loose substrate. If you are dealing with a shower, I would be especially cautious: water exposure accelerates small failures and makes them harder to ignore.
For a simple spot repair, the materials can be cheap. In the U.S., a small DIY repair kit is often under $25, a professional localized repair commonly starts around $150, and a broader fix can rise into several hundred dollars once labor and access are included. The repair gets more expensive when the crack is only a symptom, not the actual problem.
How to keep grout from cracking again
Prevention is mostly about respecting movement. The strongest grout in the world still cannot behave like rubber, so the tile assembly has to give it a place to fail safely.
- Use flexible caulk at changes of plane - Inside corners, tub surrounds, shower walls, and wall-to-floor transitions should not be packed with rigid grout.
- Match the grout to the joint width - Narrow joints and wider joints call for different grout types, and the product label should guide the choice.
- Mix carefully - Too much water weakens cement grout and can lead to shrinkage, pinholes, and cracking.
- Let it cure properly - Fresh grout needs time before heavy cleaning or sustained water exposure. Rushing that stage is an easy way to shorten its life.
- Do not confuse sealing with waterproofing - Sealer helps with staining and surface maintenance, but it does not stop movement cracks.
- Reduce movement transfer on floors - On larger bathroom floors, an uncoupling membrane can help reduce stress from the subfloor, though it does not replace proper movement joints.
In bathrooms, the details matter more than the brand name on the bag. I have seen expensive grout fail early because the installer ignored corners, and I have seen modest grout last well because the substrate was stable and the joints were respected. That is why the next question is not just how to patch this, but when a patch stops being enough.
When a patch is not enough and the bathroom budget changes
If the same joints keep cracking, or if the crack lines up with a leak, a joist, a transition, or a soft spot in the floor, I stop thinking in terms of spot repairs. At that point, the issue may involve the substrate, waterproofing, or the tile layout itself.
| Situation | Usual move | Rough U.S. cost |
|---|---|---|
| One dry, hairline crack | Clean, remove loose material, and regrout or recaulk if needed | $10 to $150 |
| Crack at a corner or tub edge | Remove grout and install silicone | $50 to $300 |
| Several cracked joints in a shower | Localized regrout | $150 to $600 |
| Repeat cracking, loose tile, or wet framing | Open the area and inspect substrate and waterproofing | $500 and up |
Those ranges are only useful if they change your decision. If the crack keeps returning, a cheap cosmetic repair is not really a bargain; it is just the first installment on a bigger fix. The smarter move is to treat the crack as a clue, solve the movement behind it, and then let the grout do what it is actually designed to do.
