Key things to know before you start
- The floor type decides the removal method. Floating click-lock planks come apart differently from glued-down or peel-and-stick products.
- Flat, dry, and clean matters more than brand. A good LVP installation fails fast if the subfloor is soft, uneven, or damp.
- Plan for real-world costs. In the U.S., installed vinyl plank flooring often lands around $4 to $16 per square foot, with removal and repairs adding more.
- Bathrooms need extra care. I usually remove the toilet before installing new planks so the cuts stay cleaner and the seal is easier to do correctly.
- Buy extra material. I allow about 10% waste, and 15% is smarter in rooms with lots of cuts, angles, or pattern matching.
Figure out which vinyl plank system you have
Not all vinyl plank floors come apart the same way. A floating click-lock floor is usually the most DIY-friendly because the boards interlock and can often be disassembled from one wall back toward the damaged area. Glue-down planks and peel-and-stick products are more permanent, which means partial replacement is possible, but the removal is slower and the subfloor has to be cleaned much more carefully.
| Floor type | How removal usually works | Best for | Main risk |
|---|---|---|---|
| Floating click-lock | Remove trim, then unlock rows or backtrack to the damaged plank | Most DIY replacements and rooms that may need future repairs | Breaking the locking edge if you force it |
| Glue-down | Score, lift, and scrape the adhesive from the subfloor | Low-profile installs and many moisture-prone spaces | Adhesive residue and subfloor damage |
| Peel-and-stick | Warm and pry if needed, then scrape off leftover backing and glue | Small budget projects and quick cosmetic updates | Telegraphing, which is when flaws in the subfloor show through the new floor |
If I am replacing a single damaged board, I always want to know whether I can work backward through the rows or whether I need to cut out the bad plank in place. That decision saves time, protects the surrounding floor, and tells you whether the room is a quick repair or a full tear-out. Once that’s clear, the next step is gathering the right tools and budget.
Plan the budget and tools around the real scope of the project
The price swings are wide because vinyl plank replacement is not just about the flooring itself. Removal, disposal, underlayment, transitions, and subfloor repair can change the budget fast. For a typical U.S. room, I think in square-foot terms first, then add the labor and cleanup work that people often forget.
| Cost item | Typical range | What it covers |
|---|---|---|
| Vinyl plank materials | $2 to $10 per sq. ft. | Standard to higher-end LVP and LVT products |
| Installed project | $4 to $16 per sq. ft. | Materials, labor, and basic prep |
| Old flooring removal | $150 to $700+ | Depends on adhesive, room size, and disposal |
| Waste factor | 10% to 15% | Cutting, pattern blending, and future repairs |
That means a 200-square-foot room can easily run from roughly $400 to $2,000 for materials alone, or about $800 to $3,200 installed before major repairs. If the old floor is glued down or the subfloor needs work, the budget goes up quickly. I would rather price that in early than discover it halfway through the job.
These are the tools I keep close when I do the work myself:
- Utility knife with extra blades
- Pry bar and flat bar
- Pull bar and tapping block
- Spacers for the perimeter gap
- Measuring tape, square, and chalk line
- Oscillating multi-tool for tight cuts
- Floor scraper for adhesive and residue
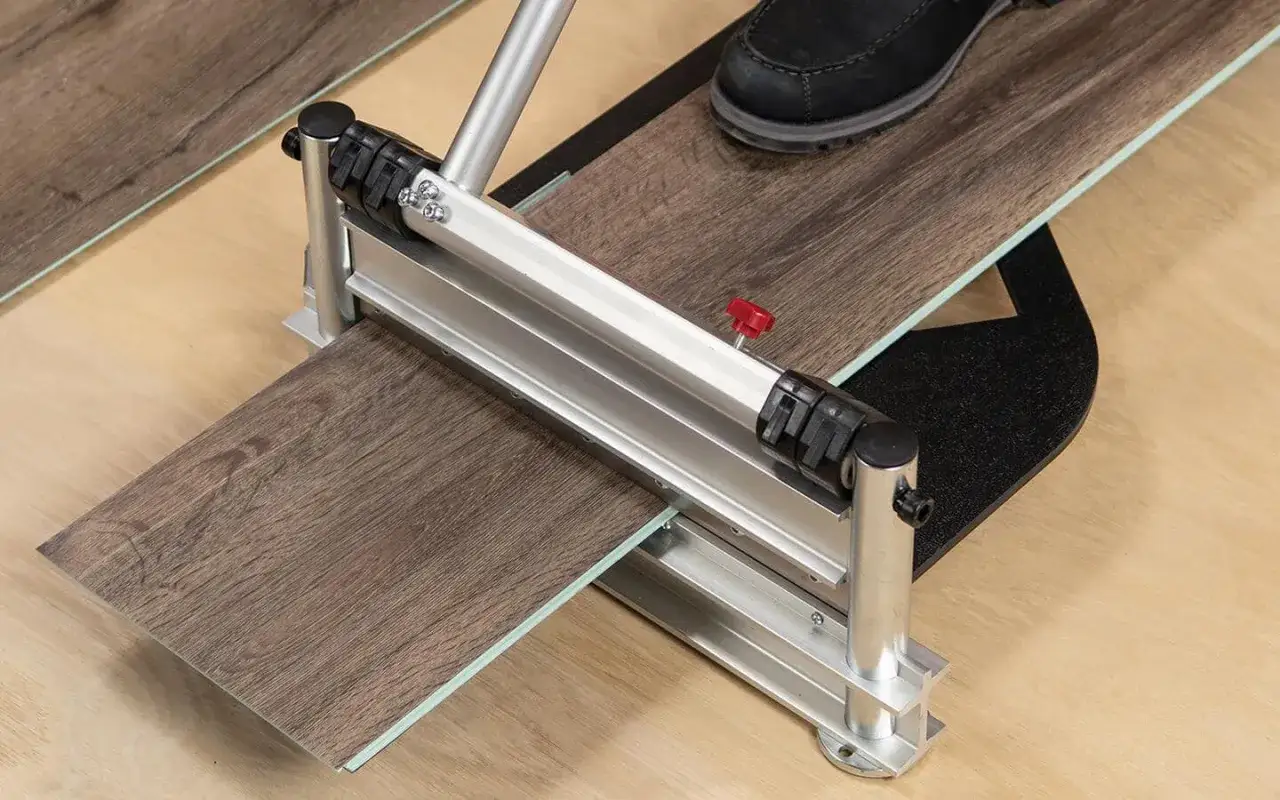
- Fine-tooth saw blade, jigsaw, or miter saw for clean cuts
- Vacuum, broom, and kneepads
- Safety glasses, gloves, and a dust mask or respirator when scraping or sanding
If the room is a bathroom, I also plan for toilet removal, new wax ring or manufacturer-approved seal, and a little extra patience around the flange and doorway cuts. With the budget and tools sorted, the actual tear-out becomes much less chaotic.
Remove the old planks cleanly
I never rush the tear-out. The goal is not just to get the old floor out; it is to get it out without leaving gouges, torn adhesive, or hidden damage that will telegraph through the new surface. Start by removing the room’s baseboards or quarter round if you need the space for a floating floor, and score any paint or caulk line first so the trim comes off cleanly.
Floating click-lock floors
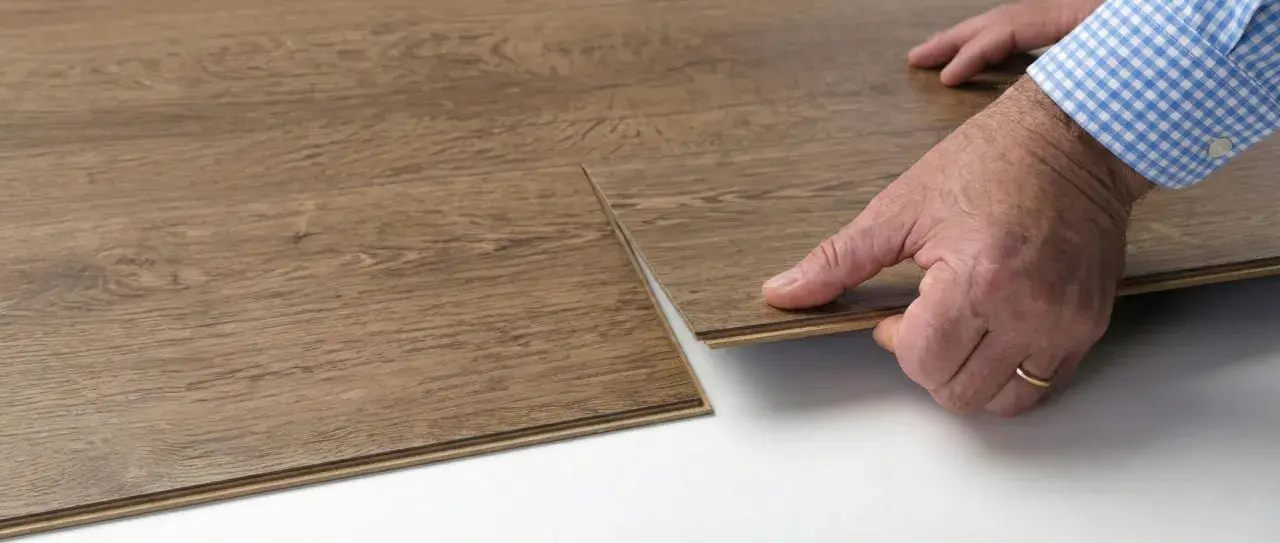
Floating floors usually give the easiest path if the room was installed with a standard click system. I like to start at the wall that offers the most access, remove the trim, and then lift or disengage rows one at a time until I reach the damaged section. Keep the planks in order if you plan to reuse them, because forcing a lock edge is the fastest way to create a gap that never closes properly.
- Remove trim, thresholds, and transitions.
- Find the direction the floor was installed.
- Lift rows carefully or unclick the planks back toward the problem area.
- Stack usable planks in sequence if any are being reused.
Glue-down floors
Glue-down planks take more patience. I score the surface into manageable sections, then lift each piece with a putty knife, pry bar, or oscillating tool if the adhesive is stubborn. A fresh blade matters more than brute force here. If the adhesive is still tenacious, I scrape it in thin passes instead of trying to rip big chunks and risk tearing the subfloor paper, concrete patch, or wood face.
- Score the plank into smaller sections.
- Lift the material gradually from one edge.
- Scrape adhesive residue without digging into the subfloor.
- Vacuum between passes so debris does not scratch the next board.
Read Also: Subway Tile Floor - How to Choose & Install for Lasting Style
Peel-and-stick floors
Peel-and-stick is the least forgiving system when the old adhesive has aged. Some planks pull up easily; others leave behind stubborn backing that has to be scraped off in layers. I only use heat if the product allows it, because too much heat can soften the subfloor or make the residue gummy. Once the old material is gone, the surface should feel smooth, not sticky, ridged, or chalky.
- Lift a corner and test how easily the plank releases.
- Use light heat only if the product and subfloor can handle it.
- Scrape off backing and residue in thin, controlled passes.
- Inspect for any torn surface material before moving on.
When the old floor is out, the real work begins: making the base flat, dry, and solid enough for the new planks to perform the way they should. That prep step is where most problems are either prevented or created.
Prepare the subfloor like the finish depends on it
It does. Vinyl plank flooring is forgiving in some ways, but it does not hide a bad subfloor. High spots can make boards rock, low spots can create hollow sounds, and moisture can break down adhesive or cause seams to open later. I check the floor with a long straightedge, a vacuum, and a very skeptical eye. As a rule, I want the surface flat, dry, and structurally sound. Many floating LVP products call for a very flat substrate, often around 1/8 inch over 6 feet or similar, but the carton or installation guide always wins. If the floor is out of tolerance, I fix the high spots by sanding or grinding and fill the low areas with the right patching compound or self-leveler.- Remove nails, screws, staples, and debris that could telegraph through the new floor.
- Repair loose boards, squeaks, and flex before laying anything new.
- Test for moisture on concrete and make sure the surface is fully dry.
- Fill deep grout lines, seams, or depressions if the new floor requires a smoother base.
- Use only the underlayment the manufacturer approves, especially if the planks already have an attached pad.
In bathrooms, I am especially picky about moisture and transitions. If the room has a toilet, I usually remove it instead of trying to scribe around it, because that gives me a cleaner cut and a better seal when it goes back in. I also avoid assuming that all vinyl products want the same underlayment or the same gap at the perimeter; product-specific instructions matter more than generic advice.
Once the floor is ready, the new planks can go down fast. The slower part is this prep stage, but it is the part that decides whether the room feels solid when you walk on it. That leads straight into the installation itself.
Install the new planks in a way that avoids future gaps
The first rows set the tone for the entire job. I dry-fit the layout before I commit, because a room that starts square usually stays neat, while a room that starts crooked becomes a fight by the last row. I also blend planks from several boxes so the color variation is spread out naturally instead of clustering in one area.
- Measure the room and snap a straight reference line if needed.
- Dry-lay the first rows to avoid ending up with a thin sliver at the far wall.
- Trim the tongue on the wall side if the product instructions call for it.
- Set spacers so the perimeter expansion gap stays consistent, usually around 1/4 inch for many floating floors.
- Lock the short ends and long edges together without forcing the joints.
- Stagger end joints so they do not create a repeating pattern or obvious H-joint line.
- Tap boards only with a block or pull bar, never directly with a hammer edge on the plank.
If the room has a doorway, I undercut the jamb so the flooring can slide underneath for a cleaner finish. In bathrooms, I check the toilet flange height and the cut around the opening before I get too far, because that is the place where rushed installs look sloppy. Around fixed cabinets or heavy built-ins, I follow the manufacturer’s rules carefully and never trap a floating floor where it cannot move.
Glue-down products follow a different rhythm. The adhesive working time matters, and once the board is down, you do not want to keep lifting and resetting it. With floating floors, the goal is a snug click and a consistent gap; with glue-down, the goal is full contact, clean lines, and no adhesive squeeze-out at the seams.
When the last row is cut and locked, I walk the room and listen for hollow sounds or soft spots. That quick check usually catches a problem while it is still easy to fix. The final details are what make the room feel finished instead of just covered.
The details I always check before I button up the job
Before I reinstall trim, I look for three things: stable seams, clean edges, and enough movement room around the perimeter. Floating vinyl needs space to expand and contract, so I do not crowd it with baseboards or heavy caulk. If the floor was installed in a bathroom, I also make sure the toilet is reset with a fresh seal and that the surrounding cuts are neat enough to resist future moisture problems.
I keep a few spare planks from the same batch in a closet or attic if I can. Dye lots and wear layers change over time, and having matching material makes a future repair much easier. I also check the transition strips at doorways, because a loose transition can make a perfectly good floor feel unfinished and can catch dirt or moisture.
The biggest mistakes I see are usually boring ones: skipping subfloor prep, leaving the wrong expansion gap, forcing a damaged lock edge, and underestimating how much cleanup adhesive removal can require. If you avoid those, vinyl plank replacement is a straightforward project with a clean payoff. The part that makes the biggest difference is not speed; it is patience at the first row and honesty about the subfloor before the first plank goes down.
