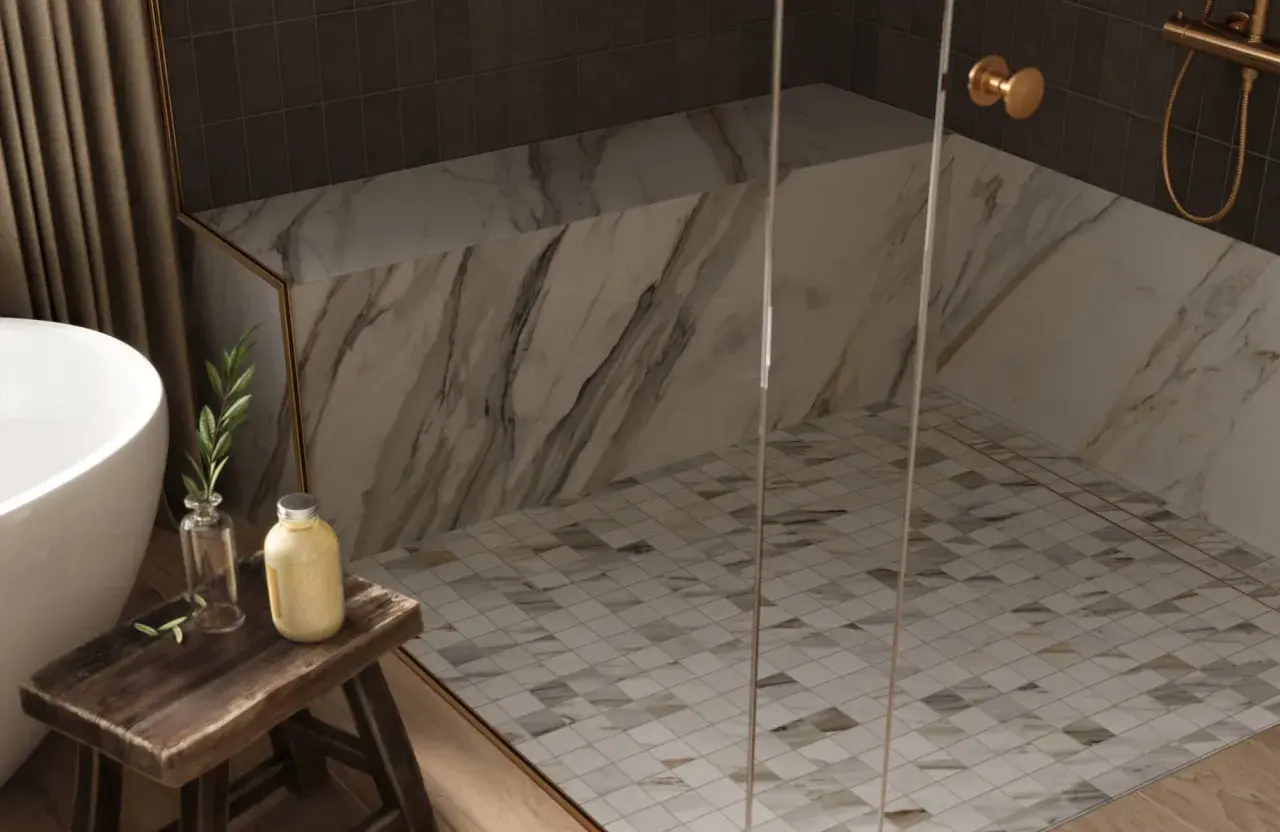
The best shower floors balance traction, drainage, cleaning, and style without making any one of those things impossible. In practice, that usually means choosing the right material, the right slope, and the right drain layout for the bathroom you actually have, not the one in the showroom. I break down the options below so you can compare what feels good underfoot, what is easiest to maintain, and what tends to cost more once labor enters the picture.
The decisions that matter most before you pick a shower surface
- Drainage comes first. A shower floor normally needs a slope of about 1/4 inch per foot so water does not pool.
- Tile gives the most design freedom. Porcelain, ceramic, and mosaic layouts can fit almost any style, but grout adds upkeep.
- Prefabricated pans are easier to live with. Acrylic and solid-surface bases clean quickly and reduce grout problems.
- Texture helps, but too much texture becomes annoying. The sweet spot is enough grip to feel stable without trapping soap residue.
- Curbless showers need better planning. They can look cleaner and improve access, but the subfloor, drain, and waterproofing have to work together.
What the floor has to do before style matters
When I look at a shower floor, I start with performance, not appearance. It has to move water to the drain, stay stable when wet, and survive constant cleaning without turning slick or stained. That is why the same finish that looks beautiful on a mood board can be frustrating in a real bathroom if the slope is wrong or the texture is too aggressive.
Drainage is the nonnegotiable part. In standard shower construction, the floor is usually pitched to the drain at roughly 1/4 inch per foot, and that detail matters more than most homeowners realize. If the slope is too shallow, water lingers; if it is too steep, the shower can feel awkward underfoot, especially in a smaller footprint. Once those basics are right, the rest of the decision becomes much easier.
Traction is the other big variable. Some surfaces feel safe because they have texture, while others rely on grout joints or a matte finish to create grip. I also think it helps to separate the feel of the floor from the maintenance burden, because the safest-feeling surface is not always the easiest one to keep clean. That tradeoff leads directly into the material choices.
The main material choices and how they compare
For most bathrooms, the choice comes down to five categories: porcelain or ceramic tile, pebble or mosaic tile, natural stone, acrylic or fiberglass pans, and solid-surface bases. Each one can work well if the rest of the installation supports it, but they behave very differently once water, soap, and daily use get involved.
| Material | Why people choose it | Main tradeoff | Typical US cost level |
|---|---|---|---|
| Porcelain or ceramic tile | Best all-around balance of style, durability, and availability | Grout needs regular cleaning, and small-format pieces work better on a sloped floor | About $15-$40 per sq. ft. installed for common projects |
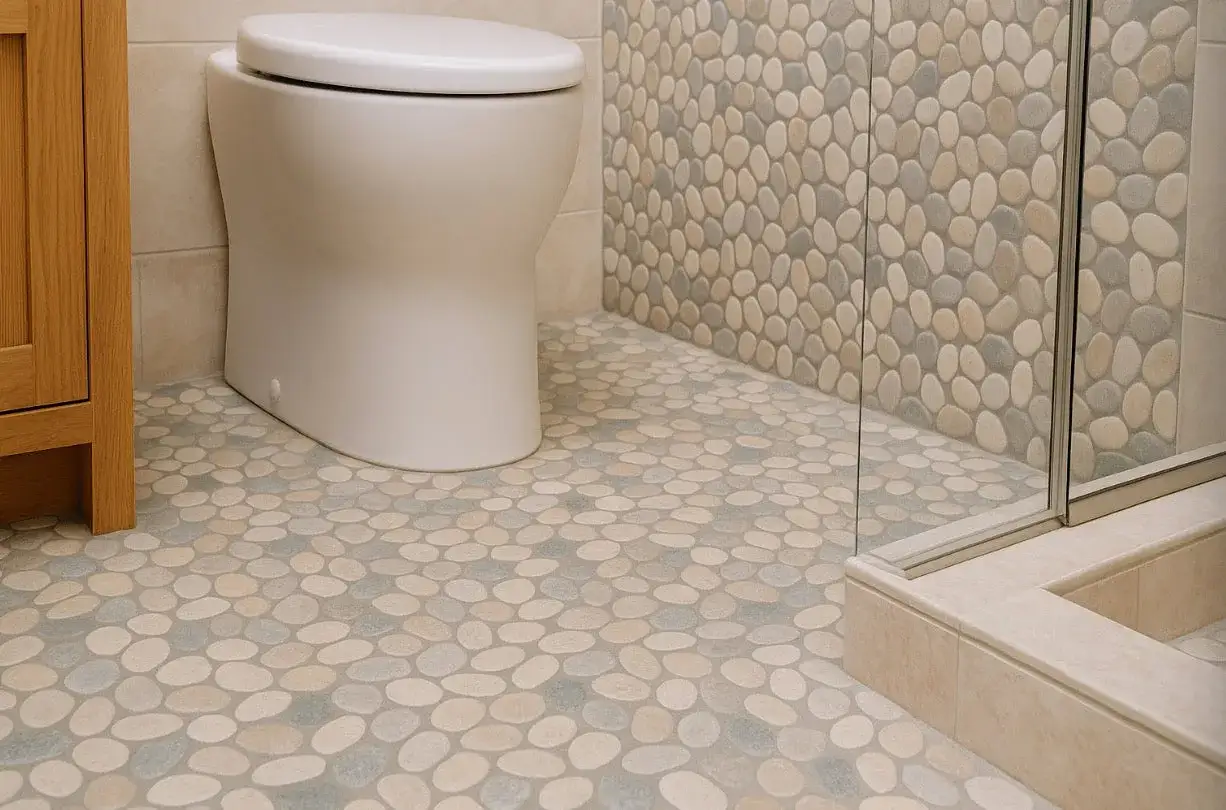
| Pebble or mosaic tile | Excellent traction and a spa-like feel | More grout, more cleaning, and slower installation | About $20-$50+ per sq. ft. installed |
| Natural stone | Luxurious look with strong visual depth | Needs sealing and careful product selection to avoid staining or etching | About $20-$50+ per sq. ft. installed, sometimes more |
| Acrylic or fiberglass pan | Budget-friendly, quick to install, easy to wipe down | Least custom in shape and usually the least refined in feel | About $800-$2,500 installed for many standard setups |
| Solid-surface base | Seamless look, low maintenance, and a more upscale feel than basic acrylic | Costs more than a basic prefab pan and offers fewer styling options than tile | About $1,500-$4,500 installed for many projects |
If I were choosing for a primary bath, I would usually rank porcelain tile first for flexibility, then a solid-surface base for simplicity, then stone only if the client truly wants the look and accepts the upkeep. Pebble and mosaic floors can be wonderful, but they are not a free upgrade, because every joint adds labor and cleaning time. The next question is not just what the floor is made of, but how the shower itself is built around it.
Curbed, low-threshold, and curbless layouts are not interchangeable
The same floor material can feel completely different depending on the shower layout. A traditional curbed pan is the most familiar and usually the easiest to fit into an existing bathroom. A low-threshold shower trims down the step-over height, which can make the room feel more open without forcing a full remodel. A curbless shower looks the cleanest, but it asks the most from the framing, waterproofing, and drain planning.
For a standard retrofit, a curbed base is often the most practical answer. It contains water well, is easier to fit into a typical floor assembly, and usually costs less than a custom walk-in build. Low-threshold options are a smart middle ground when you want a lighter visual profile without committing to full barrier-free construction. Curbless is where design and accessibility overlap, but it usually requires more labor, more planning, and sometimes a recessed subfloor to make the height transition work.
Drain choice matters just as much as the threshold. A center drain usually works with a floor pitched from all sides, which pairs naturally with smaller tile and mosaics. A linear drain allows the floor to slope in one direction, which is why it is popular in curbless and larger-format tile designs. I like linear drains for cleaner lines, but they are not automatically better, because they raise the stakes on layout and waterproofing. Once the layout is decided, the daily maintenance picture becomes much clearer.
Traction and maintenance usually pull in opposite directions
This is where many bathroom projects get oversold. A heavily textured surface can feel secure, but it may also hold soap film and take longer to clean. A sleek, polished floor may be easier to wipe down, but it can become unforgiving when wet. The goal is not the grippiest surface possible, it is the right amount of traction for the people using the shower every day.
I usually tell homeowners to look at three things together: surface texture, grout lines, and finish. The Tile Council of North America uses DCOF as one way to compare wet traction on hard-surface flooring, but I would not treat any single number as the whole story. In a shower, the size of the tile, the amount of grout, and the actual feel of the finish can matter just as much as a lab rating.
- Porcelain with a matte or textured finish is often the easiest tile option to live with.
- Small mosaic pieces add traction because of the extra grout lines, but they also add cleaning time.
- Epoxy grout resists staining better than cement grout, though it usually costs more to install.
- Natural stone should usually be honed or textured rather than polished if safety is a priority.
- Very deep texture can be frustrating in real life because it traps residue and makes squeegeeing harder.
My practical rule is simple: choose a surface that feels stable when wet, but do not create a floor you will dread cleaning. The right balance usually comes from moderate texture and a grout strategy that matches how much maintenance you are willing to do. That balance also affects the budget more than many people expect.
What drives cost in a US bathroom remodel
Material price gets attention, but labor and substrate work usually decide the final number. A basic prefabricated shower base can be surprisingly affordable, while a custom tile floor can climb quickly once waterproofing, drain work, and detail labor are added. In other words, the tile you see on top is only part of the bill.
For planning purposes, I usually think in these broad ranges. A straightforward prefab base replacement may land around $800-$2,500 installed. A solid-surface base often lands around $1,500-$4,500 installed. A custom tiled floor can start around $2,000-$6,500 and move higher if the pattern is complex, the drain needs to be relocated, or the shower is being converted to curbless. If the project involves new framing, subfloor repair, or a linear drain, the price can jump again.
There are four cost drivers I would never ignore: drain location, waterproofing system, tile complexity, and demolition. Moving a drain is expensive because it affects plumbing, floor structure, and slope. Waterproofing is not the place to shave money, because failures are far more costly than upgrades. Intricate mosaics or stone pieces take more labor to set, and old showers often hide rot or out-of-level framing that has to be corrected before any finish material goes down. Once you know the budget range, the last step is making sure the installation details support the finish you picked.
The details I would verify before installation
When a shower project goes wrong, it is usually because one small decision was left vague. I always want a clear answer to four questions before tile or pan material is installed. How is the waterproofing tied into the drain and walls? What slope is being built into the floor? Which tile size or surface texture matches that slope? And how will the threshold keep water inside the shower without creating a clumsy step?
- Confirm the slope early. Once the base is tiled, bad pitch is hard to fix.
- Match the drain to the floor plan. A center drain and a linear drain are built around different geometry.
- Ask how corners and seams are sealed. Most leaks start at transitions, not in the middle of the field.
- Check the tile layout with the installer. Large-format tile can look clean, but it may need more cuts than expected on a sloped surface.
- Do not skip a sample board for stone or grout. Color and texture often look different once the material is sealed and wet.
For me, the best results come from simple, disciplined choices: a floor material that suits the amount of maintenance you will actually do, a drain layout that fits the bathroom structure, and waterproofing that is planned before the finish is ordered. If you keep those three things aligned, the final shower floor usually feels better, lasts longer, and looks more intentional from day one.
