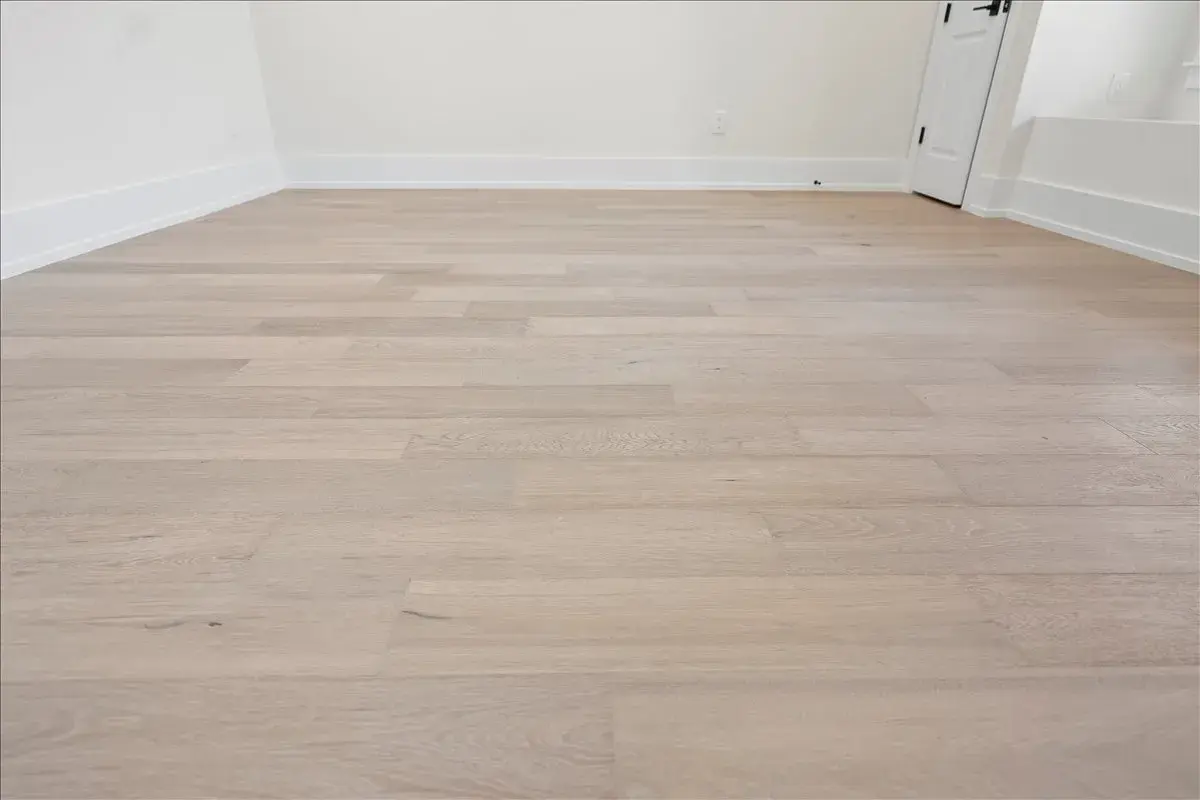
The opening layout matters more than the first cut
- Start from the straightest reference, not automatically the longest wall.
- Confirm whether you are installing a floating click-lock floor or a glue-down product before you lay out the room.
- Most rigid-core installations want a dry, clean, flat subfloor and a perimeter expansion gap.
- Dry-fit the first row so you do not end up with a tiny sliver on the far wall.
- Keep the first few joints straight and staggered; early errors get repeated across the whole floor.
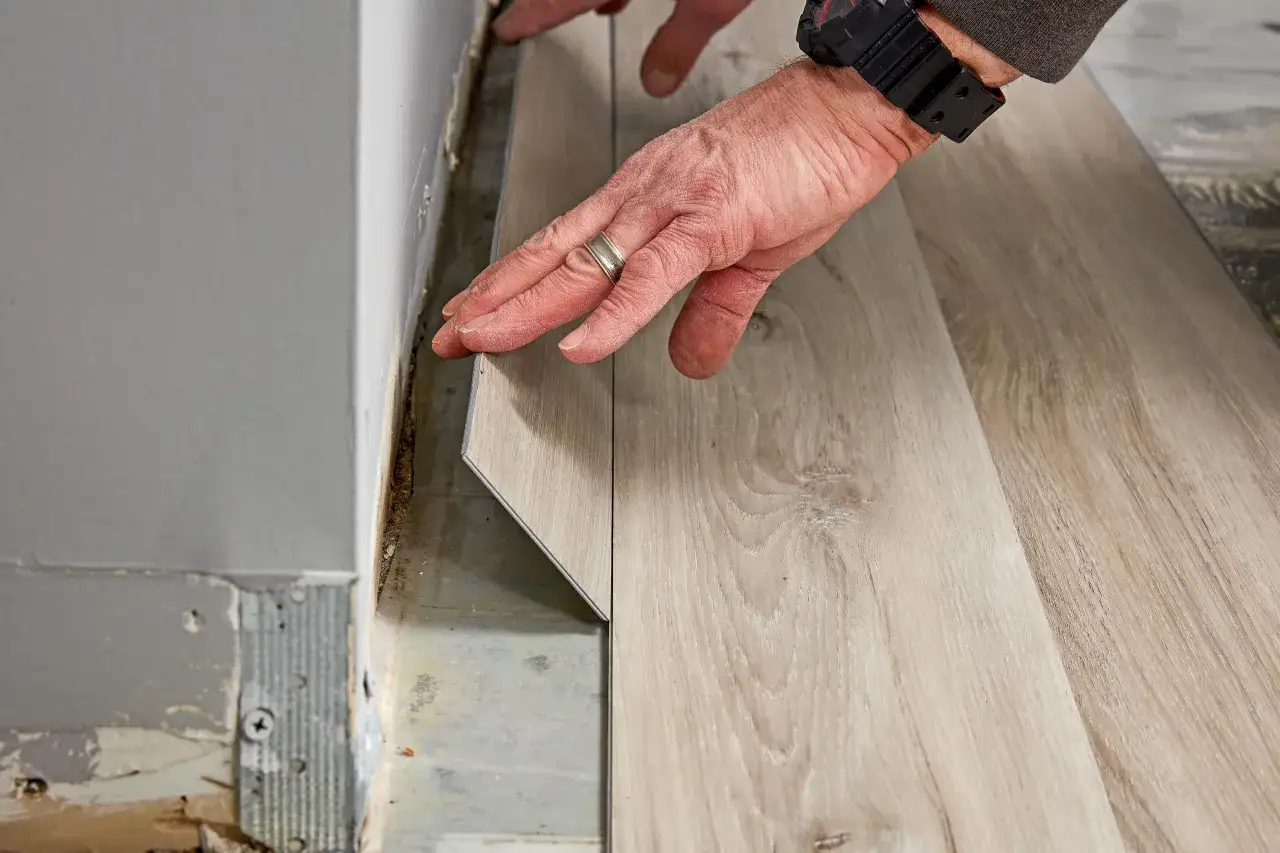
Choose the wall that gives you the straightest first run
I do not start with the longest wall by default. I start with the wall that gives me the straightest reference line and the cleanest sightline when I walk into the room. In a powder room, that is often the wall opposite the door; in a larger bath, it may be the wall that lines up with the vanity or the main light.
| Starting option | When I choose it | Why it works | What to watch |
|---|---|---|---|
| Longest straight wall | The room is fairly square | It gives the cleanest, most predictable reference | Do not assume it is straight without checking |
| Wall opposite the main entrance | The floor is highly visible from the doorway | It helps the finished room read as balanced | Make sure the line stays true to the room, not just the doorway |
| Straightest wall in the room | The room is slightly out of square | It keeps the error from compounding across every row | You may need to hide the correction in the final cut row |
If the room is obviously out of square, I would rather hide the correction in the cut row than let the error drift across every plank. Once that decision is made, the next step is confirming the floor system itself, because floating and glue-down installations do not begin the same way.
Confirm the installation type before you cut anything
I assume a click-lock floating floor unless the product says otherwise, because that is what most homeowners are installing today. Armstrong Flooring notes that most rigid-core floors do not need acclimation under normal conditions, but I still keep the boxes in the room long enough to make sure the temperature is stable and the cartons are not coming from a truck freezer or a hot garage.
| Installation type | How the start changes | What matters most |
|---|---|---|
| Floating click-lock | Set spacers first, then build a straight starter row | Expansion gap, clean click joints, and a flat base |
| Glue-down | Layout is tied to adhesive spread and open time | Trowel size, working pace, and precise positioning |
| Loose lay or modified loose lay | The first fit still matters, but the locking sequence is different | Manufacturer instructions and perimeter restraint |
Glue-down vinyl changes the start of the job: adhesive spread, open time, and row discipline matter more than spacer blocks. Once you know which system you are using, the subfloor prep becomes much easier to judge, and that is the part that protects the whole installation.
Prepare the room and subfloor like the floor depends on it
MSI's rigid-core guide is blunt about the fundamentals: flat subfloor, proper moisture testing, and expansion around fixed objects are not optional. I agree with that, because most flooring failures I see start underneath the visible surface, not on top of it.
- Remove baseboards or shoe molding if you want a cleaner finish.
- Vacuum, scrape, and fill obvious debris, high spots, or old adhesive ridges.
- Check flatness; a common target for rigid-core products is about 3/16 inch over 10 feet.
- Repair soft, squeaky, or loose areas before you start the first row.
- In a bathroom, remove the toilet and plan around the flange instead of trying to force tiny cuts around the base.
- Do not let cabinets, tubs, or other fixed items trap a floating floor unless the product instructions explicitly allow it.
If the substrate is right, the opening rows go faster and the click joints behave. With the base ready, the real work becomes layout, and that is where a chalk line and a dry fit save time later.
Mark the starting line and dry-fit the first row
This is the step that keeps the floor from drifting. I measure the room at both ends, snap a chalk line parallel to the straightest wall, and lay out a few planks dry before I lock anything in. A common rigid-core sequence starts in the left-hand corner with the trimmed side toward the wall, and that detail matters because it hides the cut edge under trim and keeps the exposed face clean.
- Measure the width of the room at both ends, not just in the middle.
- Calculate whether the last row would be too narrow to look right; if it would be under about 2 inches, adjust the first row now.
- Use spacers along the wall so you hold the correct expansion gap from the start.
- Dry-fit a few planks and make sure the pattern, color variation, and end joints look natural before you commit.
If the last row would end up too narrow, I adjust the first row now instead of fixing it later. Once the opening row is sized correctly, the next job is to lock the boards together without forcing the joints.
Keep the opening rows tight without forcing them
The first few planks should feel controlled, not stubborn. I lock the short end first, bring the long edge down at the recommended angle, and use a tapping block or pull bar only where the product allows it. The goal is a snug joint, not a hammered joint.
- Keep end joints staggered, usually at least 6 to 8 inches, and follow the carton if it calls for more.
- Do not line up short seams from row to row.
- Do not trap the floor tight against the wall, a jamb, or a fixed bath fixture.
- Do not force a plank that will not click cleanly; recut it instead.
- Cut around door casings so the floor can slide under the trim, which gives the room a more finished look.
When the first 6 to 10 feet are straight, the rest of the installation usually settles into a rhythm. That is why I spend extra time watching the first rows before I start moving quickly across the room.
The first 10 feet tell you whether the layout is working
My final check is simple: the line stays straight, the gaps stay consistent, the joints click fully, and the cuts on the far side still leave a comfortable finish width. If any of those things are off early, I stop and correct them before the problem spreads.
- Make sure the first row still matches the chalk line after three or four planks.
- Check that the perimeter gap is consistent at walls and fixed edges.
- Confirm that the stagger looks random, not repetitive.
- Look at the cut-off strip at the far wall before you commit to the whole room.
- Keep a few planks from different boxes in play so the color blend stays natural.
When I install a bathroom floor, I care more about the setup than the speed. A straight reference, a dry and flat base, and a disciplined first row are what make the rest of the floor feel easy instead of fragile.
