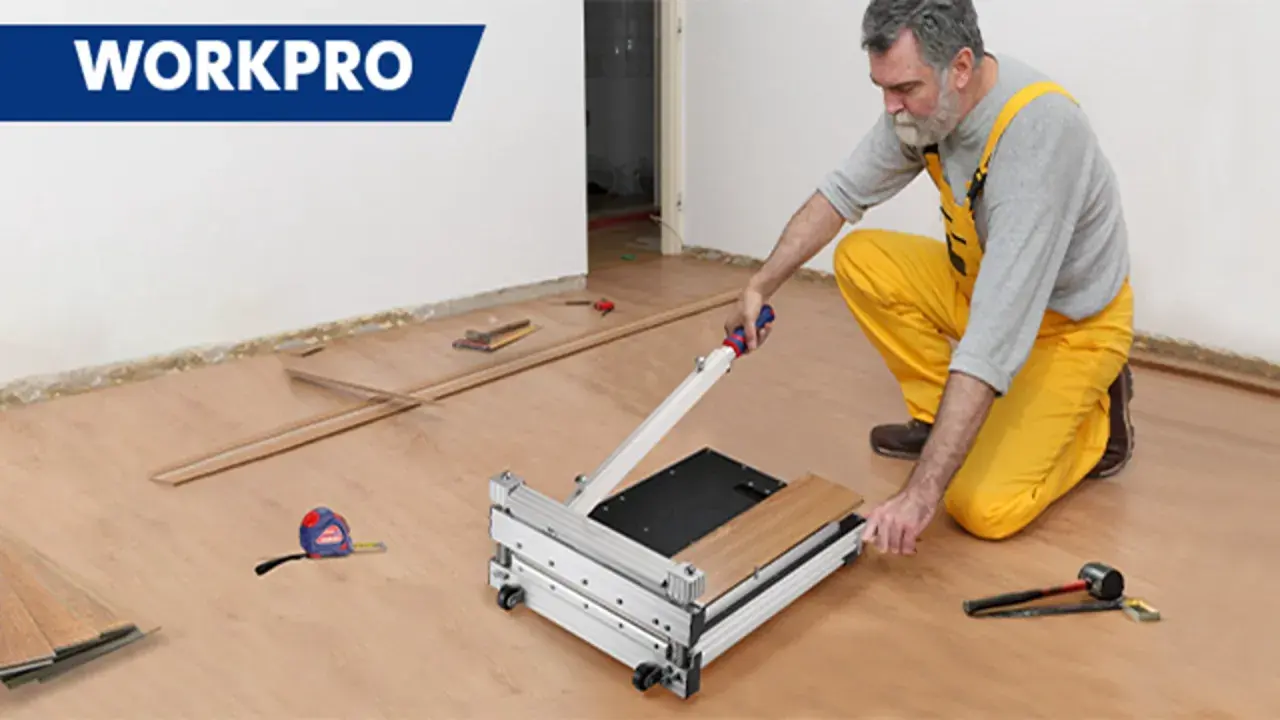
The cleanest cuts come from matching the tool to the material
- Laminate and engineered wood usually cut best with a fine-tooth saw blade or a flooring cutter for straight pieces.
- Luxury vinyl plank and sheet vinyl often only need a sharp utility knife and a straightedge for clean, low-dust cuts.
- Ceramic and porcelain tile are far less forgiving and usually call for a wet saw, with nippers for curves.
- Dry-fitting first saves more material than any special blade because it exposes bad measurements before you cut.
- Expansion gaps matter on floating floors, even when the cut itself is perfect.
- Templates beat guesswork around pipes, toilet openings, and door trim every single time.
Start with the flooring type, not the saw
The biggest mistake I see is people shopping for one “universal” cutting method. Flooring does not work that way. A layered laminate plank, a rigid vinyl board, a sheet of vinyl, and a porcelain tile all react differently to pressure, friction, and blade tooth design, so the right approach starts with the material itself.
Bathrooms make this even more obvious because the room is small and the edges are exposed. A bad cut near a tub or vanity stands out immediately, while the same mistake under a baseboard might disappear. I think of the job in terms of visibility and fragility: if the edge will be seen, cut it cleaner; if the material chips easily, choose the least aggressive method that still gets a straight line.That is also why the answer to the cutting question changes from room to room. A click-lock plank wants a different edge than a ceramic tile, and a floating floor needs room to move even when the cuts are precise. Once the material is clear, the next step is choosing the tool that gives you the cleanest edge with the least damage.
The tools that give the cleanest result
| Flooring type | Best tool | Best cut style | Why it works |
|---|---|---|---|
| Laminate | Miter saw, circular saw, or flooring cutter | Straight cuts and end cuts | Fine teeth reduce chipping on the decorative surface |
| Engineered wood | Miter saw, circular saw, or table saw | Crosscuts and rip cuts | It behaves more like wood, but the veneer still needs a clean blade |
| Luxury vinyl plank | Utility knife, flooring cutter, or jigsaw | Straight cuts and notches | Most straight cuts can be scored; tougher pieces need a saw |
| Sheet vinyl | Utility knife and straightedge | Trimming to walls, corners, and fixtures | Sharp scoring gives a clean edge without tearing the surface |
| Ceramic tile | Wet saw or snap cutter | Straight cuts and small adjustments | A wet cut keeps the tile from overheating and chipping |
| Porcelain tile | Wet saw with a diamond blade | Straight cuts, curves, and detailed trimming | Porcelain is dense and brittle, so it needs a controlled cut |
| Solid hardwood or bamboo | Miter saw, circular saw, or table saw | Crosscuts and rip cuts | A cleaner blade leaves fewer splinters and less tear-out |
I treat a flooring cutter as a speed tool for long, straight plank work, not a miracle device for every shape. For a single bathroom, renting a wet saw for tile or using a sharp knife for vinyl is often smarter than forcing one tool to handle everything. Once you know the tool, measuring becomes the real quality control step.
Measure and mark before you cut once
The best cut is usually the one that was measured twice and dry-fit once. I mark the visible face carefully, then I check the waste side so I do not accidentally remove the part that needs to stay. On floating floors, I also leave the manufacturer’s expansion gap, which is often around 1/4 inch, though the product instructions always win.
For clean layout work, I use a simple process:
- Measure the opening from the finished edge, not from a rough subfloor reference.
- Dry-fit the piece before cutting if the shape is irregular or the room is out of square.
- Mark the cut line with a pencil, then reinforce it with painter’s tape on slick or glossy surfaces.
- Use a cardboard or kraft-paper template for pipes, columns, or tight bathroom fixtures.
- Support both sides of the line so the material does not flex and break at the last second.
Templates are especially useful around toilet flanges and supply lines because the shape is more important than the exact measurement. A good template lets you transfer the cut accurately without guessing at angles. Once that habit is in place, the material-specific cuts become much easier to manage.
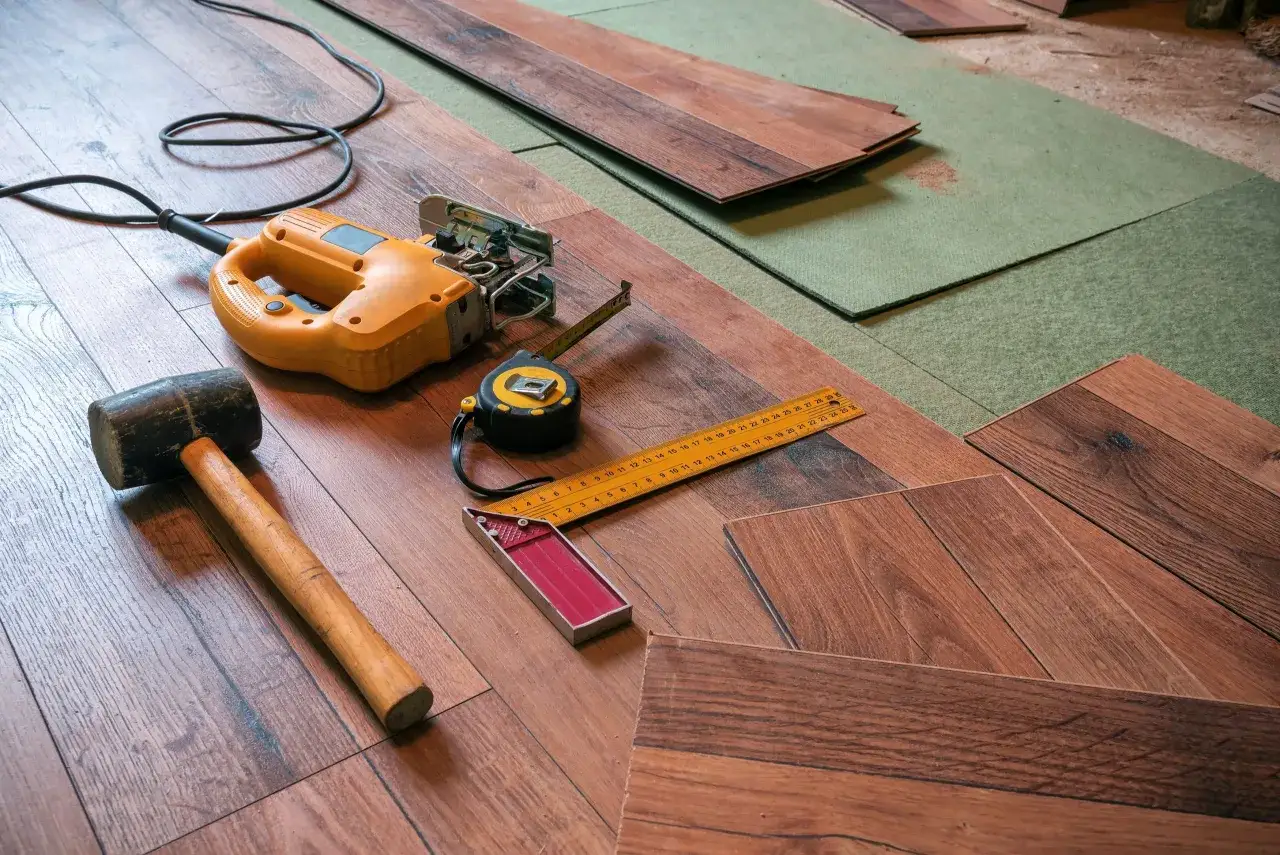
The right method for each flooring material
When I choose a cutting method, I separate flooring into three groups: wood-based planks, vinyl-based products, and brittle surfaces like tile. Each group has its own tolerance for pressure and blade type, and that is where most DIY errors start.
Laminate and engineered wood
For laminate, I prefer a fine-tooth saw blade or a flooring cutter for long straight pieces. The goal is a clean edge on the decorative layer, not speed for its own sake. A rough blade will chip the face and make the plank look damaged before it is even installed.
Engineered wood behaves similarly, but the layered core and real wood veneer give you a little more flexibility with saws. A miter saw works well for crosscuts, while a table saw is better when you need to rip boards to width. I like to test the first cut on a scrap piece whenever possible because it tells me whether the blade is too aggressive for the finish.
Luxury vinyl plank and sheet vinyl
Most luxury vinyl plank can be scored with a utility knife and snapped cleanly on straight cuts. That method is quiet, fast, and low-dust, which matters in a bathroom where you may be working near finished walls or already installed fixtures. For tougher rigid-core products, a flooring cutter or a fine-tooth saw may be better than repeated scoring.
Sheet vinyl is different. I trim it in place with a very sharp knife, then make relief cuts and V-cuts where it wraps around corners or protrusions. The trick is to remove small amounts at a time. If you cut too far too soon, you cannot put the material back.
Ceramic and porcelain tile
Ceramic tile can often be handled with a snap cutter for straight lines, but porcelain usually wants a wet saw with a diamond blade. Porcelain is harder and denser, so a rushed cut tends to chip the glaze or crack the tile outright. I feed the tile slowly and let the blade do the work instead of forcing the material through the saw.
For curves around pipes or unusual bathroom shapes, tile nippers or an angle grinder with the proper blade are more useful than trying to make one dramatic cut. Small bites are safer than one aggressive pass. If the edge will be visible, I leave enough time to smooth it before installation.
Read Also: Tile vs. Hardwood Flooring - Which Is Cheaper?
Solid hardwood and bamboo
Solid hardwood usually cuts cleanest with a miter saw, circular saw, or table saw fitted with a blade meant for wood flooring. Bamboo is harder than many people expect, so it benefits from the same careful, sharp-blade approach. The main risk here is splintering, especially on the exit side of the cut.
These cuts reward patience. I support the board fully, keep the cut line clear, and avoid rushing through the final inches. On exposed thresholds, a neat hardwood cut looks finished; a torn edge looks like a repair. That difference is why the next step matters so much when the room has odd shapes and tight clearances.
Make room for door jambs, pipes, and thresholds
Most of the frustration in a bathroom remodel comes from the odd shapes, not the open field. Door casings, pipe penetrations, and transition points force you to cut around the room instead of simply laying rows across it. I usually handle these with templates, undercuts, and very conservative trimming.
- Door jambs are easiest to handle by undercutting the casing so the flooring slides underneath instead of stopping against it.
- Pipes and supply lines are cleaner when traced onto cardboard first, then transferred to the board or tile before the final cut.
- Toilet flanges call for slow, patient fitting because the opening needs to be accurate without being oversized.
- Thresholds should leave room for the correct transition strip or reducer so the edge does not look improvised.
If I am cutting around a toilet flange, I would rather sneak up on the opening in two passes than gamble on one perfect cut. That approach takes a little longer, but it usually saves the piece. From there, the biggest losses come from avoidable mistakes, not from the complexity of the room.
The mistakes that waste good material fast
- Using the wrong blade turns a clean material into a chipped one very quickly, especially on laminate and tile.
- Forcing the cut cracks brittle materials and leaves rough edges on vinyl or wood.
- Skipping the dry fit is how you discover a measurement error after the plank is already shortened.
- Ignoring the expansion gap can cause floating floors to buckle or push against trim later.
- Not supporting the offcut often causes the last few inches to break off before the cut is finished.
- Cutting from the wrong side can leave the visible face splintered or scarred.
The reality is simple: an edge hidden under trim can tolerate more than an exposed edge next to a bathtub, vanity, or transition. I spend more time on visible cuts because they carry most of the room’s visual weight. The room will forgive a hidden shortcut; it will not forgive a bad threshold.
The smartest last step before the room closes up
Before I commit to a full installation, I plan the cutting sequence. That means deciding which wall gets the first row, where the most visible cuts will land, and which pieces can be saved for the least visible edges. It also means keeping offcuts organized, because the best way to match a tricky shape is often to reuse a piece that already fits the room’s proportions.
- Start with the straightest runs so the room stays square as long as possible.
- Save the most visible threshold cuts until you are confident the layout is locked in.
- Group similar cuts together so you are not switching tools every few minutes.
- Re-measure anything that will sit beside a bathtub, shower, toilet, or doorway.
When the layout is thoughtful, the cuts feel easier even if the room is complicated. That is the part I would keep in mind most: the cleanest flooring work usually comes from slowing down before the blade touches the material, not from trying to fix a bad cut afterward.
