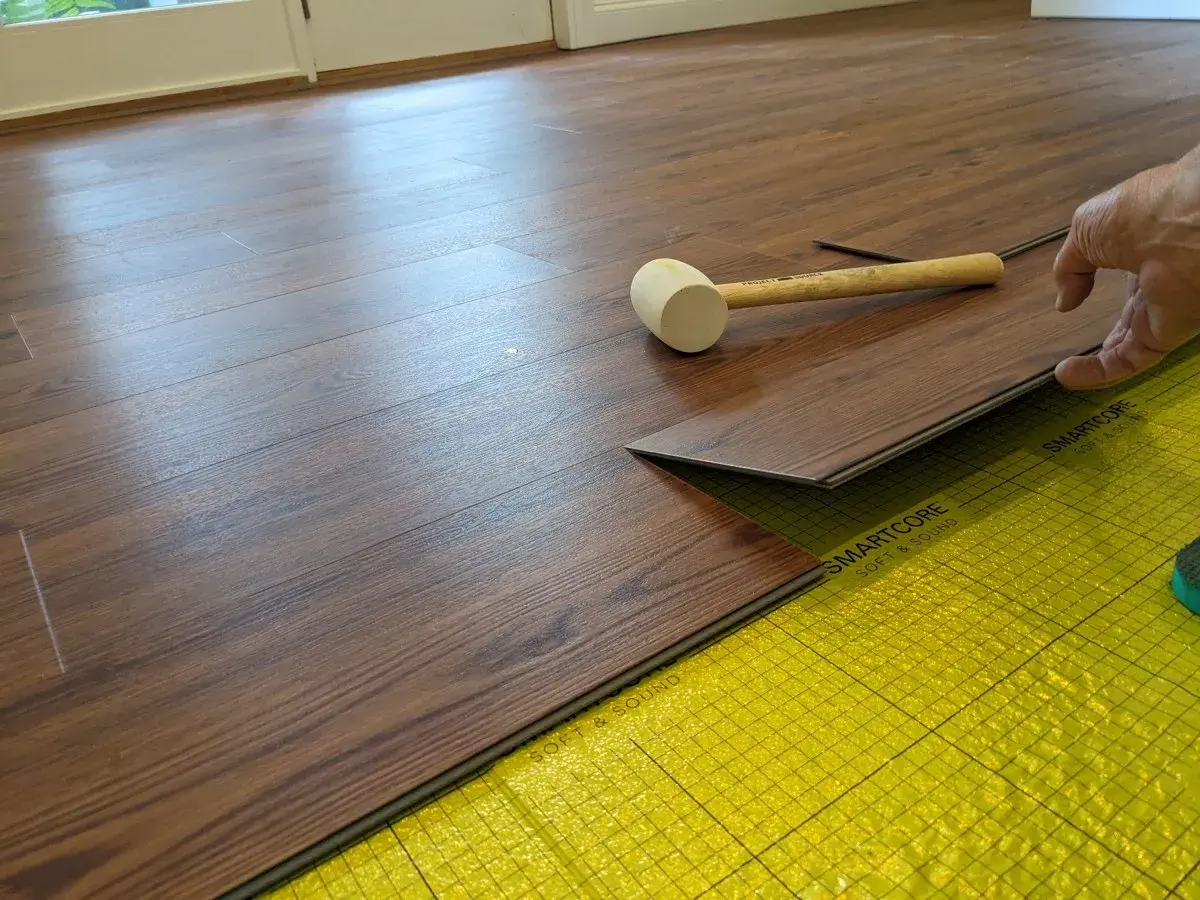
Prep, movement space, and moisture control decide the outcome
- Flat, dry subfloors matter more than speed or force.
- Floating and glue-down systems solve different room problems.
- Many floating floors need about 1/4 inch of perimeter gap, but the product sheet always wins.
- A 75-pound roller is a real requirement on many glue-down jobs.
- Bathrooms need extra attention around toilets, tubs, transitions, and fixed cabinetry.
Pick the installation method that fits the room
Plank-format LVT and LVP live in the same installation family, so I focus on the room and the product sheet instead of the label. The biggest decision is whether the floor should float, bond to the substrate, or handle a simpler temporary-style install. I usually start there because the wrong method creates more problems than a slightly imperfect plank color match ever will.
| Method | Best for | Upside | Tradeoff |
|---|---|---|---|
| Click-lock floating | Most DIY residential rooms, especially when speed and cleanup matter | Fast install, less mess, easier plank replacement later | Needs a flatter subfloor and proper movement space around the perimeter |
| Glue-down | Busy rooms, awkward layouts, and projects where a lower-profile finish matters | Stays planted, feels solid underfoot, handles complex cut patterns well | Prep, adhesive timing, and rolling pressure matter a lot more |
| Loose lay or peel-and-stick | Small, simple spaces when the product is explicitly approved for it | Quickest path to coverage | Not my first choice for a full bath floor or a room with real traffic |
If I had to narrow it down, I would say click-lock is usually the easiest route for a normal home, while glue-down earns its keep when the room is fussy or the substrate is demanding. Once the method is chosen, the substrate has to earn the right to hold it.
Gather the tools that keep the floor accurate
You do not need an exotic kit, but you do need the right basics. On a typical vinyl plank job I want a tape measure, chalk line, utility knife with fresh blades, straightedge, spacers, pull bar, and a saw that can make controlled cuts without shredding the wear layer. If the floor is glue-down, I also want the correct adhesive trowel and a 75-pound roller. If the subfloor is concrete, I want a moisture test instead of a guess.
- Fresh blades for scoring and trimming.
- Spacers to hold the expansion gap open.
- Pull bar for the last row and tight spots.
- Moisture test kit or meter on concrete slabs.
- Vacuum and microfiber mop for dust removal.
- Approved trowel and roller for glue-down work.
With the right tools on hand, the subfloor prep becomes the real gatekeeper.
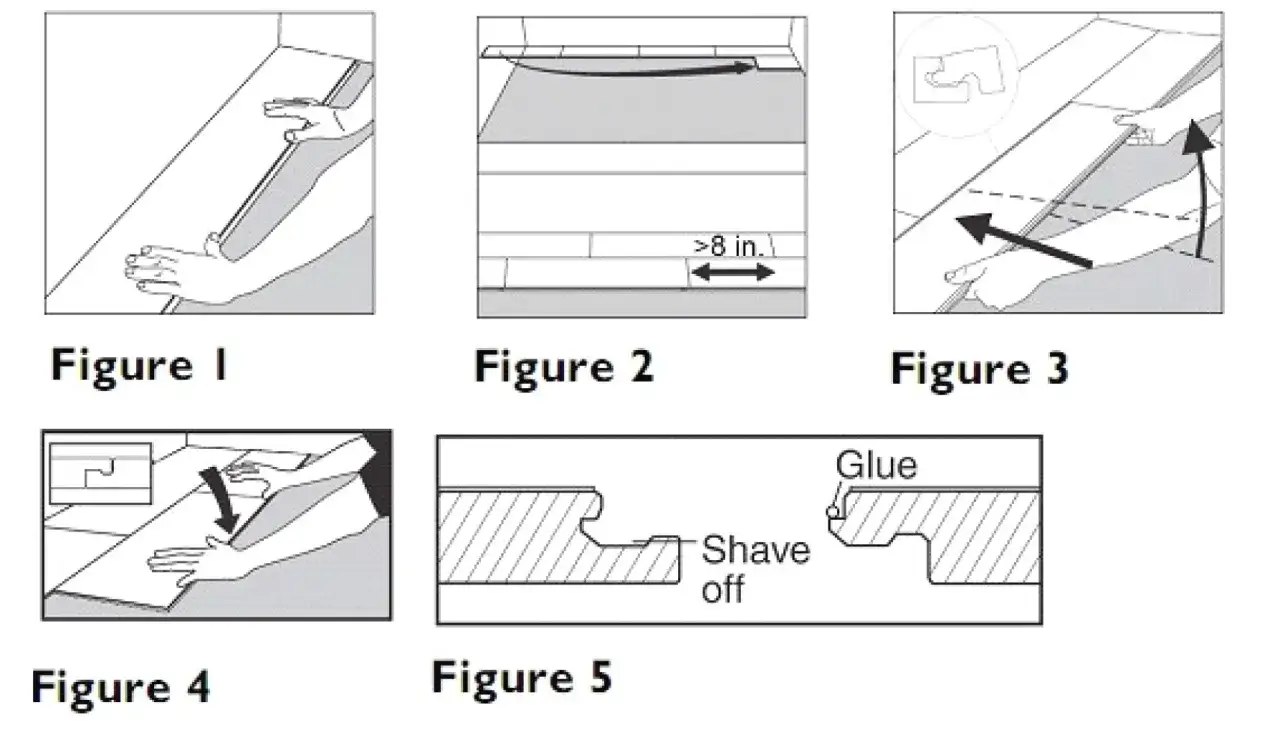
Prepare the subfloor before you worry about plank direction
I treat prep as the real installation. If the floor below the vinyl is wrong, the finish above it will never look or feel right for long. The target is simple: clean, dry, flat, and structurally sound. In practical terms, that means removing debris, fixing damaged spots, and refusing to guess about moisture or flatness.
- Remove staples, old adhesive ridges, nails, and loose material.
- Check flatness with a long straightedge. A common benchmark is about 1/8 inch over 6 feet, but I always use the product’s tighter requirement if it has one.
- Test concrete for moisture instead of relying on appearance alone.
- Fill low areas and sand high spots so the planks are not bridging humps or dipping into valleys.
- Use underlayment only when the product allows it. An extra cushion layer can damage the locking system if it is not approved.
- Keep the room climate-controlled during install, especially in a house that sees big temperature swings.
I also inspect what is already on the floor. Some existing coverings are acceptable under certain products, but I do not assume carpet, cushioned vinyl, or a springy surface belongs under a new floor just because it is still attached. With the floor flat and clean, the actual layout becomes much easier.
Lay the planks in a sequence that keeps the floor honest
Once the substrate is right, the rest is controlled repetition. I usually start by deciding the run direction, then I dry-fit the first rows before committing to a full line. That saves me from ending up with a tiny sliver at the far wall, which is the kind of mistake that makes a decent room look improvised.
- Inspect and mix the cartons. Blend planks from multiple boxes so the color and grain variation stay balanced.
- Choose the direction deliberately. In most rooms I run the planks along the longest dimension or the main sight line, unless that creates awkward cuts at a doorway.
- Snap a clean control line. If the wall is out of square, I trust the line instead of the drywall.
- Undercut casings and trim. The floor should slide under the trim, not stop short of it.
- Set the first row carefully. The first course governs everything, so I keep it straight even if the wall is not.
- Keep the expansion gap open. For many floating systems, that means roughly 1/4 inch around the perimeter and fixed objects.
- Stagger end joints naturally. I avoid repeat patterns and keep short joints from clustering together.
- Use the right pressure, not extra force. If a plank needs to be hammered into submission, something upstream is wrong.
- Finish the cut edges cleanly. Around door jambs, vents, pipes, and bathroom fixtures, I measure twice and cut once.
- Roll or lock the floor correctly. Glue-down floors need firm, even pressure; floating floors need joints that click fully without being pinned by trim.
Avoid the failures that show up after the room is finished
The biggest problems are rarely dramatic. They are usually small installation shortcuts that add up.
- Skipping flatness repair. High spots telegraph through vinyl and low spots create flex that can break joints.
- Leaving no expansion space. Floating floors need room to move, especially in rooms with sun exposure or temperature swings.
- Using the wrong underlayment. Extra cushion can feel nice for a day and damage the locking system for years.
- Mixing fixed cabinetry with a floating floor. Heavy built-ins can trap movement unless the manufacturer specifically allows it.
- Rushing the room back into service. Adhesive and caulk need the cure time they need, not the time the schedule wants.
- Ignoring moisture at the edges. A bathroom floor can look perfect and still fail at the perimeter if water has a path under it.
When I see a failed vinyl floor, one of those mistakes is usually sitting underneath the damage. Bathrooms add one more layer of risk, because moisture changes the stakes more than most people expect.
Give bathrooms extra attention around water, fixtures, and transitions
Bathrooms are a good fit for many luxury vinyl planks, but only when the product is approved for the space and the details are handled carefully. I do not treat water-resistant marketing the same as water management: the floor can handle splashes, but the edges, seams, and penetrations still need sensible planning. A waterproof core helps, but a floor that lives under standing water is still outside the comfort zone of most products.
- Check whether the product is approved for bathroom use. The warranty language matters, not just the sales copy.
- Plan the toilet cutout carefully. Leave the required gap around the flange and seal only where the instructions call for it.
- Watch fixed cabinetry. If a vanity or built-in will sit on the floor, confirm whether it should go in before or after the planks.
- Use transitions at adjacent surfaces. Tile-to-vinyl transitions need to move cleanly without trapping the flooring.
- Do not improvise a shower-pan solution. A bathroom floor and a wet shower assembly are not the same project.
- Clean spills quickly. Vinyl tolerates water much better than wood, but standing water is still a bad habit.
For maintenance, I keep it simple: sweep or vacuum, use a damp mop with a pH-neutral cleaner, and skip wax, polish, or harsh shine products. At tubs and shower lines, I follow the sealing instructions exactly and never trap a floating floor with an all-around caulk ring unless the product calls for it. That leaves the last checks, which are simple but worth doing before the room gets furniture and daily traffic.
What I check before I call the job done
Before I sign off on an install, I walk the room with three questions in mind: is the floor flat enough to stay tight, is the perimeter free to move, and are the transitions doing their job without forcing the planks?
- All joints are fully locked or fully rolled, depending on the system.
- The edge gaps exist everywhere they should and are hidden by trim, not crushed under it.
- No plank rocks, clicks, or telegraphs a ridge underfoot.
- The bathroom cutouts and transitions are sealed only where the product allows.
- The room will stay climate-controlled during the first days after install.
If those checks pass, the floor is usually in good shape for the long haul. That is the part I care about most: not just getting vinyl planks on the floor, but ending up with a surface that stays quiet, tight, and easy to live with.
