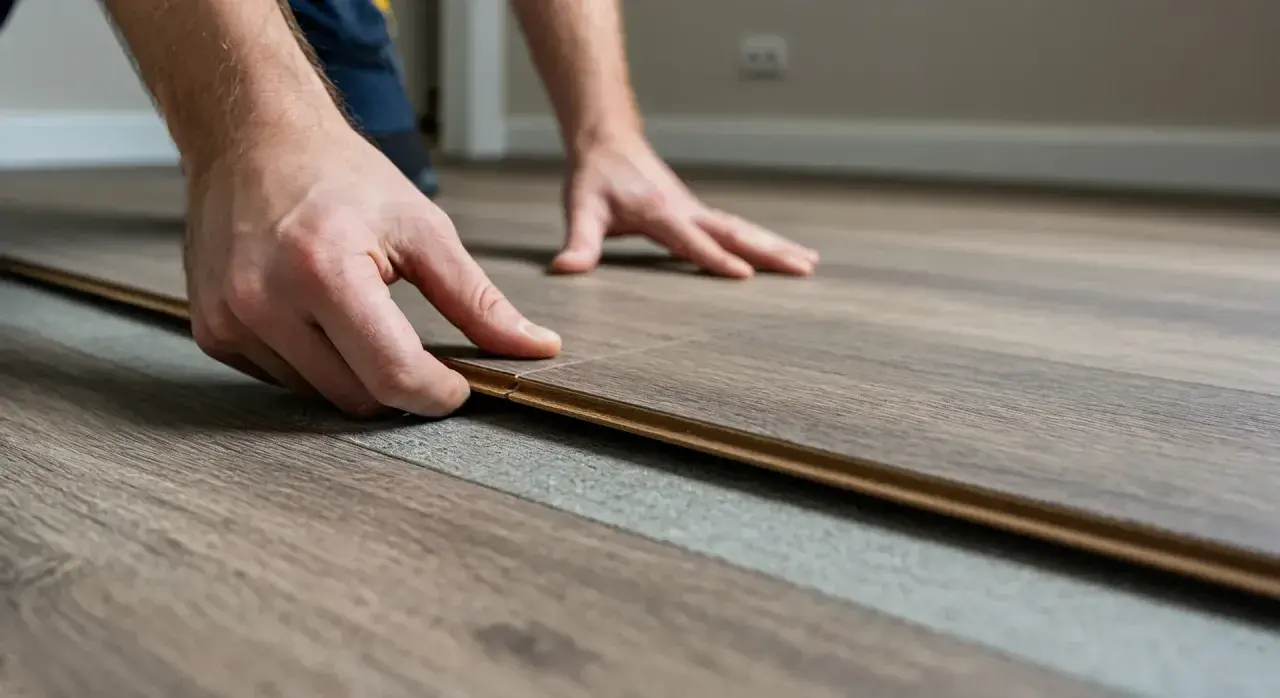
This guide explains how to cut linoleum flooring for a clean installation, from long wall runs to the awkward shapes around toilets, door casings, and cabinets. I focus on the parts that actually change the result: choosing the right cutting method, keeping seams tight, and avoiding the small errors that show up only after the adhesive sets. In a bathroom, those details matter even more because the floor has to look precise in a tight space.
The essential cuts that make a linoleum install look professional
- Match the method to the product. Sheet linoleum, tile, and click panels do not get cut the same way.
- Use sharp, simple tools. A utility knife, straightedge, and template material solve most jobs.
- Dry-fit before committing. Once adhesive is down, small errors become expensive.
- Templates beat guesswork. Cardboard or paper patterns are the safest way to handle pipes, flanges, and casings.
- Seams need clean, steady edges. The cleaner the cut, the less the seam telegraphs later.
Start with the format, not the blade
The first mistake I see is treating every linoleum product as if it were the same. Sheet goods, tiles, and click-style panels each ask for a slightly different cut, and that difference matters more than most DIY guides admit. Forbo's linoleum guidance and Armstrong's sheet-flooring advice both point in the same direction: follow the product system, prep the subfloor properly, and choose the cut method that fits the material instead of forcing one tool to do everything.
| Format | Best way to cut | Where it works best | Main caution |
|---|---|---|---|
| Sheet linoleum | Score with a straightedge, then deepen the cut with a sharp utility or hook blade. | Large bathroom fields, wall-to-wall installs, and long perimeter trims. | Do not rush the first pass; clean scoring matters more than brute force. |
| Linoleum tile | Mark clearly and cut individual pieces one at a time. | Smaller rooms and border pieces around a vanity or threshold. | Keep the layout aligned so the room does not look patched together. |
| Click panels | Cut from the finished face with the maker's recommended knife or saw approach, then leave the required perimeter gap. | Floating installations where speed and simpler trim work matter. | Forbo's click instructions call for a 10 mm gap around walls and fixed objects. |
Once the format is clear, the rest of the process becomes more predictable. I am much less worried about the blade at that point and much more focused on getting the line right the first time.
Use the right tools for clean, repeatable cuts
Linoleum does not reward improvisation. I prefer a short list of tools that stay sharp, stay flat, and make the line easy to trust. A dull blade is the fastest route to fuzzy edges, and fuzzy edges are exactly what make a floor look amateur.
| Tool | Best use | Why it matters |
|---|---|---|
| Utility knife with fresh blades | General trimming, scoring, and final cuts | Gives the cleanest control on sheet linoleum when the blade is sharp |
| Hook blade | Pull cuts and controlled trimming along walls | Helps the blade ride the material without catching the top edge |
| Metal straightedge | Long straight cuts and seam lines | Keeps the knife from wandering, especially on a large bathroom floor |
| Cardboard or kraft paper | Templates for odd shapes | Lets you refine the fit before you touch the flooring |
| Undercut saw or oscillating tool | Door casings and trim that need to slide over the floor | Creates a cleaner finish than tracing around every casing by hand |
| Seam cutter or recess scriber | Joint work on sheet seams | Helps create a tighter, more professional seam than freehand trimming |
My rule is simple: if the line matters, the blade needs to be fresh. I also keep the workpiece fully supported, because a sheet that flexes while you cut will often tear at the edge instead of slicing cleanly. That is especially true when the room is tight and you are trimming next to a vanity or tub.
Cut the long runs first, then fine-tune the edges
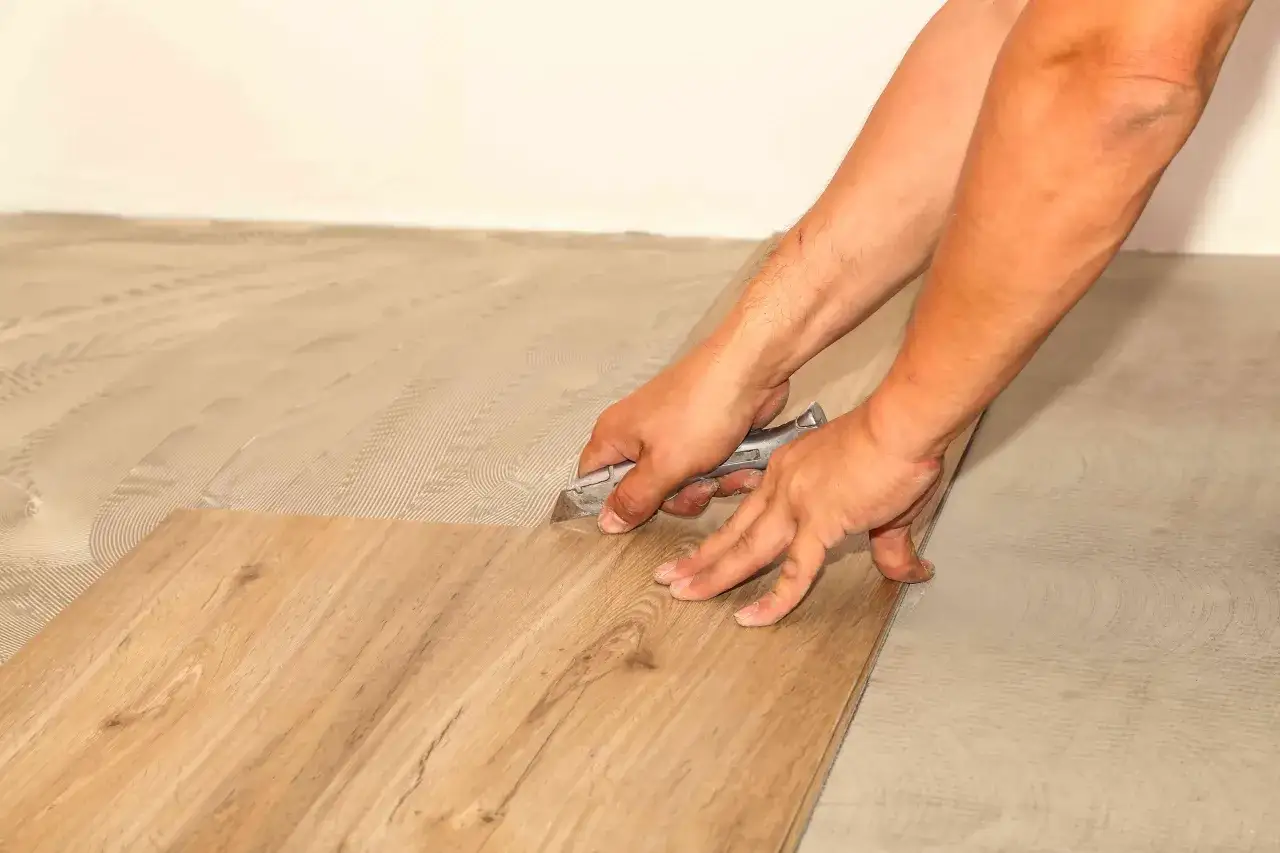
The cleanest installs usually start with the easiest cuts. I like to handle the long, straight sections first because they establish the room's reference lines and tell me whether the sheet is laying square before I deal with the difficult parts.
- Let the material relax flat in the room so it stops fighting the floor.
- Dry-fit the sheet or tile layout and mark your reference lines from the most reliable wall, not the most convenient one.
- Place the straightedge exactly where the cut belongs and score lightly first.
- Go back with a second controlled pass if the material is not through yet, instead of forcing one deep, sloppy cut.
- Trim the edge slightly proud on the first pass, then shave back to the final fit.
- Test the piece before adhesive goes down, because that is the moment when a small correction is still easy.
I avoid trying to finish everything in one motion. A careful two-pass cut almost always looks better than a single aggressive pass, and on sheet linoleum that difference shows immediately at the wall.
After the straight runs are in shape, the room starts to reveal its real problem areas: the corners, doorways, and fixture cutouts that make bathroom flooring either look custom or look rushed.Template the awkward shapes instead of guessing
Bathroom jobs are full of awkward geometry. The toilet flange, the tub apron, the vanity toe-kick, supply lines, and door jambs all ask for different treatment, and none of them reward guesswork. I use templates because they let me solve the shape before I commit the flooring.
- For pipes, trace the pipe location onto cardboard first, then transfer that opening to the linoleum.
- For a toilet flange, make a full-radius template so the cut can be adjusted before the floor is trimmed.
- For door casings, undercut the trim when possible so the flooring slides underneath instead of stopping short of it.
- For cabinets and toe-kicks, scribe the outline, then cut slightly outside the line and shave back to the fit.
- For tight corners, make a relief cut only after the main outline is confirmed, so you do not overcut into the visible field.
That last point is where many DIY installs go wrong. Once you cut too far into the visible surface, there is no elegant way to hide it. A cardboard template looks slower on paper, but in practice it saves time, material, and a lot of second-guessing.
Door casings deserve special attention because a clean undercut changes the whole look of the room. Instead of wrapping linoleum around a hard edge, you let the floor disappear under the trim, and the result feels intentional rather than patched together.
Trim seams and edges so the floor closes up cleanly
When two sheets meet, the seam is the part everyone notices even if they cannot explain why. I want both edges to meet cleanly, with no visible overlap and no pressure forcing the joint to bulge later. That is why precise seam trimming matters so much in sheet linoleum.
Forbo's net-fit guidance points installers toward a recess scriber, hook blade, straightedge, and seam cutter for exactly this reason: the edges need to be true before the seam is finished. In practical terms, that means I trim the factory edge only when I need to remove stress, then I bring the second piece to the first one with a controlled, deliberate cut.
- Keep the first edge straight and use it as your reference for the second piece.
- Do not force the sheets together if the seam wants to ride up or twist.
- Cut enough to close the joint, but not so much that the seam opens later.
- If the system uses welding, follow the product instructions for timing and equipment rather than improvising.
- After fitting, roll or press the seam according to the installation system so it stays flat.
Some residential installs stop at a tight seam and adhesive finish, while some commercial linoleum systems add heat welding for extra durability. Either way, the principle is the same: the cut has to be accurate before the finish can do its job.
Once the seam work is sound, the remaining risk is usually not technique but bad habits. That is where most disappointing results are born, and it is easier to avoid them than to repair them.
Avoid the mistakes that most often show up on bathroom jobs
The biggest errors are usually simple. They come from rushing, working with a dull blade, or measuring from a wall that was never truly straight in the first place. On a bathroom floor, those mistakes are visible from the doorway.
- Do not measure only once from a crooked wall and trust the number blindly.
- Do not cut the final edge before you know the sheet sits flat everywhere else.
- Do not use a worn blade and expect a crisp seam.
- Do not trim too tightly around a toilet flange or pipe if the template is still uncertain.
- Do not ignore the direction of the pattern or grain, because mismatch reads as a mistake even when the cut is accurate.
- Do not leave ragged edges at the threshold, where the eye catches every imperfection.
In my experience, most of these are preventable with one habit: pause before the final cut and look at the room as a whole. If the edge is technically correct but visually awkward, the job still does not feel finished.
That is especially true in bathrooms, where the floor is small enough that every wall line, casing, and fixture cut sits close to eye level. Precision matters less as a display of skill and more as a way to make the whole room feel calm.
The finish line in a bathroom is consistency, not bravado
When linoleum looks professionally installed, the reason is usually boring: the cuts are consistent. The seams line up, the perimeter sits cleanly under trim, and the awkward shapes were solved with templates instead of guesswork. That is the difference between a floor that merely covers the room and one that feels built into it.
If I had to reduce the whole process to one rule, it would be this: measure carefully, cut lightly, and only trim aggressively when the fit has already been proven. That approach wastes less material, protects the finish, and gives you more control in the parts of the room that people actually notice.
For a bathroom remodel, that is usually enough. A patient cut, a sharp blade, and a good template do more for the finished look than any fancy shortcut ever will.
