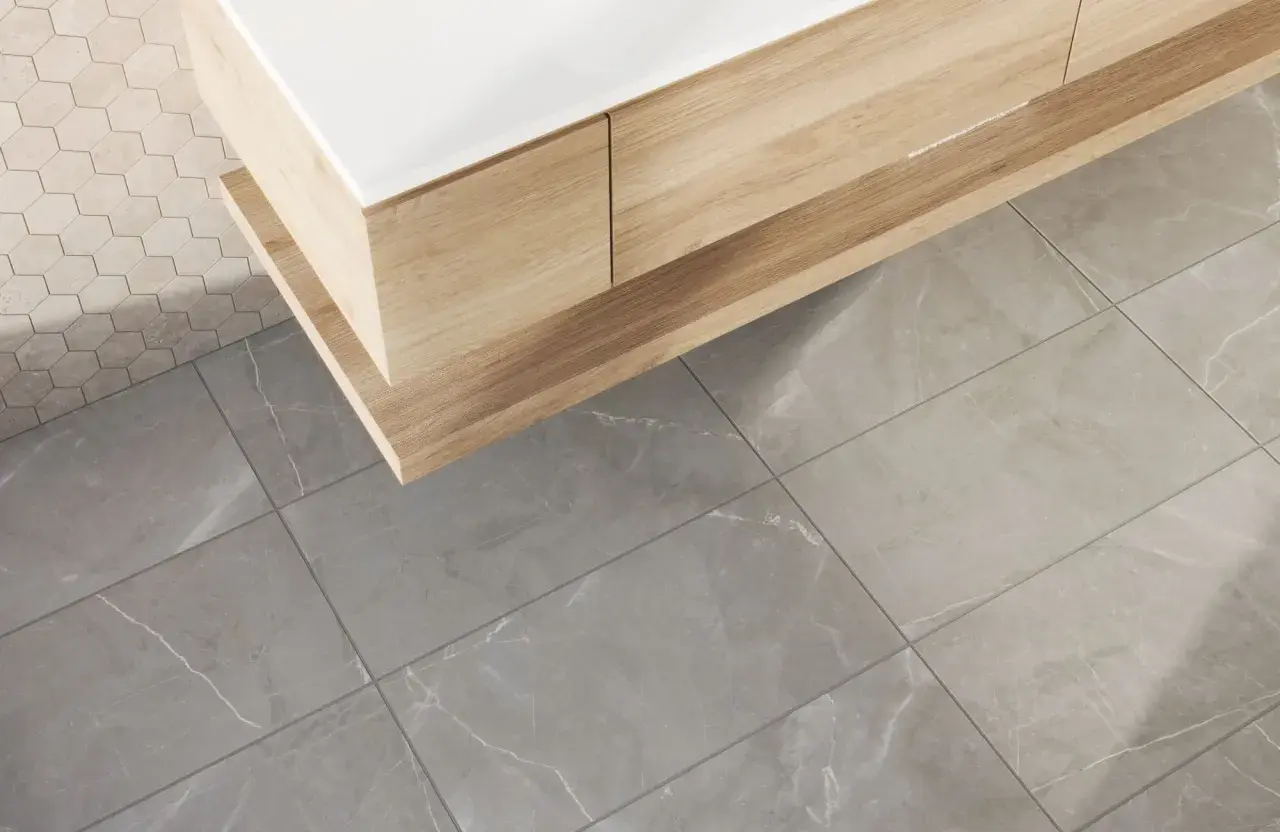
Choosing the right large format tile grout size is less about chasing the thinnest line and more about matching the tile, the layout, and the flatness of the surface beneath it. In bathrooms, that choice affects how visible lippage is, how easy the floor is to clean, and whether the installation still looks crisp after the room is in use. I usually treat grout width as part of the tile system, not an afterthought.
The safest grout joint is the one the tile and layout can actually support
- Large-format tile usually means at least one side is 15 inches or longer.
- 1/8 inch is a strong starting point for many rectified porcelain installations.
- 3/16 inch is often safer for calibrated, non-rectified, or offset layouts.
- The tile’s actual size variation and edge warpage can push the joint wider.
- For cementitious grout, joints under 1/8 inch usually call for unsanded grout; 1/8 inch and wider usually call for sanded grout.
What counts as large-format tile in practice
In practice, large-format tile is any tile with at least one side measuring 15 inches or more. That matters because the longer the edge, the more obvious any variation in tile size, bowing, or substrate movement becomes. A tight joint can look sophisticated in a showroom, but on an uneven bathroom floor it quickly becomes the most unforgiving part of the installation.I think the key idea is simple: the grout line is there to absorb real-world variation. If the tile is large enough to cover a lot of surface with only a few joints, every one of those joints has to do more work.

The joint width I start with on most projects
If I am choosing a starting point for a typical bathroom, I usually begin at 1/8 inch and only go narrower when the tile, the substrate, and the manufacturer data all support it. I move to 3/16 inch quickly when the tile is less precise, the room has more movement, or the layout uses long rectangular pieces in a staggered pattern.
| Scenario | Starting grout joint | Why I would choose it |
|---|---|---|
| Rectified porcelain, straight lay, very flat surface | 1/8 inch | Clean look with enough forgiveness for normal installation tolerances |
| Premium rectified tile with verified tight tolerances | 1/16 inch only if allowed | This is the tight end of the range, not my default, and it depends on product data |
| Calibrated or non-rectified tile | 3/16 inch | Better at absorbing manufacturing variation from piece to piece |
| Running bond or brick pattern with long tiles | 3/16 inch minimum | Offset layouts expose bowing and lippage more quickly |
| Natural stone with noticeable variation | Often wider than 1/8 inch | Stone usually needs more room to stay even and visually calm |
That table reflects how I approach the decision on real projects. The slimmer the joint, the more I want proof that the tile is consistent and the floor is flat. Without that proof, the cleanest-looking choice on a sample board can become the riskiest one in the room.
When the tile itself forces you wider
The tile often sets the minimum. Rectified tile is cut or ground to tighter dimensions, while calibrated tile is sorted to a manufacturer size range but can still vary more from piece to piece. The rule I trust is straightforward: the grout joint should be at least three times the tile’s actual facial variation, which means the width is not a styling preference alone.
For example, if a tile varies by 1/32 inch, the minimum average joint becomes 3/32 inch before you even account for warpage. If the longest edge also has 1/32 inch of bow, the minimum in a running-bond layout grows again. That is why a line that seems narrow on paper can fail once it meets real product.
The practical lesson is this: if the tile is inconsistent, the joint has to do more of the work. A wider line is not always a design compromise. Sometimes it is simply the honest answer to how the tile was made.
Layout patterns can make a narrow joint fail
Running-bond and brick patterns are the usual troublemakers with large rectangular tile. When a 50% offset lines up the center of one tile against the end of the next, any bow in the tile becomes easier to see, and lippage gets exaggerated under side lighting. In bathrooms, vanity lighting and window light can make that problem look even bigger.
- 33% offset is often the safer ceiling for long tiles.
- Stacked or straight layouts are easier to keep visually calm.
- Pinwheel and complex patterns usually need more room in the joint, not less.
- Narrow joints demand a flatter substrate because there is less visual forgiveness.
For tiles with at least one edge 15 inches or longer, I want a very flat substrate, roughly 1/8 inch in 10 feet and 1/16 inch in 2 feet from the high points. If the floor or wall is even a little out of plane, the grout line opens and closes across the surface. That is often what makes a supposedly minimal layout look uneven instead of refined.
Match the grout product to the joint width
The Tile Council of North America notes a simple rule for cementitious grout: joints under 1/8 inch generally use unsanded grout, while 1/8 inch and wider generally use sanded grout. Once you get beyond 3/8 inch, a more heavily sanded or wide-joint mix is usually the better fit. That is one reason I do not choose joint width before I know which grout is going in.| Joint width | Typical grout choice | Important note |
|---|---|---|
| Under 1/8 inch | Unsanded or manufacturer-approved fine product | Safer for tight joints and delicate surfaces |
| 1/8 inch to 3/8 inch | Sanded grout | Common for floors and most large-format tile installations |
| Over 3/8 inch | Wide-joint or heavily sanded mix | Follow the product data closely |
I would also be careful with polished marble and any surface that can scratch. Sanded grout is not a universal answer, and I would rather match the grout chemistry and texture to the tile than force a product into the wrong joint. Even if you use epoxy or a premixed grout, the stated joint range still matters more than the marketing label.
The checks I would make before approving the spec
Before I lock in a grout width, I want five things in front of me: the actual tile dimensions, the tile’s rectified or calibrated status, the pattern, the substrate flatness, and the grout product. I also want to know whether the installer plans a mock-up. That small test board often saves a lot of argument later.
- Measure the tile from the box sample, not from the nominal size on the carton.
- Check the edge quality and warpage information before deciding how tight the joint can be.
- Verify that the substrate is flat enough for the tile size and layout.
- Confirm the offset or pattern before anyone starts setting tile.
- Review the grout color in the same lighting the bathroom will actually have.
One detail people miss: tile spacing is measured between tile edges, not from the top of the bevel. That sounds small, but it changes the way a “1/8 inch” joint really reads once the tile is installed. Grout does not belong on the bevel, and movement joints still need to stay flexible rather than being packed with grout.
What I would specify in a bathroom with large tile
For a typical porcelain bathroom floor or shower wall, I would usually lock in 1/8 inch grout joints for rectified tile and 3/16 inch when the tile is less precise or the layout uses a more demanding offset. If the design brief insists on a tighter look, I want a mock-up, a flatness check, and the tile data in hand before I agree.
- Choose the grout color after the joint width is known, because a wider joint reads darker and more graphic.
- Ask the installer which mortar, trowel, and grout product were chosen for that width.
- Expect to widen the joint rather than blame the grout if the tile is out of tolerance.
The cleanest bathroom tile work usually comes from respecting the limits of the material, not fighting them. If you match the joint to the tile’s actual behavior, the finished surface looks calmer, cleans easier, and holds up better over time.
