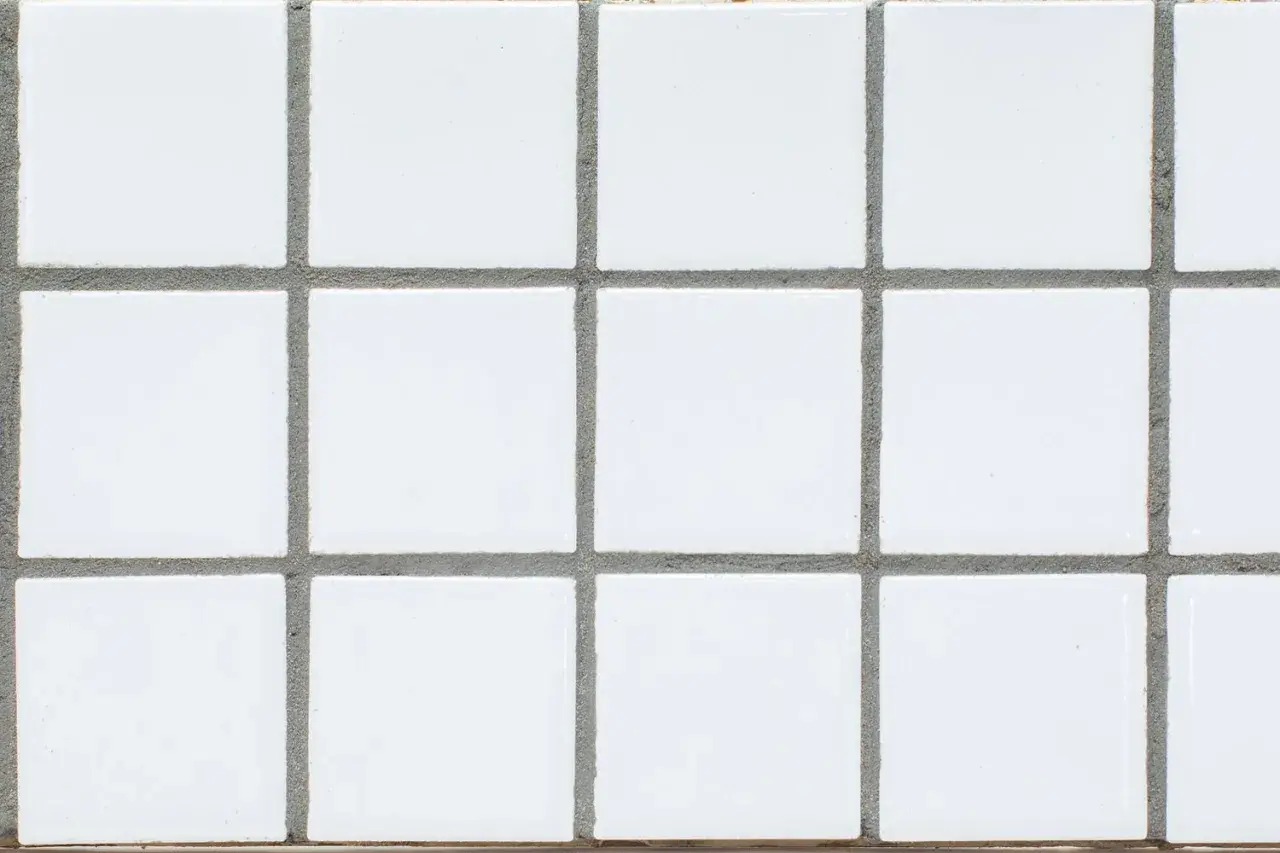
The quickest way to narrow the choice
- Under 1/8 inch is usually the unsanded zone for cement-based grout.
- 1/8 inch and wider usually calls for sanded grout because it packs better and resists shrinkage.
- Glossy, polished, or highly textured porcelain deserves a sample test before you grout the whole room.
- Floors usually benefit from the added strength of sanded grout.
- Showers and backsplashes with tight joints often look cleaner with unsanded grout.
- Movement joints at corners and changes of plane should be caulked, not grouted.
Start with the joint width, not the grout aisle
The first thing I check is the actual joint width between tile edges. TCNA aligns with the common installer rule: cementitious grout below 1/8 inch generally points to unsanded, while 1/8 inch and larger points to sanded. That threshold matters more than the word “porcelain,” because the grout has to fit the gap as well as the surface.| Joint width | Safer default | Why it usually works better |
|---|---|---|
| Less than 1/8 inch | Unsanded grout | It packs into narrow joints more smoothly and avoids forcing coarse aggregate into a tight line. |
| 1/8 inch to 3/8 inch | Sanded grout | It has more body, shrinks less, and usually holds up better in traffic areas. |
| More than 3/8 inch | Wide-joint grout or a specialty product | Standard cement grout can shrink or slump in very wide joints. |
One detail people miss is the bevel. Measure the real joint, not the sloped edge of a rectified tile, or you can end up choosing the wrong grout for a line that only looks narrow. Once the width is right, the next question is how the grout will behave on the porcelain surface itself.
How sanded and unsanded grout feel on porcelain
The difference is simple, but the behavior is not identical. Sanded grout contains fine aggregate, which gives it structure and makes it better for wider joints. Unsanded grout is smoother and easier to push into tight spaces, which matters when the tile layout is tight or the surface is more delicate.
| Feature | Sanded grout | Unsanded grout |
|---|---|---|
| Texture | Gritty, more rigid | Smooth, creamier |
| Best joint range | About 1/8 inch and wider | About 1/16 inch to 1/8 inch |
| Strength in wider joints | Better | Weaker if the joint gets too wide |
| Shrinkage resistance | Better | More prone to shrinkage in larger joints |
| Cleanup feel | Can feel rougher during wash-off | Easier to pack into small lines |
| Best use on porcelain | Floors, wider joints, busier rooms | Narrow joints, walls, smoother finishes |
On porcelain, sanded grout is usually the stronger everyday choice because porcelain is dense and stable. The caveat is the finish: a hard, matte porcelain floor is a very different surface from a glossy wall tile, and that is where the decision starts to bend.
When the tile finish changes the answer
Porcelain is not automatically one-size-fits-all. A matte tile, a polished tile, a glazed tile, and a textured stone-look tile all behave differently when grout haze is wiped off. MAPEI notes that some porcelain and textured surfaces can benefit from a grout release and a test sample before full grouting, because fine particles or pigments can lodge in the surface and change the final look.
Here is how I read the finish before I decide:
- Polished or high-gloss porcelain needs the most caution. I lean unsanded for narrow joints and always test a sample first.
- Glazed porcelain is usually fine with sanded grout if the joint width supports it, but cleanup should still be gentle.
- Textured or structured porcelain can hide grout well, but the texture can also trap haze, so the wash timing matters.
- Rectified porcelain often has tighter, more precise joints, which pushes the choice toward unsanded unless the manufacturer says otherwise.
If I am unsure, I make a small mock-up board. That tells me more than guesswork does, because I can see the color, the haze, and the way the grout settles into the edge detail before the whole room is committed.
What I would use in a bathroom by location
Bathrooms are where the choice gets practical fast. Traffic, splash, cleaning habits, and tile finish all matter, so I do not make the same call for every surface.
| Location | My default choice | Why |
|---|---|---|
| Bathroom floor | Sanded grout for 1/8 inch joints or wider | It handles foot traffic better and is less likely to shrink or crack. |
| Shower wall | Unsanded grout for narrow joints | It is easier to work into tight lines and is kinder to glossy or delicate finishes. |
| Shower floor | Sanded grout or a high-performance alternative | Durability matters more here, and wider joints need the added body. |
| Backsplash | Unsanded grout for narrow joints | It gives a cleaner finish and is easier to place neatly on vertical surfaces. |
| Large-format floor tile | Sanded grout if the joint is 1/8 inch or wider | Large tiles often benefit from a stronger joint that resists movement and wear. |
At corners, around tubs, and where one plane meets another, I do not grout at all. Those are movement joints, which means the assembly shifts slightly over time, and a flexible sealant is the safer choice. That small detail prevents a lot of the cracking that people blame on the grout itself.
The mistakes that cause most grout problems
Most grout failures are not dramatic. They show up as hairline cracks, blotchy color, or a joint that never quite looks clean. The cause is usually one of a few avoidable mistakes.
- Using sanded grout in a joint that is too narrow, which makes packing difficult and can leave voids.
- Using unsanded grout in a wider joint, which can shrink more and crack sooner.
- Choosing by tile color alone instead of checking the real joint width and finish.
- Skipping a test panel on polished or highly glazed porcelain, then discovering haze or scuffing after the room is done.
- Adding too much water during mixing or cleanup, which weakens cement grout and can cause color variation.
- Grouting movement joints at corners, edges, and transitions where flexible sealant should be used instead.
I also watch for one subtle issue: grout haze on dense porcelain. The tile may not absorb much, but the surface can still hold residue if cleanup is rushed. A consistent wash routine and the right sponge pressure make a bigger difference than most DIY guides admit.
The default choice I trust for most porcelain tile jobs
If the joint is under 1/8 inch, I usually start with unsanded grout. If the joint is 1/8 inch or wider, I default to sanded grout unless the tile finish is especially polished, glazed, or visually sensitive. That order solves most of the decision-making without turning the project into a debate.
For a typical bathroom or kitchen with porcelain tile, the safe approach is simple: match the grout to the joint first, then adjust for finish and traffic. If the tile is glossy or finely detailed, I would rather slow down and test a sample than force a product that is technically acceptable but visually risky. That is the difference between a floor that just gets installed and one that still looks intentional after daily use.
When I need a one-line rule, this is the one I trust: narrow joints want a smoother grout, wider joints want a stronger one, and porcelain finish decides how much margin for error you have.
