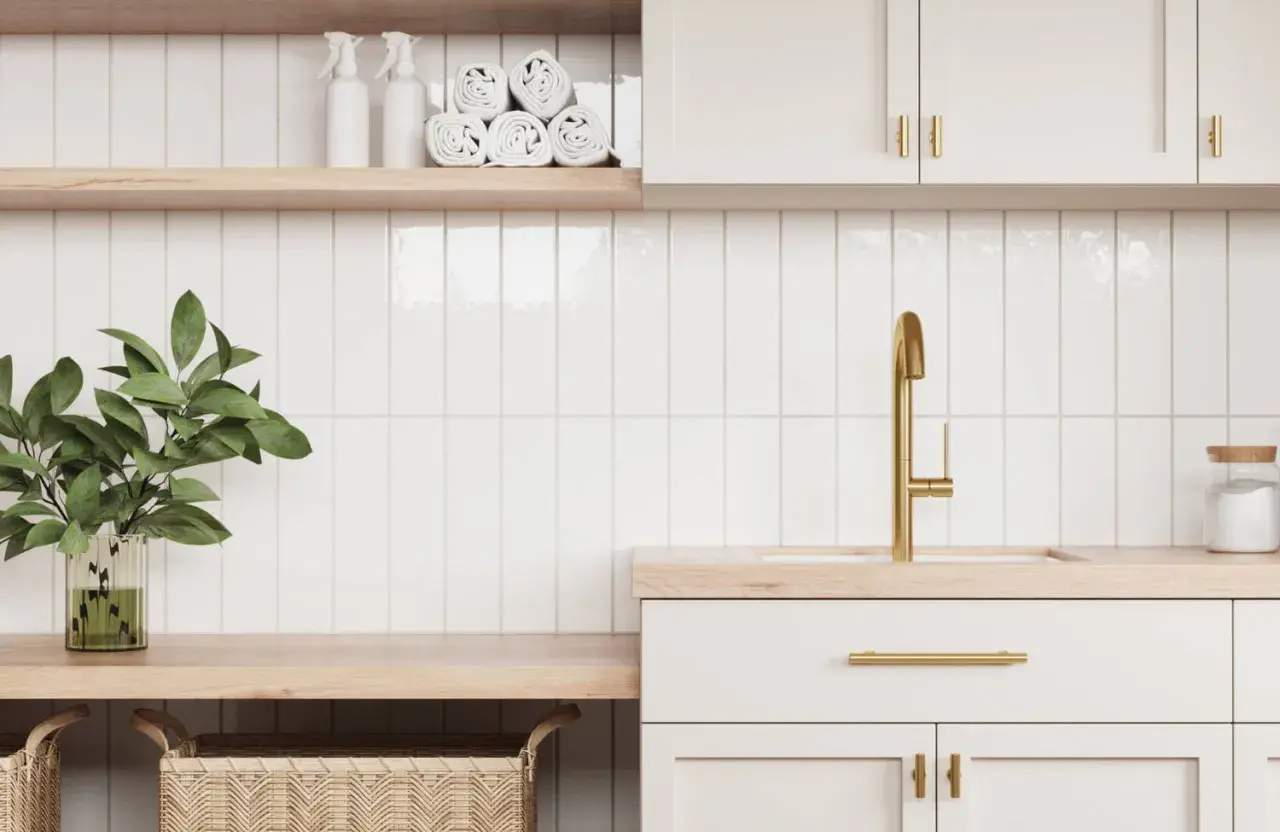
Grout does more than fill the gaps between tiles. It affects how clean a bathroom looks, how much maintenance the surface needs, and whether the installation survives regular water exposure without constant touch-ups. The most useful grout options are not interchangeable, so I break down the main grout families, where they work best, and what I would choose for a typical bathroom or kitchen project.
The practical filter I use before choosing grout
- Start with joint width, then match the grout chemistry to the tile surface.
- Sanded grout fits wider joints; unsanded grout protects delicate surfaces like glass and polished stone.
- Shower and backsplash areas often justify epoxy or a premium ready-to-use formula.
- Use matching silicone or caulk at corners, perimeters, and other movement joints.
- Cement grout usually needs sealing and more routine care than epoxy or single-component products.
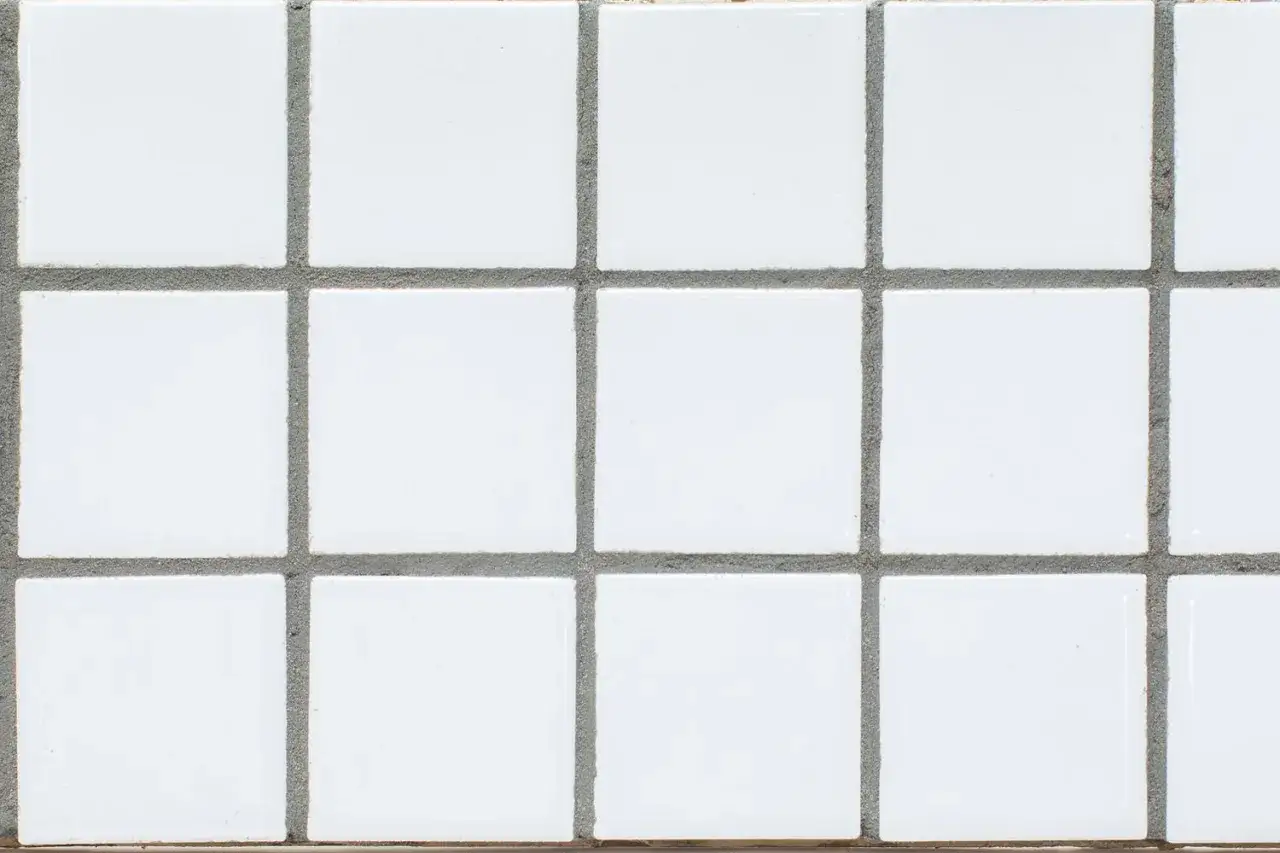
The main grout families and where each one makes sense
When I narrow this down for a remodel, I do not start with color. I start with chemistry, because the chemistry determines porosity, flexibility, cleanup, and how much forgiveness the installer gets.
| Grout type | Typical joint range | Where it works best | Main trade-offs |
|---|---|---|---|
| Sanded cement grout | About 1/8 inch to 1/2 inch | Floors, wider joints, most ceramic and porcelain installations | Can scratch polished or soft tile; more porous and often needs sealing |
| Unsanded cement grout | About 1/16 inch to 1/8 inch | Thin joints, glass tile, polished stone, vertical surfaces | Not ideal for wider joints; can shrink more if pushed beyond its range |
| High-performance cement grout | Product-specific, often from narrow to moderately wide joints | Bathrooms, floors, and projects where you want better color consistency | Still cement-based, so porosity and sealing requirements can remain |
| Epoxy grout | Often around 1/16 inch to 3/8 inch, depending on product | Showers, kitchens, commercial-style durability, stain-prone areas | Higher cost, tighter working window, less forgiving install |
| Ready-to-use single-component grout | Product-specific; some cover narrow to fairly wide joints | Remodels, busy bathrooms, projects where easier cleanup matters | More expensive than basic cement grout and still limited by product label |
MAPEI’s shower guidance is a good reality check: epoxy is the strongest choice in wet areas because it resists water and stains better than cement grout, but it costs more and takes a more experienced hand. That is why I treat epoxy as a performance buy, not a default purchase.
The next question is how tight the joints are and what the tile surface can tolerate.
How joint width and tile surface narrow the field
Joint width is not a small detail. It decides whether sand will help, scratch, or simply get in the way, and it often points you toward one product family before you compare brands.
- 1/16 to 1/8 inch: unsanded grout or a fine-aggregate product. This is the safe lane for glass, polished marble, and many rectified tiles.
- 1/8 to 1/2 inch: sanded grout or a high-performance cement formula. The sand adds body and helps the joint resist shrinkage.
- Very smooth or soft surfaces: avoid standard sanded grout unless the manufacturer specifically approves it; sand can mar the finish.
- Large-format tile: the edge profile matters. Rectified edges usually look best with tighter, more consistent joints, while handmade tile can tolerate a wider, more forgiving look.
- Color strategy: light grout brightens a room but shows soil sooner; mid-tone neutrals are the least dramatic to live with.
Once the tile and joint size are settled, the room itself becomes the real deciding factor.
Which grout I would use in bathrooms, showers, and kitchens
This is where practical trade-offs matter more than theory. A backsplash, a steam-heavy shower, and a powder room floor do not ask the same things of grout.
| Area | Best fit | Why it works | What I would avoid |
|---|---|---|---|
| Shower walls and shower floors | Epoxy or a premium ready-to-use grout | Lowest water absorption, strongest stain resistance, better for soap scum and cleaner residue | Basic cement grout if low maintenance is the priority |
| Bathroom floors | High-performance cement grout or epoxy | Handles traffic well, and a denser formula keeps the joints looking cleaner longer | Unsanded grout in wide joints |
| Vanity backsplashes | Unsanded or high-performance grout | Usually narrow joints, less abrasion, easier to coordinate with delicate tile | Overly coarse sanded formulas on polished tile |
| Kitchen backsplash near a cooktop | Epoxy or a stain-resistant single-component grout | Better resistance to grease, steam, and frequent wiping | Standard porous cement grout if you want minimal upkeep |
| Kitchen floor | Sanded or high-performance cement grout | Good for traffic and wider joints, usually a strong value | Anything that requires delicate cleanup on a very busy floor |
I usually steer people toward a stain-resistant formula when the room gets wiped every day. The more often the grout line sees moisture, soap, food, or cleaning products, the less sense it makes to save a little on the bag and pay for it later in upkeep. The next layer is what happens after the grout is installed.
What really changes durability after installation
The grout type matters, but so do the details around it. A good formula can still fail early if the installation ignores movement, cleaning, or moisture control.
- Seal cement grout when required. Cement-based grout is porous. A sealer does not make it waterproof, but it helps slow staining and makes routine cleaning easier.
- Use caulk at changes of plane. Corners, tub lines, shower niches, and perimeter joints move. Flexible silicone belongs there; rigid grout usually cracks.
- Do not overwater the mix or the cleanup. Too much water can weaken cement grout, wash color out of the joint, and leave a chalky surface.
- Watch for efflorescence. That white mineral haze is usually a moisture-and-salts issue, not a color defect. It is more common with cement-based products than with epoxy.
- Ventilation matters. A shower that dries slowly will punish even a very good grout line. Good airflow is boring advice, but it pays off.
One detail I never skip is the transition joint. CUSTOM’s guidance mirrors standard tile practice: use a matching silicone or caulk at corners and other changes of plane instead of forcing grout into places that need to move. That one choice prevents a lot of hairline cracking.
The next question is not just performance. It is what the performance actually costs over time.
Cost and maintenance trade-offs that matter more than bag price
Material cost is only part of the bill. On smaller bathrooms, labor and cleanup often matter more than the few dollars saved on a bag.
| Grout type | Up-front cost | Install difficulty | Maintenance load | Best value when |
|---|---|---|---|---|
| Sanded cement | Lowest | Easy to moderate | Moderate to higher, especially if sealed | You want a proven, budget-friendly option for wider joints |
| Unsanded cement | Low | Easy | Moderate | You have narrow joints and delicate tile |
| High-performance cement | Mid-range | Easy to moderate | Lower than basic cement formulas | You want better color consistency without jumping to epoxy |
| Single-component ready-to-use | Mid to high | Easy from a mixing standpoint | Low to moderate | You value cleaner workflow and less guesswork |
| Epoxy | Highest | Hardest | Lowest | You want maximum stain and water resistance |
The hidden cost is rework. If a grout line scratches a polished tile, stains too easily, or cracks at the corners, the savings disappear fast. That is why a “cheaper” grout can become the expensive choice once the room is lived in.
At this point, the choice usually comes down to a simple decision path rather than a long comparison chart.
A practical way to choose without second-guessing yourself
- Measure the joint width. If it is 1/16 to 1/8 inch, unsanded or a fine-aggregate formula is usually the first stop. Wider joints push you toward sanded or specialty high-performance grout.
- Check the tile finish. Glass, polished marble, and other soft surfaces usually rule out standard sanded grout.
- Decide how wet the space is. A shower is a different category from a dry powder room wall.
- Pick your maintenance tolerance. If you want fewer sealers and less staining, lean toward epoxy or a premium ready-to-use product.
- Confirm the movement-joint plan. Corners and changes of plane need silicone or caulk, not rigid grout.
If you do those five things in order, the decision gets much easier. Most grout regret comes from skipping the tile and joint checks and jumping straight to color samples.
The choice that usually holds up best in a real bathroom
For a typical U.S. bathroom remodel, my default is simple: use a grout that matches the joint width and the wettest part of the room, then upgrade to a stain-resistant formula when the surface will be cleaned often. That usually means epoxy or a premium ready-to-use grout in showers, and a high-performance cement grout or unsanded grout on drier walls and backsplashes.
- Choose performance first, color second.
- Keep sanded grout away from polished or soft tile unless the manufacturer approves it.
- Use matching silicone at corners and perimeters.
- Accept that cement grout trades lower price for more maintenance.
If you want the safest all-around rule, choose the grout that best fits the tile surface and the wettest part of the installation, not the one that looks easiest on the shelf.
