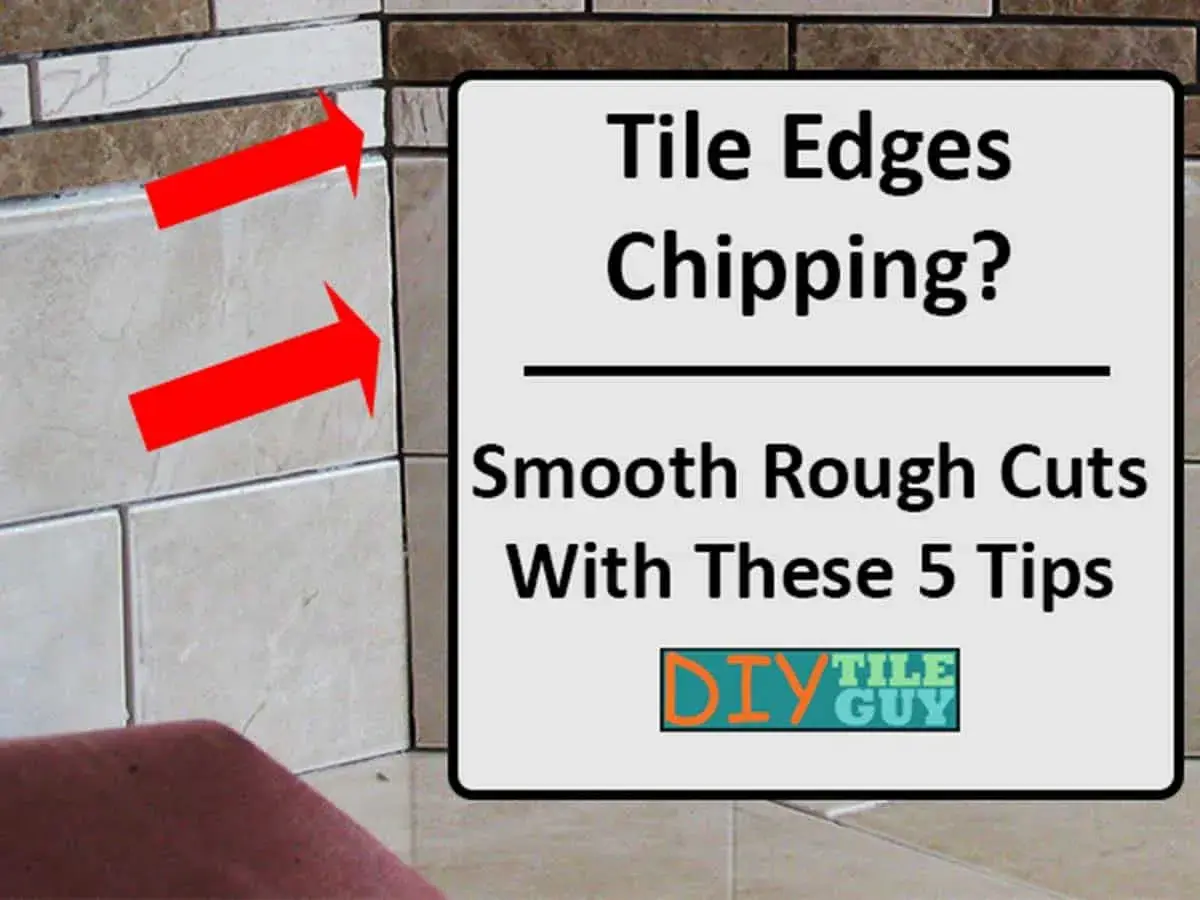
The cleanest cuts start with the right blade and a slow feed
- A wet saw with a continuous-rim diamond blade is the best default for straight cuts in travertine.
- Travertine chips more easily than ceramic because it is a porous natural stone with small voids and filler pockets.
- Mark the finished face carefully and leave room for the blade kerf, which removes a little material on every cut.
- Use an angle grinder for notches and an 1-1/4 in. to 2-1/2 in. diamond hole saw for most bathroom openings, depending on the fixture.
- Smooth every exposed edge before installation and seal cut faces along with the rest of the stone.
Why travertine behaves differently from ceramic
Travertine is a natural stone, so it does not cut like a factory-made ceramic or porcelain tile. The density can vary from piece to piece, and the stone often contains tiny pits or filled voids that can open up at the edge if the blade grabs too hard. That is why I treat travertine more like a light stone fabrication job than a simple tile trim.The biggest difference is predictability. A ceramic tile usually breaks where you expect it to. Travertine may look solid on the face and then reveal a softer pocket a half inch later, which is exactly where chip-out starts. If you respect that variability from the beginning, the rest of the job gets much easier, and the next decision becomes which tool gives you the cleanest cut with the least stress.

Choose the tool that matches the cut
For most bathroom projects, I start with a wet saw and a diamond blade designed for stone. The water keeps the blade cool, helps control dust, and usually gives you the cleanest edge on straight cuts. OSHA treats dry cutting stone as a silica-dust concern, which is one reason I avoid dry methods whenever a wet setup is practical.
| Method | Best for | What it does well | Where it falls short |
|---|---|---|---|
| Wet saw with continuous-rim diamond blade | Straight cuts, rips, repeated trim cuts | Cleanest edge, best control, least chipping | Needs water management and enough space to work safely |
| Angle grinder with diamond blade | L-cuts, notches, small corrections, inside corners | Very flexible and good for awkward shapes | More chip-out and more dust than a wet saw |
| Diamond hole saw | Round openings for valves, pipes, and fixtures | Creates clean circles without cracking the tile | Slow on thick stone and needs steady cooling |
| Tile nippers or hand nibblers | Tiny touch-ups on soft edges | Useful for very small refinements | Too aggressive for real travertine cuts |
I rarely recommend a manual snap cutter for travertine. It can work on some softer stone pieces, but it is not the tool I trust when the face of the tile needs to stay clean. If you are setting a shower wall, a backsplash, or a bathroom floor where the cut line will be visible, a wet saw is the better investment. With the tool chosen, the actual cut starts long before the blade touches the tile.
Mark the tile so the cut lands where you expect
I start with a dry fit, because every mistake gets more expensive after the blade starts spinning. Set the tile in place, mark the overlap, then confirm the measurement again after you account for the grout joint and the blade kerf. On a typical diamond blade, the kerf may remove roughly 1/8 in. to 3/16 in., so I never place the finished line right on the waste edge without checking the blade first.
- Dry fit the tile in the real opening, not just on a bench.
- Mark the finished side with painter’s tape if the stone has a polished or honed face that shows pencil marks poorly.
- Use a sharp pencil or fine marker to draw the cut line on the tape.
- Mark the waste side clearly so the tile cannot be fed the wrong way at the saw.
- Plan for support on the offcut side if the last section is long or narrow.
The goal is not just accuracy. It is also to keep the tile from flexing at the wrong moment. A clean mark and a solid dry fit do more for the finished edge than most people expect, and they set you up for the actual cut instead of making the saw do all the work.
Make straight cuts with less chipping
For straight cuts, I want the tile supported flat, the blade fully up to speed, and the feed slow enough that the saw removes stone instead of tearing at it. A continuous-rim diamond blade usually gives a smoother finish on travertine than a segmented blade, especially when the cut will stay visible. I also keep the water flowing; the cut gets cleaner, the blade stays cooler, and the edge is less likely to haze or spall.
- Place the tile face up if your saw cuts from above, unless the saw maker recommends a different setup.
- Align the blade just outside the cut line on the waste side.
- Start the saw and let it reach full speed before feeding the tile.
- Push steadily, but do not force the tile through the blade.
- Keep your hands clear of the line and support the piece so the offcut does not break away at the end.
- After the cut, inspect the face before moving on to the next tile.
I pay close attention to the first inch of entry and the last inch of exit. That is where most chip-out begins. If the edge is still rough, I do not compensate by pushing harder on the next cut. I slow down, check the blade, and, if needed, test on a scrap piece from the same batch. Once a straight cut looks right, curves and plumbing openings are the next place where travertine can fight back.
Cut curves, notches, and holes without cracking the stone
Curved cuts and inside corners are where I switch tools instead of hoping one blade can do everything. An angle grinder with a diamond blade is usually my first choice for L-cuts and short notches. I make a series of shallow passes rather than trying to remove the full shape in one go, because that is how you keep the edge from snapping off along a filled void.
Small notches and inside corners
For a small notch around a vanity leg, cabinet return, or shower niche edge, I mark the shape clearly, make relief cuts to the corner, and then nibble away the waste in short passes. If the corner is visible, I leave a tiny bit of material and finish the line by hand instead of chasing perfection with the grinder. That tiny bit of restraint often saves the tile.
Read Also: DCOF Tile Ratings - Choose Safe Floors for Wet Areas
Round holes for pipes and fixtures
For shower valves, tub spouts, or floor penetrations, a diamond hole saw is the right tool. I size the bit to the actual fixture opening, not to the rough plumbing box, because the trim piece is what decides how visible the hole will be. Most bathroom openings fall somewhere around 1-1/4 in. to 2-1/2 in., but I always measure the real part before I commit.
Keep the bit cool, let it bite slowly, and do not lean on it. If the hole starts to skate, I stop and create a guide mark or a shallow starting groove. Travertine does not reward impatience here; it rewards control. Once the shape is in, the last job is to make the edge look finished rather than merely cut.
Finish the edge so the cut disappears into the installation
A cut travertine edge rarely looks ready straight off the saw, especially in a bathroom where the light hits every line. I use a rubbing stone, a fine diamond hand pad, or a carborundum stone to soften sharp corners and knock down small chips. Daltile’s installation guidance also points installers toward a carborundum stone for smoothing cut edges, and that is still the kind of simple step that saves a lot of visual noise.
If the cut exposes pits or filler pockets, I clean the edge, dry it, and inspect it under light before setting it. Sometimes a color-matched filler or a little stone epoxy makes the edge read as deliberate rather than damaged. I also seal the cut face along with the rest of the tile, because freshly exposed stone is more vulnerable to staining than the factory-finished face. In a bathroom, that extra minute matters more than it sounds.
I do not consider a travertine cut finished until the edge feels right to the hand and disappears to the eye. That is the difference between a piece that merely fits and a piece that looks like it belongs there, and it leads directly to the mistakes that tend to ruin the job.
The mistakes that waste the most travertine
Most bad travertine cuts are not caused by a lack of skill. They come from rushed setup, the wrong blade, or trying to use one tool for every shape. I watch for the same handful of problems every time:
- Dry cutting the stone indoors, which creates more dust and usually rougher edges.
- Using a dull or segmented blade when a continuous-rim diamond blade would leave a cleaner face.
- Feeding the tile too fast and forcing the blade to rip through the stone.
- Ignoring the blade kerf and ending up with a piece that is slightly too small.
- Leaving the offcut unsupported so the last few inches snap away.
- Skipping a scrap test on a tile with heavy fill, open pits, or a delicate honed finish.
The other mistake is visual rather than mechanical: people stop at the cut line and forget that the edge still has to blend with the rest of the room. That matters even more in bathrooms, where sightlines are short and the tile work sits close to eye level. From there, the only real question is whether this job still makes sense as a DIY task or whether a fabricator will save you time and material.
When I would hand the tile to a fabricator
If I need one or two straight trims, I usually cut them myself. If the project involves a visible niche surround, a mitered edge, multiple plumbing openings, or expensive filled travertine with a lot of pattern matching, I start thinking like a fabricator instead of a weekend installer. The tile itself may not be expensive compared with a countertop slab, but the labor of a mistake is real when the cut sits in the middle of a finished bathroom wall.
That is the rule I use: the more visible the cut, the more I value precision over speed. For a hidden trim piece, a careful DIY cut is usually enough. For the edge everyone will see from the doorway, I want the cleanest possible line, the least filler work, and a plan that does not depend on luck. I also keep one spare tile from the same dye lot or batch, because a future repair is much easier when the replacement already matches.
In practice, that spare tile and a good wet saw solve more problems than most people expect. The rest is simply giving travertine the respect its surface demands.
