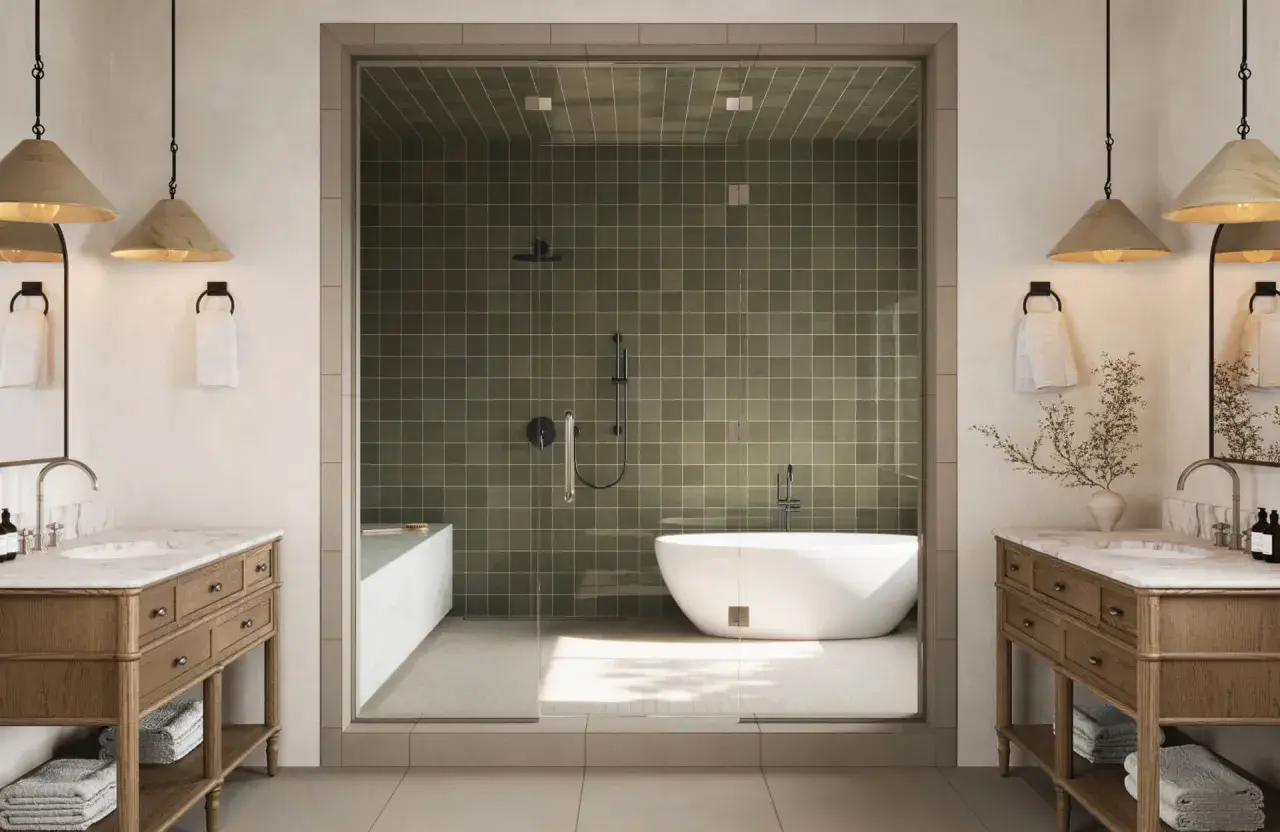
A fully tiled bathroom can look calm, durable, and easier to maintain than a room that mixes too many finishes, but the result only works when the tile, grout, and waterproofing all pull in the same direction. I’m focusing on the decisions that actually change the outcome: where tile makes sense, which materials are worth the money, what installation details protect the room, and how to keep the finish looking clean over time. If you are planning a remodel in the U.S., those choices matter more than any single decorative trend.
What matters most when planning an all-tile bathroom
- Porcelain is usually the safest all-around choice for wet floors and shower walls because it is dense, durable, and low maintenance.
- A room with more tile usually costs more mainly because of labor, waterproofing, and layout complexity, not just the tile itself.
- Grout is not waterproof, so the assembly behind the tile matters as much as the surface you see.
- Large-format tile reduces grout lines and gives the room a calmer look, but it demands a flatter substrate and careful setting.
- For bathroom floors, I look for slip resistance first; the wet DCOF benchmark commonly cited in U.S. standards is 0.42 or better for interior level surfaces expected to be walked on when wet.
- The best results usually come from repeating a simple material palette and spending money on prep, not just decorative accents.
What a fully tiled room actually changes
The appeal is simple: tile gives you a hard-wearing skin that handles splash zones, steam, and daily cleaning better than most painted surfaces. When I extend tile beyond the shower and tub area, I usually get a room that feels more continuous and more deliberate, especially in bathrooms that need to work hard every day.
That said, more tile is not automatically better. A tiled room can feel colder, louder, and busier if the proportions are off or the pattern changes too often. The visual payoff comes from consistency, not from covering every inch with a different surface.
In practice, the choice usually comes down to three questions: where does water actually land, how much visual calm do you want, and how much maintenance are you willing to accept later? Once those are clear, the material decision gets much easier, which is where I go next.
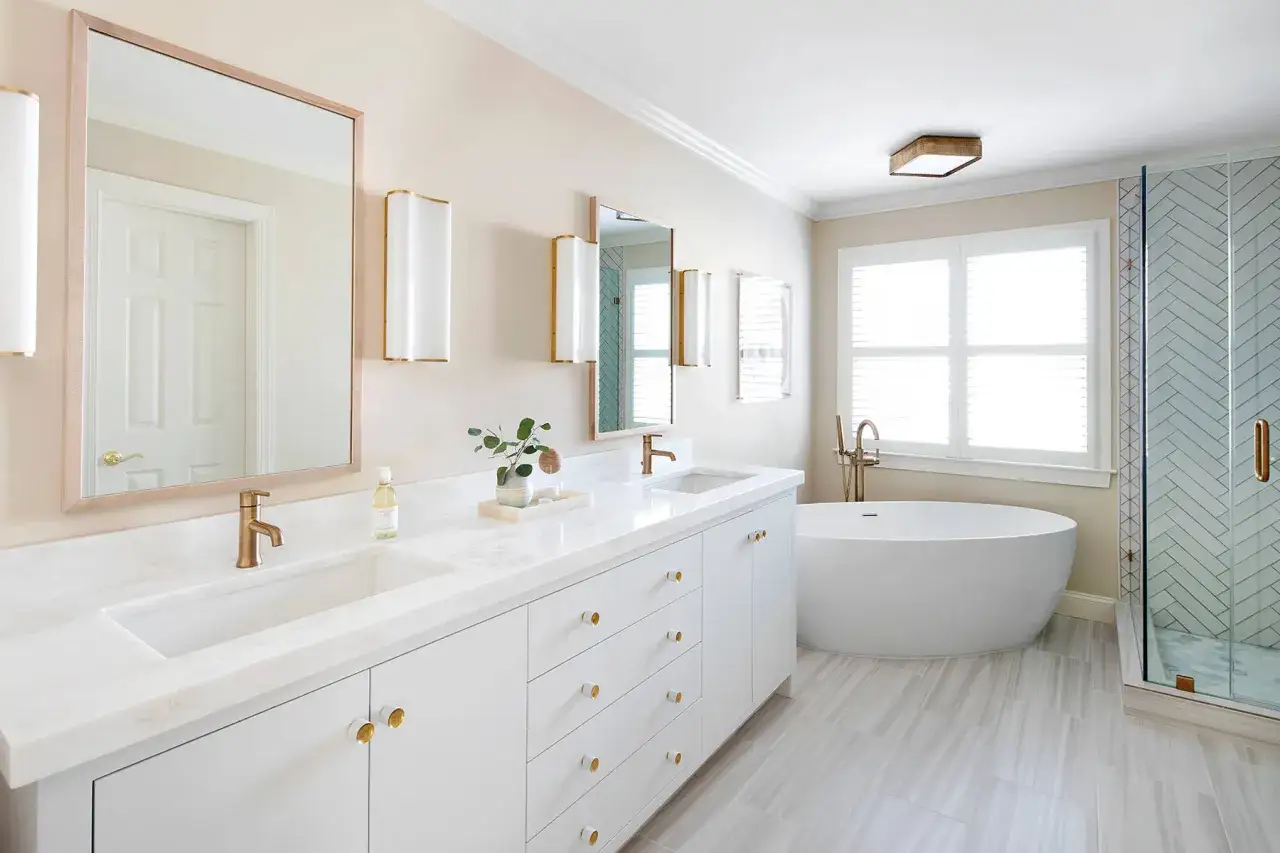
Which tile materials make the most sense
Not every tile belongs everywhere. I separate wall use, floor use, and wet-area use before I think about color or shape, because performance should lead the design rather than follow it.
| Material | Best use | Why I like it | Trade-offs | Budget note |
|---|---|---|---|---|
| Porcelain | Floors, shower walls, wet zones | Dense, durable, water-resistant, and good for larger formats | Harder to cut; flatness matters more | Often about $3-$8 per sq. ft. for material, sometimes more for premium looks |
| Ceramic | Walls, lighter-use floors | Affordable, widely available, and easy to find in many finishes | Less tough than porcelain, so I rarely make it my first choice for busy floors | Can start around $1 per sq. ft. and rise with finish and brand |
| Natural stone | Feature walls, premium floors | Unique variation and a more luxurious, less manufactured look | Needs more sealing and more careful cleaning | Often $5-$30+ per sq. ft., with some stones much higher |
| Glass | Accents, niches, wall details | Reflective, bright, and good for adding depth in smaller spaces | More fragile and not my choice for most floors | Usually a higher-cost accent material |
| Handmade or zellige-style tile | Feature walls, shower focal points | Texture, character, and a softer, less uniform surface | More irregular edges mean more labor and more careful layout | Typically an accent-level investment |
My rule is straightforward: use porcelain where the room gets wet or gets walked on often, then choose ceramic or a specialty surface only when the visual gain justifies the extra care. Floor tile can often move onto a wall if the manufacturer allows it, but I do not assume the reverse, because weight and slip resistance matter in very different ways. That difference becomes obvious once you start thinking about layout.
How to design the room so it feels intentional
The best tiled bathrooms usually have one thing in common: restraint. I would rather see one strong field tile repeated well than three competing materials trying to do the same job.
- Use one dominant field tile for the main walls or floor, then keep accents limited to niches, shower floors, or one feature wall.
- Choose grout close to the tile color if you want a quieter, more architectural feel.
- Use a stack bond when you want the room to read crisp and modern; use a running bond when you want a softer, more familiar rhythm. A stack bond simply means the joints line up in a grid.
- Keep small mosaics for places that need them, such as shower pans or curved details, instead of scattering them around the room.
- Finish exposed edges with trim profiles or bullnose, not improvised cuts that look unfinished once the room is in use.
- Let the vanity, mirror, or hardware provide contrast if the tile itself is already doing a lot of visual work.
In current U.S. bathroom work, I keep seeing larger formats and quieter grout lines win out because they make the room feel calmer and easier to live with. That visual calm only holds if the installation is technically sound, which is where many remodels succeed or fail.
What the installation has to get right
This is the part I never gloss over. The surface may be tile, but the real performance comes from what sits behind it.
TCNA’s reminder is one I repeat often: grout joints are not waterproof. In wet areas, the waterproofing method and the substrate are what protect the structure, not the grout itself. If a shower wall or shower floor is built as if grout alone is enough, the room may look finished and still fail where you cannot see it.
- Use a proper waterproofing membrane or system in showers and other wet zones.
- Keep movement joints at changes of plane, corners, and transitions instead of filling everything rigidly with grout.
- Use flexible sealant where tile meets tile at corners or where the assembly needs to move a little.
- Make sure the shower floor slopes correctly to the drain so water does not sit in the wrong places.
- Check slip resistance on the floor, especially for a space that will get wet frequently. For interior level surfaces expected to be walked on when wet, I treat a wet DCOF of 0.42 as the minimum planning benchmark used in U.S. standards.
I also pay close attention to substrate flatness, especially with large-format tile. Bigger tiles look cleaner, but they telegraph problems faster, so the wall or floor underneath has to be prepared properly. Once that part is under control, budget becomes the next real constraint.
Where the budget disappears first
People often assume tile cost is mostly about the surface material. In reality, the tile itself can be only part of the bill. Labor, waterproofing, leveling, edge details, and custom cuts add up quickly, especially in a room with full-height walls and a tiled shower.
- Tile material can range from budget ceramic to premium stone, so the surface choice alone can shift the budget sharply.
- Labor tends to rise with wall work, shower work, patterns, niches, and tighter layouts; current U.S. planning ranges often sit around $5-$22 per sq. ft. depending on the job.
- Walls and showers usually cost more to set than simple floors, with many estimates landing around $8-$20 per sq. ft. for professional work.
- Prep and waterproofing are money well spent, because they protect the room you are building under the tile.
- Custom details such as benches, niches, borders, and mixed tile sizes add both labor and scheduling complexity.
For materials alone, ceramic can start around $1 per sq. ft., porcelain often lands around $3-$8, and natural stone climbs higher fast. If a project needs a lot of tile surface, the square footage multiplies faster than most homeowners expect. That is why I usually recommend simplifying the layout before downgrading the waterproofing or substrate work.
How to keep it looking crisp for years
A tiled bathroom stays attractive when maintenance is planned, not improvised. The good news is that the day-to-day routine is not complicated if the room was built well in the first place.
- Run ventilation during and after showers so moisture does not sit on walls and grout.
- Wipe down the most exposed surfaces when buildup starts showing, especially around the shower and sink.
- Use a pH-neutral cleaner on most tile surfaces; stone needs extra caution because acidic products can etch it.
- Check grout sealer on a schedule. Many products need refreshment every 1-2 years, and heavy-use showers may need attention sooner, depending on the label and wear.
- Inspect caulk at corners and changes of plane, because those joints usually age before the tile does.
If you want the easiest upkeep, I would steer you toward fewer grout lines, a cleaner grout color match, and materials that do not demand constant sealing. Epoxy grout can improve stain resistance, but it costs more and is not a substitute for waterproofing. Once maintenance is clear, the last question is whether full coverage is actually the right move for your room.
When I would skip all-over tile
There are rooms where I would not tile every surface, even if the look is attractive. A small powder room with no shower, for example, can feel warmer and more flexible with paint or another wall finish on at least some surfaces. In a tight room, too much tile can make the space feel harder than it needs to be.
- If the budget is tight, I would tile the shower, tub surround, and splash-prone zones first.
- If the room is dry for most of its life, I would use tile where it performs best and stop there.
- If you want a softer, less echoey atmosphere, some non-tiled surfaces can help balance the room.
- If the installation quality is uncertain, I would not stretch the tile coverage just for the visual effect.
My practical line is simple: tile the places that need protection, then extend the finish farther only when the extra surface area genuinely improves the room. That is the difference between a bathroom that feels thoughtfully finished and one that is simply covered in tile.
The small decisions that make the result feel finished
If I had to narrow the whole topic to a few choices, I would start here: keep the palette restrained, buy the right tile for the right surface, and invest in the assembly behind the finish. Those three moves do more for the room than a dramatic pattern ever will.
- Use large-format tile on broad walls when the substrate is flat enough to support it.
- Limit accents to one or two places so the room still reads as one design.
- Choose matte or lightly textured floor tile when slip resistance matters most.
- Do not treat grout as waterproofing, because it is not.
That is the approach I trust most in an American bathroom remodel: cover the water-prone surfaces well, keep the design disciplined, and let the tile do its job without forcing it to carry the whole room alone.
