What matters most before the first tile goes down
- Start with a sound, flat substrate; tile will not hide movement or major unevenness.
- Match the tile to the zone: porcelain for wet floors, ceramic for many walls, mosaic for shower floors, and stone only if you are ready for more maintenance.
- Budget for waterproofing, trim pieces, grout, and at least 10% extra tile for cuts and waste.
- In showers, slope the surface to the drain and treat corners and edges as movement joints, not grout joints.
- Most failures come from skipped prep, weak waterproofing, or poor layout rather than from the tile itself.
Start with the bathroom, not the tile
Before I look at color, I look at structure. A bathroom floor or shower wall has to be clean, sound, and flat enough for the tile format you choose. If there is flex in the subfloor, cracked backer board, rotten framing, or old adhesive that is still bonded in patches, I treat that as the real problem, because tile will mirror it instead of hiding it.
For most floors, I want the surface flat within tight tolerances. Large-format tile raises the bar even more: once one edge reaches 15 inches or longer, surface variation becomes far more noticeable and lippage turns into the first thing people see. I would rather spend time flattening the floor than trying to rescue it with mortar later, because mortar is for bonding, not for fixing a bad base.
This is also the point where I decide whether the project is a simple floor, a tub surround, or a full shower rebuild. Those are different jobs, and I never assume the prep is interchangeable. In shower areas, I do not start with standard drywall unless the full wall system is designed for it and installed exactly to spec. Once the base is right, the rest of the installation becomes much more predictable.
How I sequence the work from substrate to grout
The cleanest installations follow a disciplined order. I dry-fit first, meaning I lay out the tiles without mortar to confirm the pattern, balance the cuts, and make sure the room will not end up with awkward slivers. After that, I move into the work no one sees: patching, backer board or mortar bed, waterproofing, and final layout lines. That hidden work decides how the finished room feels.
- Demolish the old finish and inspect the structure underneath.
- Repair framing, tighten the subfloor, and replace anything soft or damaged.
- Install the proper underlayment or wall substrate, then tape and seal the seams as the system requires.
- Apply the waterproofing layer in wet zones before any tile goes on the wall or floor.
- Mark centerlines and reference points so the layout avoids awkward cuts at the edges.
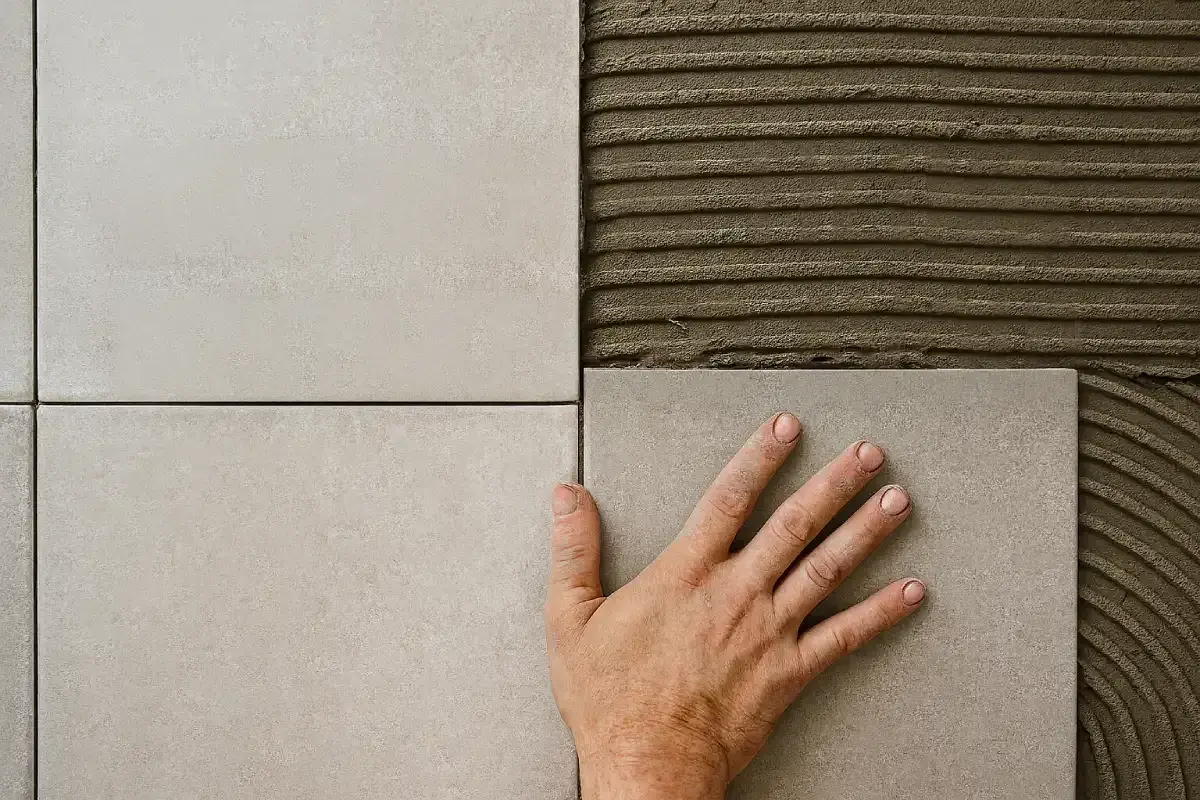
- Set the tile with thinset mortar, the cement-based adhesive under the tile, using the right notch size and keeping coverage high and consistent.
- Let the tile cure, then grout field joints and use flexible sealant at changes of plane.
- Reinstall trim, fixtures, and any edge profiles once everything has cured properly.
That sequence sounds simple, but it matters because rushing the order creates expensive rework. If I had to reduce the whole process to one rule, it would be this: do not hide a structural or waterproofing problem under tile and hope grout will solve it.
Choose tile by zone, not by showroom appeal
The best-looking tile is not always the best tile for a bathroom. I separate the space into zones because the floor, the shower, and the wall have different demands.
| Tile type | Best use | Why it works | Watch out for |
|---|---|---|---|
| Porcelain | Floors, shower walls, wet areas | Dense, durable, and low in water absorption | Harder cutting, more wear on blades |
| Ceramic | Walls, tub surrounds, light-duty floors | Easy to cut and usually more affordable | Not every ceramic is a good shower-floor choice |
| Mosaic | Shower floors, niches, curved details | Handles slope and helps with traction | More grout joints, so detail work matters |
| Large-format tile | Modern floors and feature walls | Fewer grout lines and a cleaner visual field | Needs a very flat substrate and careful lippage control |
| Natural stone | High-end walls and selected floors | Rich texture and a more organic look | More sealing, more maintenance, and more variation |
For shower floors, I usually prefer smaller tile or mosaic because it follows the slope more naturally and gives better footing. For walls, a larger tile can look calm and intentional, but only if the substrate is flat enough to support it. That is why tile selection and prep should be decided together, not separately.
One more practical detail: I always order extra material. A 10% overage is a sensible baseline, and I go higher when the pattern is diagonal, the room has lots of cuts, or the tile has noticeable variation. It is much cheaper to have spare boxes than to discover a discontinued lot after the job is done.
Waterproofing and slope are the difference between new and rework
Bathrooms fail when water gets where it should never go. Grout is not waterproofing, and caulk is not a substitute for a proper membrane. In wet areas, I think in layers: structure, substrate, waterproofing, tile, grout, and sealant at movement joints. Every layer has a job.
In a shower, I want the floor to slope toward the drain at about 1/4 inch per foot. That gives water a path out instead of letting it pool in corners or around the curb. I also pay attention to seats, niches, thresholds, and ledges, because horizontal surfaces in a shower should still drain instead of holding water.
Liquid-applied membranes and sheet membranes can both work when they are installed correctly. I care less about the brand name than about coverage, compatibility, and following the instructions exactly. The mistake is assuming the membrane matters less than the tile. In reality, the membrane is what keeps the face of the project from becoming a leak.
The other place installers get into trouble is at the changes of plane. Inside corners, the joint where wall meets floor, the tub-to-tile line, and the edge where tile meets another material should move a little. I use flexible sealant there, not grout, because movement is normal and rigid joints crack when the room expands, contracts, or shifts slightly.
Budget for the hidden costs, not just the tile box
The tile itself is only part of the price. In the U.S., a straightforward bathroom floor or wall project often lands in the range of roughly $10 to $25 per square foot installed, while shower work usually runs higher because of waterproofing, detailing, and access constraints. Once the layout gets more complex, or the tile is dense stone or large-format porcelain, labor can climb quickly.
| Cost item | Typical impact | Why it changes the price |
|---|---|---|
| Tile material | Low to high | Ceramic is often cheaper; stone and specialty tile cost more |
| Substrate repair | Moderate to high | Uneven or damaged surfaces take time to correct |
| Waterproofing | Moderate to high | Wet zones need membranes, careful seams, and cure time |
| Layout complexity | Moderate | Diagonal or herringbone patterns create more cuts and waste |
| Edge trim and fixtures | Moderate | Finishing pieces, transitions, and reinstalled fixtures add labor |
Time follows a similar pattern. A small floor might be set in a day, but a proper shower can take several days once prep, waterproofing, tile setting, curing, and grouting are included. If someone promises a fully finished wet area too quickly, I start asking what they are skipping.
This is also why I do not treat the cheapest quote as the best quote. A bathroom job can look inexpensive on paper and still become expensive once the installer discovers an out-of-level floor, water damage, or a substrate that needs to be rebuilt from scratch.
What usually goes wrong, and what I would fix first
Most failures are surprisingly boring. They come from shortcuts, not from exotic product defects. If I were troubleshooting a bad bathroom tile job, I would look in this order: structure, flatness, waterproofing, layout, and only then the tile itself.
- Uneven substrate leads to lippage, hollow spots, and grout lines that wander.
- Too little mortar coverage leaves weak bonds and makes tile more likely to crack or sound hollow.
- Using grout where movement belongs creates cracks at corners and transitions.
- Skipping waterproofing allows moisture to enter the wall or floor assembly.
- Bad layout planning leaves thin slivers at the edges and cuts in visible places.
- Ordering too little tile creates lot-matching problems and delays the project.
I also see a lot of confusion around sealing. Sealer can help some grout and some stone, but it does not magically make a wet area waterproof. If a shower is built correctly, the waterproofing is already doing that job behind the tile. Sealer is maintenance, not a rescue plan.
When I want a bathroom to age well, I focus less on what is trendy and more on what remains stable after the room is used every day. That usually means solid prep, restrained layout choices, and materials that match the moisture level of the space.
Details that keep a tiled bathroom looking intentional
Clean tile work is mostly a story about detail control. Straight lines, balanced cuts, tight transitions, and the right grout width do more for the room than a flashy pattern that is badly executed. I would rather see a simple subway layout with sharp alignment than an ambitious design that loses coherence at the corners.
If the bathroom is small, I usually think carefully about visual rhythm. Vertical stacking can make a room feel taller, while a centered layout can calm a narrow space. On the floor, I prefer cuts to land in less visible spots whenever possible, especially near the entry and behind fixtures. Those choices are not dramatic, but they make the room feel deliberate instead of improvised.
That is the real takeaway: good tile work is a system. Once the substrate, waterproofing, tile selection, and layout all support each other, the bathroom stops feeling like a collection of surfaces and starts reading as one well-built room. If you plan the hidden work as carefully as the visible finish, the result holds up far better than most people expect.
