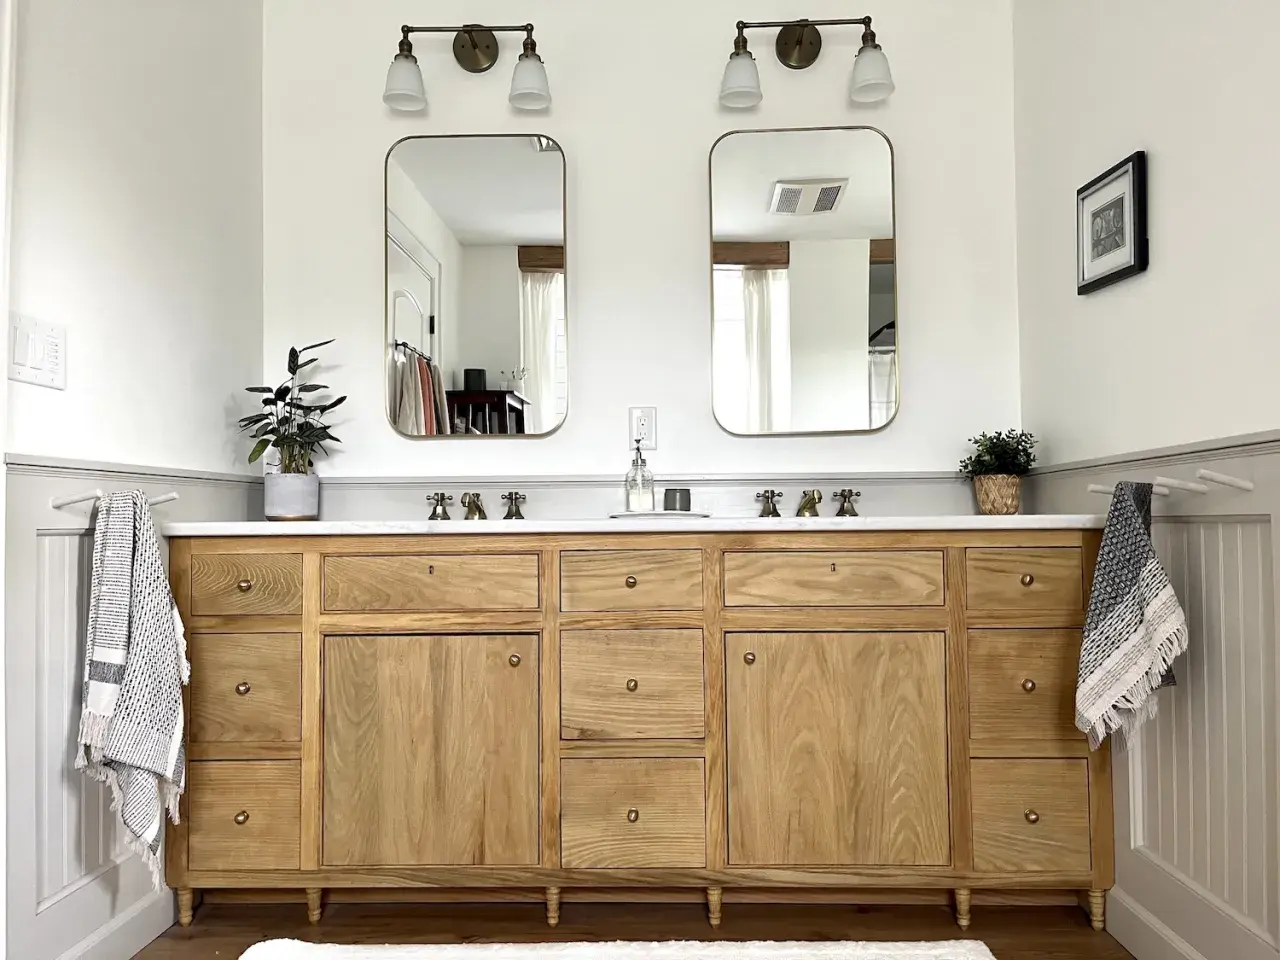
What you need to know before cutting the first board
- Measure the finished space first, not just the empty wall opening.
- Choose the vanity style based on skill level, room size, and plumbing layout.
- Use cabinet-grade plywood, sealed edges, and rust-resistant hardware in humid rooms.
- Pick the sink and countertop before you finalize the cabinet opening.
- Leave space for service access, cleanup, and daily movement in front of the vanity.
How to size a vanity that actually fits the room
I start every vanity project by measuring the room as it will exist after tile, drywall, and trim are in place. A cabinet that looks right on paper can feel wrong once the finishes are installed, so I check the finished wall-to-wall width, door swing, nearby fixtures, and how much space the user really has in front of the sink.
For a single sink, I usually work in the 24 to 48 inch range. For a double sink, 60 to 72 inches is the practical zone. Depth usually lands between 18 and 24 inches, and height is commonly 32 to 36 inches. I also keep at least 15 inches from the sink centerline to a side wall or tall obstacle, and I try to leave 21 inches of open floor in front of the vanity, with 30 inches feeling much better in daily use.
| Dimension | Practical range | Why it matters |
|---|---|---|
| Height | 32 to 36 inches | Comfort, faucet reach, and a more modern profile |
| Depth | 18 to 24 inches | Shallow cabinets save space; deeper ones improve storage |
| Single-sink width | 24 to 48 inches | Works well in guest baths, hall baths, and smaller primary baths |
| Double-sink width | 60 to 72 inches | Leaves enough room for two basins and usable counter space |
| Front clearance | 21 inches minimum, 30 inches better | Lets doors, drawers, and knees move without fighting the room |
| Side clearance from centerline | 15 inches minimum | Helps the sink clear walls and tall obstructions |
The numbers only matter if the room still works as a room, so once the footprint is settled I move on to the way the vanity itself will be built.
Choose the build style that matches your tools and patience
Not every bathroom needs the same cabinet. When I want the safest path for a first build, I choose a simple plywood box. When I want a furniture look, I add a face frame and more detailed doors. Floating vanities look sharp and make a small bathroom feel lighter, but they ask for better wall blocking and cleaner plumbing layout than most beginners expect.| Build style | Best for | Typical cost | Difficulty | Main tradeoff |
|---|---|---|---|---|
| Simple cabinet box | First-time builders and small baths | $250 to $700 | Moderate | Fast and efficient, but less decorative |
| Face-frame vanity | Most full baths | $400 to $1,200 | Moderate to hard | Looks more finished, but needs cleaner joinery |
| Floating vanity | Compact baths and modern layouts | $500 to $2,000 plus | Hard | Needs blocking, strong walls, and careful plumbing |
| Furniture conversion | Powder rooms and decorative spaces | $200 to $900 | Easy to moderate | Charming, but harder to make truly moisture-proof |
If you already know the look you want, the next question is whether the materials will hold up once steam, splashes, and cleaning products enter the picture.
Use materials that can live in a humid room
Bathrooms punish weak edges. That is why I prefer cabinet-grade plywood for the carcass, solid wood or quality plywood for doors and drawer fronts, and hardware that will not rust the first time the room stays humid for a week. MDF can look excellent on painted fronts, but I avoid it at the sink edge or anywhere water can sit; one swollen corner is enough to make the whole project feel cheap.
- Carcass: I like 3/4-inch cabinet-grade plywood because it stays stiff and behaves predictably.
- Back panel: 1/2-inch plywood is usually enough if the cabinet is also anchored well.
- Doors and drawer fronts: Solid wood or paint-grade plywood both work, depending on the finish you want.
- Hardware: Soft-close hinges, full-extension slides, and corrosion-resistant screws are worth the small extra spend.
- Finish system: Moisture-resistant primer plus a durable enamel, or a hard finish over stain, gives better long-term results.
- Sealants: Use silicone around wet seams; it stays flexible where ordinary caulk can fail.
For me, the main rule is simple: I build the cabinet like a fixture, not like a dry-room piece of furniture, because that mindset keeps the project from failing at the edges where water actually touches it.
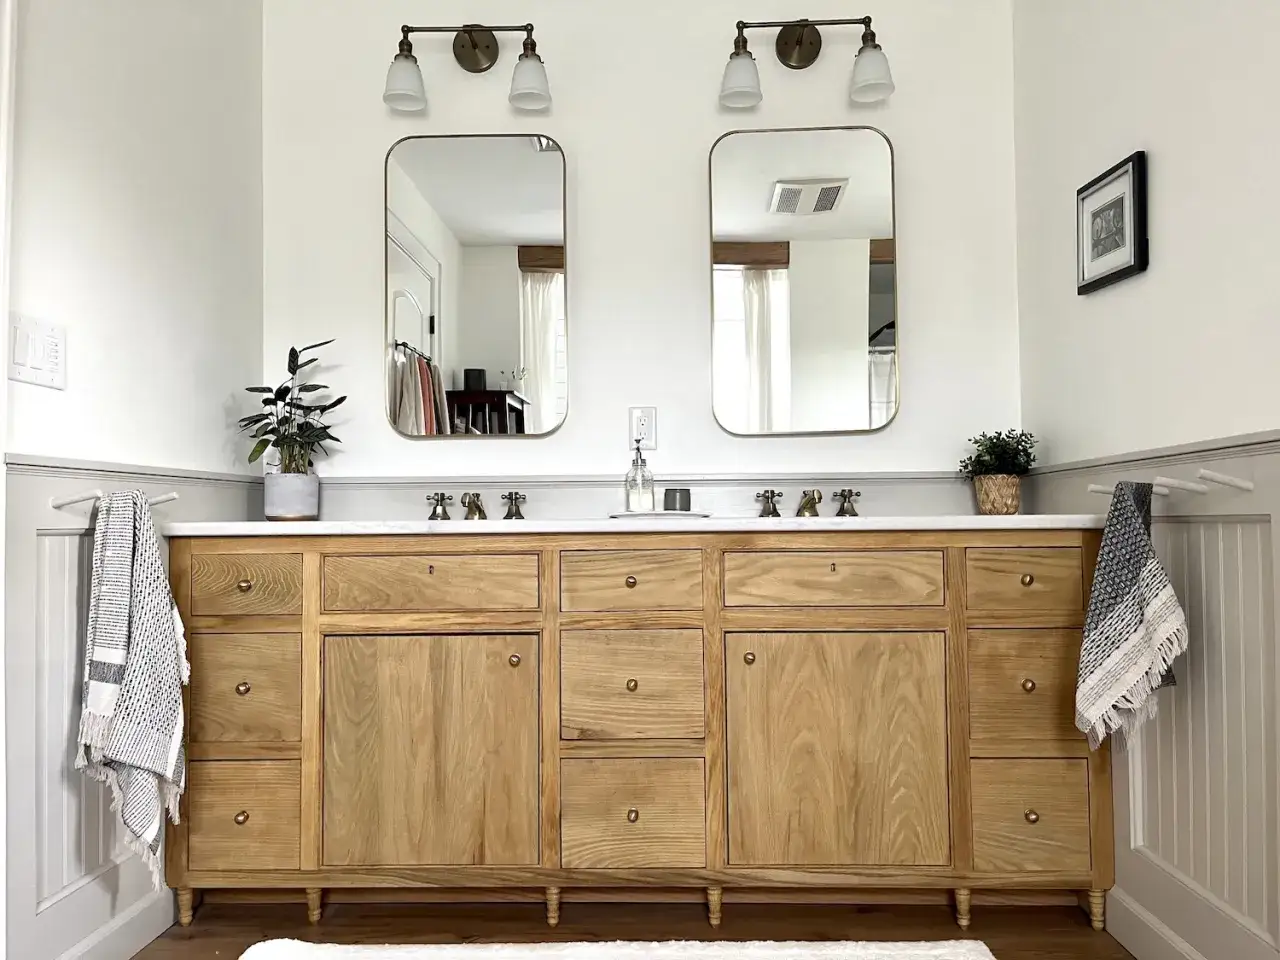
Build the cabinet box square, then make it pretty
Once the dimensions and materials are settled, the actual build is mostly discipline. The cabinet box has to be square, level, and strong before any finish work matters, because a countertop will telegraph even a small twist. I would rather spend extra time on the carcass than try to hide a bad frame with caulk later.
- Cut the side panels, bottom, stretchers, and any center divider to final size.
- Dry-fit the box on a flat surface and check both diagonals so you know it is square.
- Join the parts with pocket holes, dados, or glue and screws, depending on the style you chose.
- Add the face frame, toe kick, drawer dividers, and any internal supports before finishing.
- Test-fit the doors, drawers, and sink opening before you sand or paint.
If the floor is uneven, I usually leave room for shims or leveling feet so the vanity can sit perfectly flat even when the room does not. Once the carcass is right, the sink and plumbing details decide whether the vanity feels custom or cramped.
Plan the sink, top, and plumbing before you lock in the opening
I always choose the sink before I commit to the final cabinet cutout. The sink type affects the top opening, the storage space below, the faucet placement, and even how comfortable the vanity feels to use every day. A clean-looking cabinet can become annoying fast if the bowl, drain, and trap are fighting for the same space.
| Sink type | Why I use it | Watch-outs |
|---|---|---|
| Undermount | Clean look and easy wipe-down | Needs a precise cutout and a strong countertop |
| Drop-in | Forgiving and easier to install | The rim can trap grime and look bulkier |
| Vessel | Strong visual impact in a powder room | Raises the height and can splash more |
If I am doing a double vanity, I want at least 30 inches between sink centerlines, and 36 inches feels better if the cabinet width allows it. If the project requires moving the drain or supply lines, that is the point where the job stops being just carpentry and starts touching plumbing work that may need a licensed pro.
When the plumbing plan is settled, the finish is what keeps the whole project from aging badly.
Finish it like a bathroom fixture, not a dry-room cabinet
The best-built vanity can still fail if the finish is rushed. I sand every visible surface, seal cut edges, and pay extra attention to the underside of the top and the sink opening, because those are the places that get ignored until water reaches them. If I am painting, I want a moisture-resistant primer and a durable cabinet enamel. If I am staining, I want a finish that can take regular cleaning without going cloudy or soft.
- Seal end grain and cutouts before the top goes on.
- Use at least two finish coats on high-touch surfaces.
- Let the finish cure long enough that doors and drawers do not imprint into it.
- Use silicone at wet joints instead of relying on paint alone.
- Install soft-close hardware if the room is likely to get daily use.
I also like to think about the countertop as part of the finish system. Quartz and solid-surface tops are easy to live with, cultured marble is practical and budget-friendly, and sealed stone can work well if the owner is willing to maintain it. Wood tops can look beautiful, but they ask for more maintenance than most bathrooms deserve.
Even a strong cabinet can fail if the installation or layout details are ignored, which is where most DIY projects go sideways.
The mistakes I would avoid on every first build
Most vanity mistakes are not dramatic; they are just expensive in time. I see the same issues over and over, and nearly all of them come from skipping one measurement or assuming the room is more forgiving than it is.
- Copying the old vanity size blindly: Older cabinets often ignore current clearances and finish thickness.
- Forgetting tile and drywall buildup: The finished wall is usually thicker than the rough opening suggests.
- Making drawers too deep: A drawer that looks perfect on paper can crash into the P-trap.
- Skipping service access: Shutoff valves and the trap need room to be reached later.
- Using MDF in the wrong place: It is too risky around sink edges and places that may get wet.
- Mounting a floating vanity without blocking: Wall anchors are not a substitute for real support.
- Choosing the countertop too early: Sink templates and faucet spread can change the whole layout.
If the project includes moving plumbing, changing electrical, or adding wall blocking, I stop and bring in the right trade rather than guess. A vanity build is a good DIY project; a badly improvised rough-in is not.
The last step is less about construction and more about the discipline to dry-fit everything before caulk and screws make changes annoying.
The last details that make the vanity feel built in
Before I call a vanity finished, I run one last check on the parts that people notice every day without thinking about them. The cabinet should sit level front to back and side to side, the doors and drawers should clear the sink trap, the faucet should land cleanly on the top, and the overhang should look even rather than accidental. Small errors are easier to fix before the top is permanently set and the silicone has skinned over.
- Dry-fit the top, sink, and faucet before final fastening.
- Check that drawers open fully without hitting plumbing.
- Make sure the vanity does not crowd the door or toilet when both are in use.
- Keep a small amount of matching paint or finish for touch-ups after installation.
- Leave the room ventilated while the finish and sealant cure.
If I were building this for my own house, I would spend the extra hour on dry-fitting, leveling, and sealing the hidden edges. That is usually what separates a vanity that merely looks custom from one that still feels solid after years of steam, splashes, and daily use.