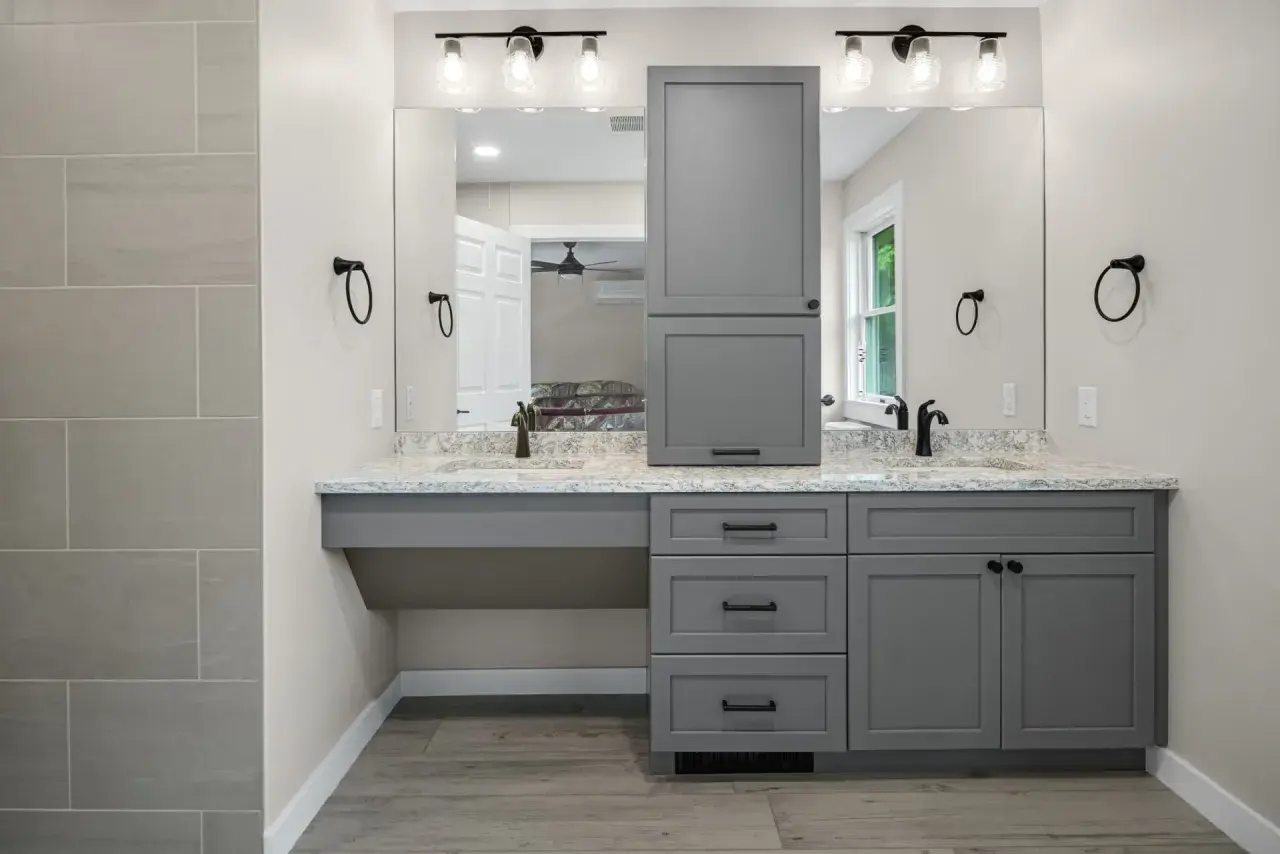
A freestanding vanity set against a wall can solve a lot of bathroom problems at once, but only if the room, the plumbing, and the finish details line up. The difference between a cabinet that looks placed and one that looks built in usually comes down to a few millimeters, a few measurements, and a few decisions that are easy to get wrong. In this article I break down the layout logic, the measurements that matter, the installation steps, and the finishing choices that make the setup feel intentional.
The install works best when the cabinet, wall, and plumbing are planned together
- Plan for about 30 inches of clear space in front of the vanity when you can; 21 inches is a common minimum in code-based planning.
- Most modern vanities land around 32 to 36 inches high and 18 to 21 inches deep.
- A freestanding cabinet still needs to be anchored to studs if you want it to stay stable.
- If the wall or floor is out of square, use shims and scribed fillers instead of forcing the cabinet into place.
- A side splash or a clean filler strip usually looks better than a wide, messy caulk line.
What this placement solves in a real bathroom
This layout works because it gives you the storage and furniture look of a freestanding piece while still using the wall as a visual anchor. In smaller bathrooms, that matters more than people expect: the vanity feels grounded, the mirror is easier to center, and the room reads as finished rather than improvised. I also like this approach when the plumbing already lives on one wall, because it keeps the remodel simpler and usually less expensive than moving everything.
The main thing to remember is that "freestanding" describes the style, not the structural reality. In practice, the cabinet may sit on legs or a toe-kick base, but it still belongs tight to the wall and often needs to be secured like any other fixed fixture. Once you understand that distinction, the rest of the decisions become much easier to make.
From there, the next question is not whether the vanity can go there, but whether the room has the right dimensions to support it comfortably.
Measure the space before you order anything
I always start with finished dimensions, not rough framing. Measure from finished wall to finished wall, check the exact door swing, note where the baseboard stops, and verify the drain and supply locations before you commit to a cabinet size. The wall itself matters too: if it is not plumb, a vanity that looks perfectly sized on paper can still leave an ugly wedge-shaped gap in real life.
For U.S. bathrooms, I use the NKBA planning guidelines as a practical benchmark: 30 inches of clear space in front of the lavatory is the comfortable target, and 21 inches is the bare minimum that often shows up in code-based planning. If accessibility is part of the brief, the ADA Standards push the layout toward a 30 by 48 inch clear approach area, which changes the whole room strategy.
| Measurement | Practical target | Why it matters |
|---|---|---|
| Vanity height | 32 to 36 inches | Comfort-height installs around 34 to 36 inches feel easier for many adults. |
| Vanity depth | 18 to 21 inches | Shallower units preserve circulation in powder rooms; deeper units add storage. |
| Vanity width | 24 to 72 inches | Width has to match the sink count, the wall length, and the traffic flow. |
| Front clearance | 30 inches preferred, 21 inches minimum | This is the difference between a room that works well and one that feels cramped. |
| Accessibility approach | 30 by 48 inches | Needed when the layout has to support wheelchair or broader accessibility needs. |
One more thing I check before I buy is whether the sink and countertop style match the cabinet height. A vessel sink, for example, usually needs a lower cabinet so the final rim height does not end up awkwardly high. With the numbers in hand, installation becomes a lot less forgiving in a good way, because the room tells you what it can actually handle.
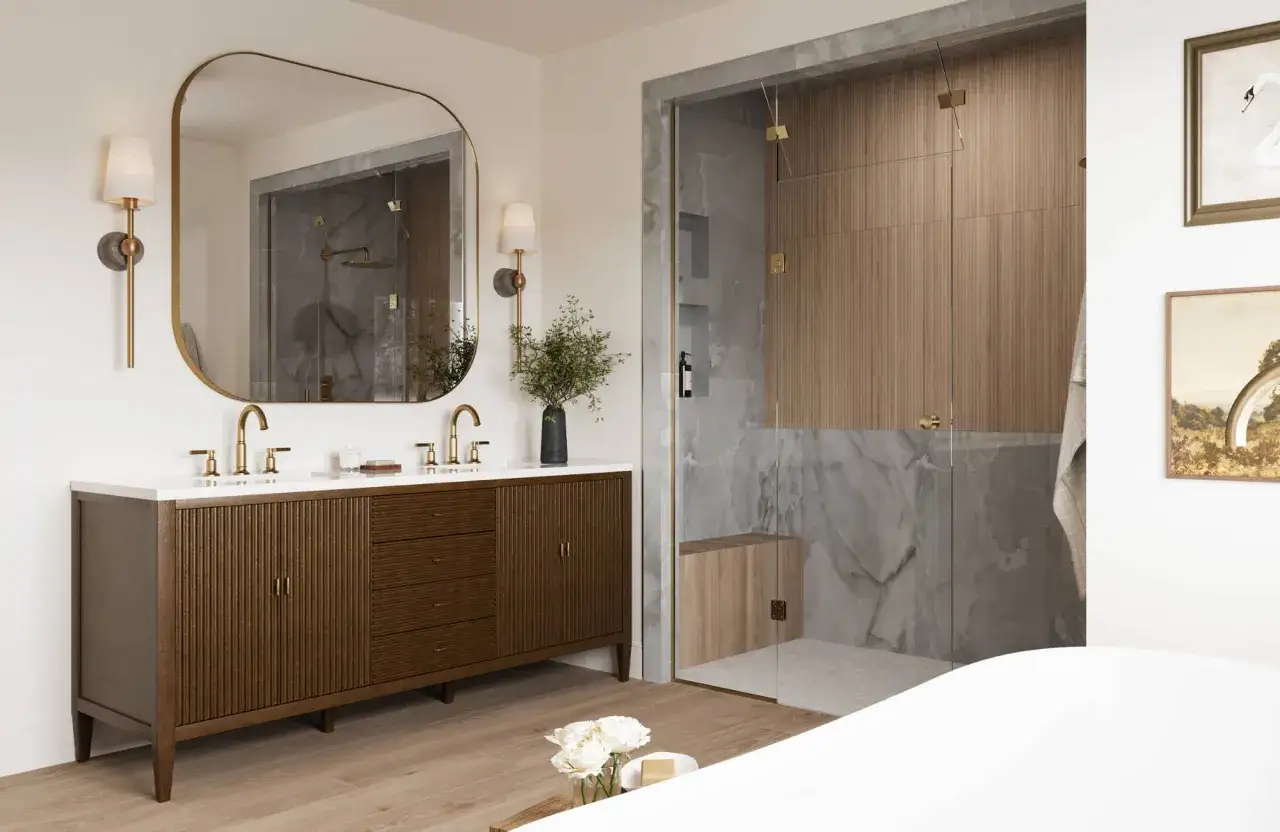
How I would install it so it sits tight and stays stable
When I install a freestanding cabinet, I do not treat it like a loose piece of furniture. I treat it like a fixed fixture that just happens to have legs. That means I dry-fit it, level it, shim it, and anchor it to the wall structure before I think about the countertop or the mirror.
- Set the cabinet on the finished floor and mark the stud locations.
- Check the cabinet for level and the wall for plumb. Plumb means perfectly vertical; level means perfectly horizontal.
- Shim low spots until the cabinet sits flat and the top line reads true.
- Fasten the cabinet through the back rail into wall studs, not just drywall.
- Install the countertop, then seal the wall joint with a bathroom-grade caulk.
If the wall is out of square, I would rather use a scribed filler strip than force the cabinet tight and hope caulk hides the error. Scribing is simply shaping a filler or edge piece so it follows the wall exactly, and it usually looks cleaner than a gap that widens toward one end. If baseboard is in the way, I remove it or cut it back so the cabinet sits where it is supposed to sit instead of floating awkwardly in front of the trim.
That part matters because moisture will always find the weakest edge first. A tight, anchored cabinet with a neat seal is far more durable than a setup that looks close from across the room but starts moving once daily use begins.
When the layout works, and when it fights the room
This placement is strongest when the bathroom is straightforward: one solid wall, standard plumbing, and enough floor area to open drawers without collision. It also works well in powder rooms where you want storage without the visual weight of a built-in wall unit. In those rooms, a freestanding cabinet gives you a softer, more furniture-like look without giving up much function.
| Room condition | What I usually see | My take |
|---|---|---|
| Straight wall and standard rough-in | The cabinet sits flush with minimal filler | Good fit and usually the easiest install. |
| Out-of-plumb wall | One end gaps or the top line looks twisted | Use shims and a scribed filler, or choose a more custom style. |
| Tight powder room | Door swing and traffic lane become the real constraint | Shallower depth often beats a wider cabinet with more storage. |
| Accessibility-focused bath | Open approach space matters more than cabinet footprint | A floating or open-base design may be the better option. |
| Heavy splash zone | Water hits the wall edge repeatedly | Plan for a backsplash and strong sealing from the start. |
The biggest mistake I see is assuming the vanity can hide a bad wall by itself. It usually cannot. If the room is crooked, the cabinet will reveal it faster than any other fixture because the top edge, side gap, and countertop line all sit in the same field of view. That is why the next comparison matters so much: the style you choose has to match the room you actually have, not the one you wish you had.
Freestanding, floating, and built-in are not interchangeable
People often talk about vanity style as if the decision is only visual, but the installation reality is very different. A freestanding cabinet brings storage and flexibility. A floating cabinet opens up the floor and usually makes a compact bath feel larger. A built-in or custom alcove unit can solve strange dimensions, but it asks for more precision and usually more labor.
| Style | Best for | Main advantage | Main tradeoff |
|---|---|---|---|
| Freestanding against a wall | Most remodeling projects | Easier to place, easier to live with, and more storage-friendly | More likely to show a seam if the wall is crooked |
| Floating | Smaller or more modern bathrooms | Visually lighter and easier to clean under | Needs stronger wall support and a more exact install |
| Built-in or custom | Awkward rooms or higher-end renovations | Cleanest fit and best use of odd dimensions | More cost, more labor, and less flexibility later |
If I am helping someone choose, I usually ask one question first: do you need the room to feel bigger, or do you need the fixture to work harder? Floating wins on visual openness. Freestanding wins on storage and simplicity. Built-in wins only when the space is truly irregular or the design budget is there to support a more exact solution. That comparison makes the final finish details much easier to judge.
The small details that stop a vanity from looking improvised
The last 10 percent of the job often makes the first 90 percent feel worthwhile. A side splash on the exposed wall edge protects the wall and gives the countertop a finished stop. A color-matched silicone bead at the wall joint keeps moisture out without drawing attention to the seam. A filler strip, if you need one, should look deliberate rather than like an afterthought.
I also pay attention to what is above the vanity. If the mirror is too wide, the wall starts to feel crowded; if it is too narrow, the cabinet looks stranded. The same is true for lighting. A wall-mounted fixture or sconce that lands awkwardly close to the cabinet edge can make even a good install feel off balance. The goal is not to over-style the space; it is to make every line agree with the next one.
My rule of thumb is simple: treat the cabinet like a fitted piece of furniture even when it is technically freestanding. Measure the finished room, verify the rough-in, anchor the unit properly, and seal the edges cleanly. If those four things are right, the vanity will look intentional, stay stable, and hold up much better in daily use.