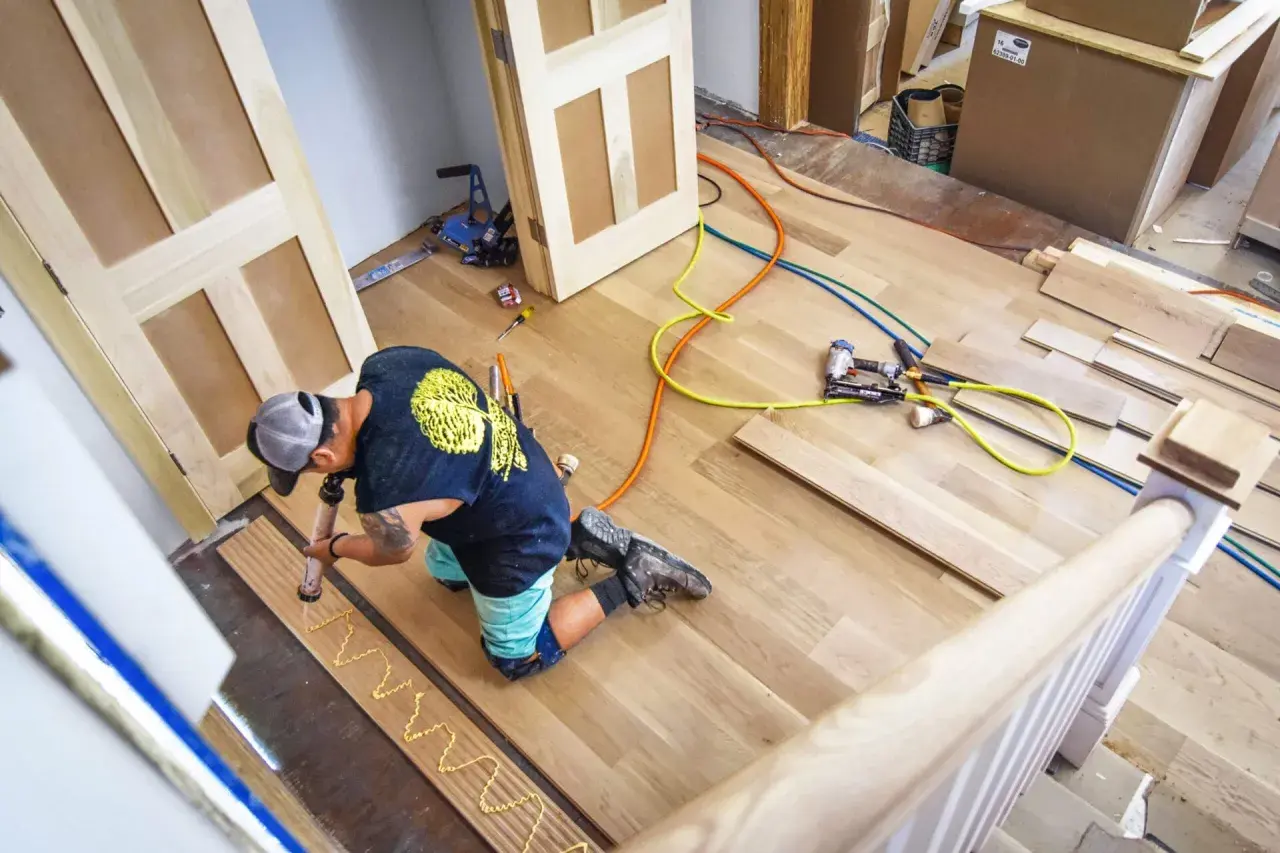
Luxury vinyl tile can give a bathroom, kitchen, or hallway a sharp finished look, but the result depends on the details most people rush. Knowing how to install luxury vinyl tile matters because the floor only looks professional when the prep, layout, and edge work are done in the right order. I’m going to walk through the process I would trust on a real project, including the decisions that matter before the first tile goes down.
The essentials for a clean, durable LVT install
- Pick the right system first: click-lock, glue-down, or loose-lay all behave differently.
- Spend most of your time on subfloor prep, because flatness and moisture control decide the outcome.
- Dry-fit the layout before committing so you avoid skinny cuts at walls, doors, and fixtures.
- Keep perimeter gaps clear on floating floors and never trap the floor under fixed cabinetry unless the product allows it.
- For bathrooms, plan around the toilet, vanity, and thresholds before you start cutting.
- Save extra material for repairs, and protect the floor during the first day of use.
Choose the installation method before you buy tools
Not every luxury vinyl tile installs the same way, and that matters more than people think. I always start by checking the product sheet, because the right method determines everything else: underlayment, adhesive, expansion gaps, even how the room should be staged.
| Method | Best for | What to watch | My take |
|---|---|---|---|
| Click-lock / floating | DIY projects, faster installs, rooms where you want less mess | Perimeter gaps, movement space, and a very flat subfloor | The easiest option for many homeowners, but it fails fast if the floor is uneven or overfilled at the edges. |
| Glue-down | High-traffic spaces, commercial-style durability, and some bathrooms | Adhesive open time, trowel consistency, and moisture control | It takes more discipline, but it usually gives the cleanest low-profile finish. |
| Loose-lay | Limited applications and specific product lines | Perimeter hold, substrate quality, and manufacturer limits | I only use it when the product is designed for it; it is not a universal shortcut. |
For bathrooms, I usually lean toward whichever system the manufacturer explicitly approves for wet-prone areas. A floor can be water-resistant and still be installed the wrong way if the substrate or edge detail is ignored. Once the method is chosen, the real work begins with prep.
Prepare the room and subfloor like the finish depends on it
That prep sentence sounds obvious, but it is where most bad installs begin. I want the surface flat, dry, clean, and structurally sound before I lay a single tile. Many manufacturers expect the floor to be flat within roughly 3/16 inch over 10 feet, and on concrete I treat moisture testing as mandatory, not optional.
Here is the order I follow before installation:
- Remove baseboards, shoe molding, and transitions that would block the floor.
- Undercut door casings so the tile slides neatly underneath.
- Vacuum, scrape, and patch the subfloor until there are no ridges or loose spots.
- Level low areas with the correct patching or leveling compound.
- Test concrete for moisture and fix the source of any dampness before moving on.
- Check whether underlayment is allowed for your product, because too much cushion can weaken a floating floor.
I also like to have the right tools ready before I begin so I do not stall halfway through the room:
- Tape measure and chalk line
- Utility knife with fresh blades
- Straightedge or T-square
- Spacers
- Tapping block and pull bar for click systems
- Adhesive and the correct trowel for glue-down jobs
- Moisture meter or approved moisture test kit when working over concrete
If I am working in a bathroom, I also decide early what I’m doing with the toilet, vanity, and trim so I do not have to force cuts later. Once the room is ready, the next job is layout, and that is where the floor starts looking intentional instead of improvised.
Lay out the floor so the pattern feels balanced
A good layout is the difference between a floor that looks custom and one that looks like it was finished in a hurry. I dry-fit a few rows first, especially in visible rooms or bathrooms with lots of cut lines, because small adjustments at the start can save the whole install from awkward slivers at the far wall.
Find your starting lines
I usually measure the room, find the center, and snap a chalk line if the space is square enough to reward that approach. If the room is slightly off, I work from the straightest wall and shift the layout until the cuts at opposite sides are as even as possible. The goal is simple: avoid ending with a tiny strip of tile that looks accidental and is harder to secure.
Dry-fit the tricky spots
Bathrooms and hallways create the most trouble because the floor has to work around door jambs, toe kicks, and plumbing. I dry-fit those areas before I open adhesive or lock the first row together, and I always mix tiles from multiple boxes so color variation stays natural across the room. If the product has arrows or directional marks, I keep them aligned from the beginning so the finished pattern reads consistently.
Most floating floors want a perimeter expansion gap, and 1/4 inch is common, though some products call for more. I never guess here; I use the gap the manufacturer specifies and plan the layout around it. With the room mapped out, the actual installation becomes much easier to control.
Install the tiles with the right pace and pressure
This is the part people expect to be the hardest, but once the room is prepped and marked, the work is mostly about staying disciplined. Whether the floor is floating or glued down, I want every tile to land squarely, fully supported, and consistent with the layout line I already set.
For click-lock or floating systems
- Start on the straightest wall or at the centerline if the layout supports it.
- Set spacers at the perimeter so the expansion gap stays open.
- Lock the first row carefully, because if that row drifts, every following row will drift with it.
- Stagger end joints so they do not line up from row to row.
- Use a tapping block and pull bar only as directed, and never force the locking edge.
- Cut the last row to fit while preserving the movement gap.
Read Also: Replace Vinyl Plank Flooring - Pro Guide to a Perfect Finish
For glue-down systems
- Spread adhesive only across an area you can reasonably cover before it skins over.
- Lay each tile into the adhesive with care, because repositioning is limited once contact is made.
- Roll the floor if the adhesive and product call for it, since that improves bond strength.
- Wipe squeeze-out immediately before it cures.
- Keep traffic off the floor for the full time the adhesive needs to set.
The detail I see skipped most often is patience at the edge of each row. Rushing the cuts or leaning on the tiles before the adhesive is ready can create tiny shifts that become visible later as gaps or lifted seams. After the main field is down, the bathroom-specific details deserve just as much attention.
Handle bathrooms, doorways, and other edge cases carefully
Bathrooms are where flooring mistakes show up quickly, because the room mixes moisture, fixtures, and tight clearances. I plan the toilet, vanity, and threshold details before installation, not after, because those decisions affect where the cuts land and whether the floor can move the way it needs to.
- For a floating floor, I keep the expansion gap free around the perimeter and use trim to hide it.
- A fixed vanity can trap movement, so I check whether the manufacturer allows the floor to run under it before I commit.
- For the toilet, I usually remove it, install the flooring to the flange area, and reset the toilet afterward with fresh sealing materials if needed.
- At doorways, I use the correct transition strip so the floor does not look pinched between rooms.
- Where splashes are common, I finish exposed edges cleanly instead of relying on a bead of caulk to hide poor cutting.
There is a real distinction between a water-resistant product and a waterproof installation. The tile may handle moisture well, but the floor still fails if water gets under a trapped edge or if a floating system cannot expand. That is why I treat the room geometry as part of the install, not just the decoration around it.
Fix the mistakes that cause most failures
Most LVT problems are not mysterious. They usually come from a handful of avoidable errors that show up early if you know what to look for. I prefer to prevent those problems rather than repair them after the floor starts buckling or separating.
- Skipping moisture testing on concrete, which can lead to bond failure or swelling.
- Installing over an uneven subfloor, which telegraphs dips, bumps, and ridges through the surface.
- Ignoring expansion space on floating floors, which can make the floor tent or lock up.
- Using dull blades, which leaves ragged cuts and weak edges.
- Mixing up adhesive timing, which affects bond strength on glue-down jobs.
- Trapping the floor under fixed objects, which prevents movement and creates stress points.
If I had to reduce the whole project to one rule, it would be this: do not force the floor to compensate for bad prep. LVT is forgiving in everyday use, but it is not forgiving of careless installation. Once those errors are avoided, the last step is making the finish hold up in real life.
The small finishing details that keep the floor looking built-in
The job is not finished when the last tile is in place. The floor should look like it belongs to the room, and that comes from the final trim work, the first cleaning, and the habits you set afterward. I save at least one unopened box, because a few matching tiles later can be the difference between an easy repair and a visible patch.
- Reinstall baseboards and shoe molding without pinning a floating floor in place.
- Use the correct transition pieces where flooring changes height or material.
- Wait for the adhesive or recommended cure time before heavy traffic, furniture, or wet cleaning.
- Use felt pads under furniture and avoid dragging vanities or appliances across the surface.
- Skip steam mops unless the product specifically allows them.
- Keep the space ventilated, especially in bathrooms, so trapped moisture does not become a long-term problem.
When a luxury vinyl tile floor is installed well, it should feel calm, tight, and deliberate underfoot. The real skill is not just placing the tiles, but controlling the prep, the layout, and the edge details so the room looks finished for years instead of merely finished on day one.
