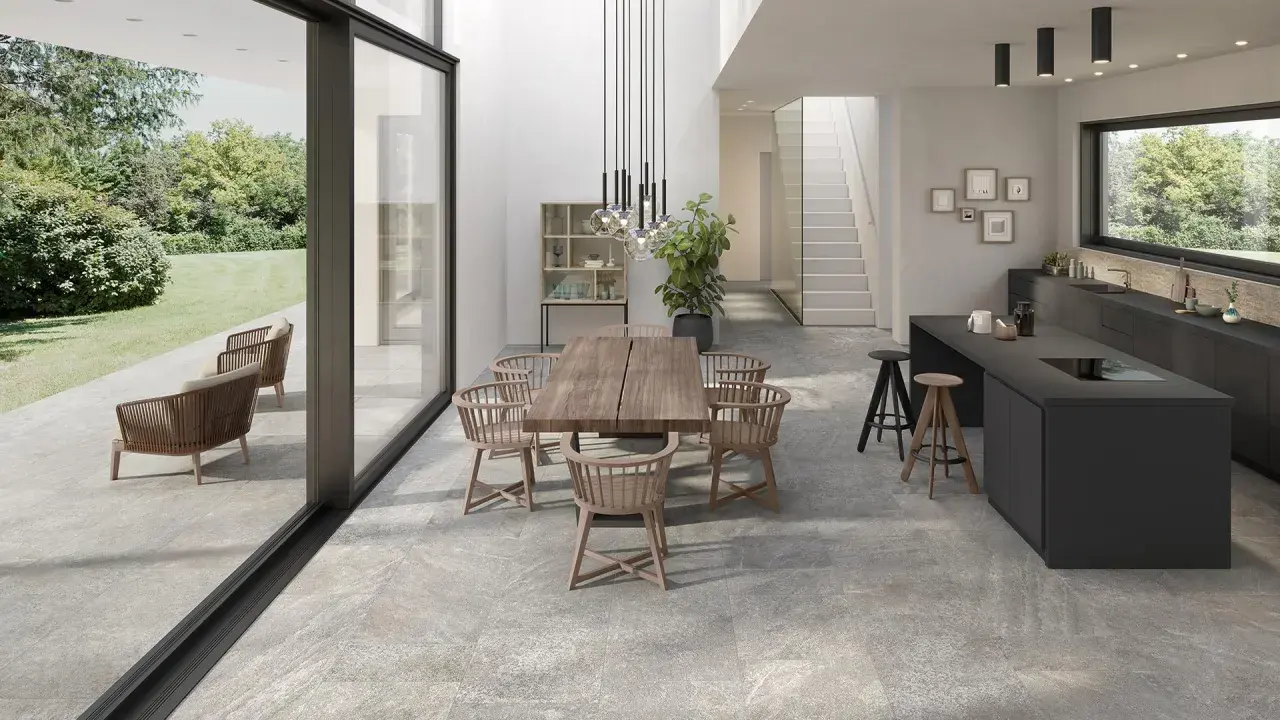
The floor lasts when the room is ready for stone
- Natural stone is beautiful, but it is less forgiving than porcelain, so the subfloor, flatness, and moisture control matter more than the pattern.
- For busy bathrooms and wet zones, finish choice is as important as stone type: honed and textured surfaces usually work better than high polish.
- The Tile Council of North America recommends a much stiffer floor for natural stone over wood framing, which is why structural checks come before layout.
- In 2026 U.S. pricing, most installed natural-stone floors land around $10 to $35 per square foot, with prep often adding a meaningful chunk to the total.
- Most failures come from flex, poor waterproofing, skipped movement joints, and sealing mistakes, not from the stone itself.
Choose the right stone for the room, not just the look
When I plan a bathroom, I start with traffic, water, and maintenance tolerance. A dramatic stone can be the right choice, but only if the room can support its weaknesses as well as its strengths. Polished marble, for example, can look elegant in a powder room, yet it is a different conversation in a family bath where water, soap, and grit are part of daily life.
| Stone type | Best fit | Why it works | What to watch |
|---|---|---|---|
| Granite | Busy baths, entries, kitchens | Hard, durable, and relatively resistant to wear | Still needs sealing, and busy patterns can feel visually heavy |
| Marble | Powder rooms, low-splash baths | Classic veining and a refined finish | Etches easily and can be slippery when highly polished |
| Travertine | Spa-style baths, warm interiors | Soft visual texture and a calm look | Porous surface, filled pits, and more upkeep |
| Slate | Mudrooms, rustic baths, wet-prone floors | Good traction and strong character | Can shed layers or collect grime in textured surfaces |
| Limestone | Quiet, low-contrast interiors | Understated and warm | Soft enough to scratch and etch more easily |
| Quartzite | High-traffic premium rooms | Very hard and visually close to marble in some slabs | Price climbs fast, and true quartzite should be verified |
My rule is simple: choose the stone for how the room will be used, not for the first sample board that looks impressive under showroom lights. That decision only works when the structure below it is right, which is where the project gets technical.
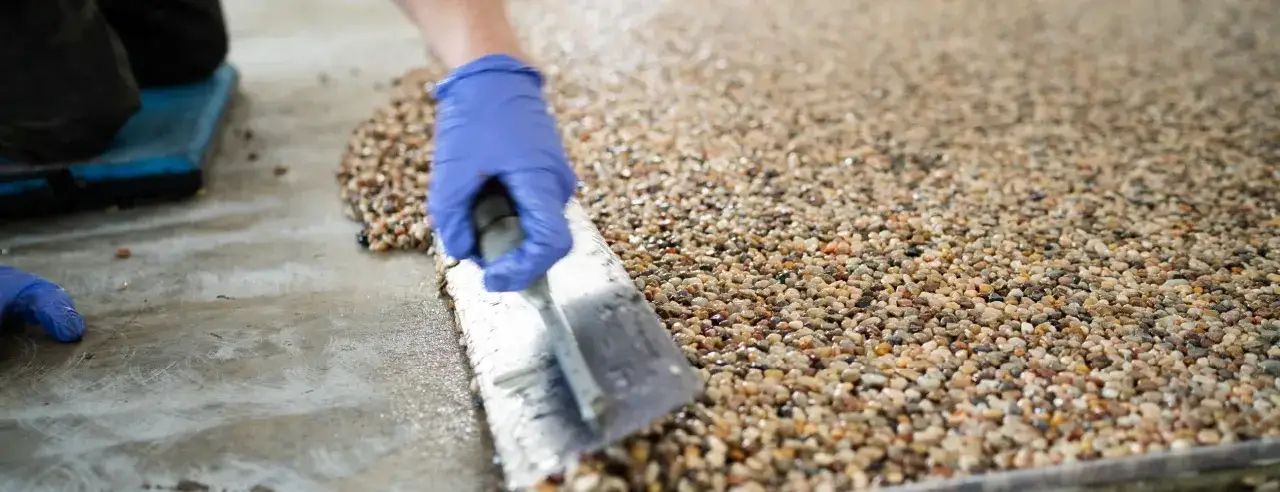
Build the floor correctly before the first tile goes down
This is the part most homeowners underestimate. Stone is heavy and unforgiving, so the floor beneath it has to resist flex, moisture, and unevenness. The Tile Council of North America recommends L/720 deflection for natural stone over wood framing, which is a stricter standard than ceramic tile. In plain English, the floor has to move much less, or the stone will eventually crack, debond, or telegraph movement through the grout lines.
In practical terms, I look for five things before installation starts:
- Structure that can carry the load without bounce.
- Flatness that keeps large pieces from rocking or lipping.
- Dryness so moisture does not interfere with the bond.
- Proper underlayment such as a cement board, uncoupling membrane, or another system approved for stone.
- Waterproofing in bathrooms, showers, and other wet zones.
That prep work is not glamorous, but it is where the longevity is won. If the room needs leveling compound, patching, reinforcement, or a membrane, I would rather do that work cleanly than spend money on a premium stone that fails because the floor underneath was rushed. Once that part is right, the room is ready for layout and setting.
Lay it out carefully so the floor looks deliberate, not patched together
The actual setting process is not complicated, but it does reward patience. I like to think of it as a sequence of small decisions that either preserve the look of the room or make it feel slightly off from day one. Good stone work looks calm because the installer made the hard choices before the mortar ever touched the floor.
- Dry-lay the stone first. This lets you see pattern movement, color variation, and where the cuts will land.
- Establish centerlines and sightlines. The most visible wall or doorway usually matters more than a random starting edge.
- Mix the right mortar for stone. Natural stone is less forgiving than many ceramic products, so the setting material has to support it fully.
- Set and check each piece for lippage. Even a small height mismatch is obvious under bathroom lighting.
- Back-butter as needed. That means applying mortar to the back of the stone so the tile gets better support and fewer voids.
- Leave clean movement joints. Stone needs room to expand and contract at edges and transitions.
- Grout only after the mortar has cured. Rushing this step can weaken the bond and stain the joints.
In bathrooms, I especially pay attention to thresholds, tub fronts, shower curbs, and the area around the vanity toe-kick. Those edges make the room feel finished, and they are often where shortcuts become visible. A careful layout now saves a lot of regret later, which is why cost always needs to be viewed alongside the scope of work.
What stone floors cost in the U.S. and what changes the number
In 2026 U.S. cost guides from Angi and HomeAdvisor, most installed natural-stone floors land around $10 to $35 per square foot, with labor often at $5 to $15+ and material at $4 to $18+ depending on the stone. That range is wide for a reason: stone projects are shaped by the room, the prep, the finish, and the level of cutting required.
| Cost factor | Typical range | What pushes it higher |
|---|---|---|
| Stone material | $4 to $18+ per sq. ft. | Premium slabs, rare colors, thicker cuts, and tighter selection |
| Labor | $5 to $15+ per sq. ft. | Complex layouts, diagonal patterns, borders, and many cuts |
| Prep and repair | $500 to $2,000 extra | Demo, leveling, moisture work, backer board, and reinforcement |
| Small bathroom example | About $360 to $1,320 installed | Higher-end stone, niche work, or subfloor corrections |
My advice is to budget the room, not just the tile. A gorgeous stone that needs structural repair, waterproofing, or heavy demo can cost less in material and more in the total project than a simpler stone in a better-prepared room. That is one reason bathrooms deserve their own checklist instead of a generic flooring quote.
Bathroom details that decide whether the floor feels luxurious or fussy
Bathrooms are where stone floors either shine or expose every compromise. Water changes the equation, and so does the way people use the room. A floor that looks great in a dry hallway can feel underbuilt in a shower-adjacent bath if the finish is too slick or the slope is wrong.
- Use a finish that suits wet feet. Honed, brushed, tumbled, or other textured finishes usually give better traction than high polish.
- Plan for waterproofing, not just sealing. Sealer helps with staining, but it does not replace a membrane or a properly detailed wet area.
- Get the slope right where water lives. Shower floors, curbless entries, and drainage transitions need special care so water does not linger.
- Think about radiant heat early. Stone works well with radiant systems, but the assembly has to be compatible from the start.
- Expect some patina. Marble, travertine, and limestone age differently from porcelain, and that is part of the trade-off.
The best bathroom stone floors feel intentional: grippy enough when wet, calm underfoot, and detailed so the tub, vanity, and shower all belong to the same surface language. Once those decisions are locked in, maintenance becomes much easier to live with.
Keep the stone sealed, clean, and realistic
Sealing matters, but it is often misunderstood. A sealer slows absorption; it does not make stone waterproof or immune to etching. That is why I prefer a maintenance plan that is simple, realistic, and tied to the actual stone rather than a generic calendar.
- Use a pH-neutral cleaner. Acidic products can dull marble, limestone, and travertine.
- Wipe spills quickly. Wine, citrus, makeup, and soap residue should not sit on porous stone.
- Test for resealing. If water darkens the stone quickly instead of beading on top, it is time to reseal.
- Avoid vinegar and harsh bleach mixes. They are common mistakes and they age stone badly.
- Protect the surface mechanically. Felt pads, bath mats, and regular dust removal prevent grit from acting like sandpaper.
If I were maintaining a busy bathroom, I would rather reseal on condition than on guesswork and clean with products that preserve the finish. That approach keeps the floor usable for years, and it also makes the final project easier to specify before the stone ever arrives.
The checks I would lock in before ordering stone
Before I approve a stone order, I want the scope written down clearly. The stone itself is only one part of the job; the success of the floor also depends on waste allowance, lot matching, underlayment, and who owns each prep task. A beautiful floor is much easier to deliver when the surprises have been removed from the quote.
- Order extra material. I usually allow 10% waste for simple layouts and 15% or more for diagonals, borders, or rooms with many cuts.
- Confirm the finish under real light. Natural daylight, vanity lighting, and warm LEDs can make the same stone look very different.
- Ask about dye lot and variation. Natural stone changes from piece to piece, and that variation should be planned, not hidden.
- Clarify grout color early. The wrong grout can flatten the stone or make the joints look busier than the field.
- Write down prep responsibilities. Demo, leveling, waterproofing, and floor repair should never be vague in a bathroom project.
If you want the floor to feel seamless with the rest of the room, the winning move is to treat stone, substrate, waterproofing, and maintenance as one system. That is the difference between a floor that simply looks expensive and one that still feels right after years of showers, cleaning, and daily use.
