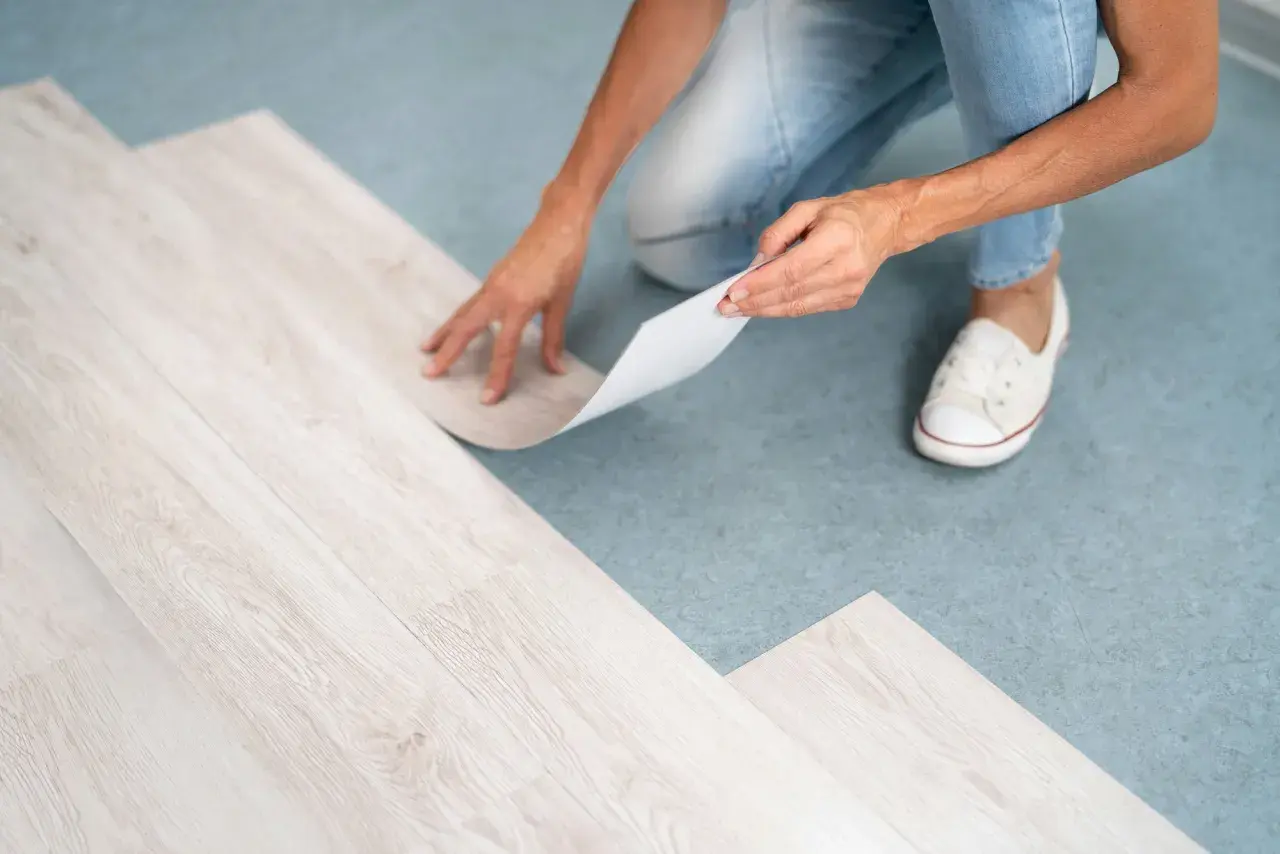
Vinyl plank flooring not laying flat during installation usually means the floor below is fighting you, not that the product is hopeless. In practice, the cause is usually an uneven substrate, debris in a locking edge, a bowed plank, or room conditions that are outside the product’s limits. Here I walk through the checks I make first, the fixes that actually work, and the point where I stop forcing boards and correct the floor underneath instead.
The fastest way to get a flat vinyl plank installation
- Flat is the goal, not level. Most rigid vinyl systems want roughly 3/16 inch of variation over 10 feet, and some product lines are stricter.
- If one plank will not sit flush, stop and inspect the joint before you keep locking the next row.
- Low spots, ridges, debris, and soft underlayment are the most common reasons a row rocks or gaps.
- Damaged tongues, warped planks, or mixed cartons can make the floor look defective even when the subfloor is fine.
- In bathrooms and other tight rooms, perimeter gaps and transitions matter as much as the visible field of the floor.
What the problem is really telling you
When a plank refuses to sit flat, I treat it as a warning, not a cosmetic annoyance. A floating vinyl floor is supposed to bridge tiny imperfections, not span dips, humps, or debris that keep the click joint under stress. The Home Depot’s current LifeProof guidance, along with most manufacturer instructions I checked, still points to a substrate that is clean, flat, dry, and structurally sound, with a common flatness target around 3/16 inch in 10 feet.
That distinction matters. A floor can be out of level and still be flat enough for vinyl. What causes trouble is local variation - a ridge at a seam, a low spot in front of a vanity, or a soft patch near a doorway that makes the plank bend instead of support itself.
| What you see | Most likely cause | What it usually means |
|---|---|---|
| A plank rocks in the middle | Low spot, debris, or a hollow under the board | The board is bridging instead of sitting on a flat base |
| A joint pops open after you click it | Subfloor hump, damaged locking edge, or too much force | The joint is under tension and cannot relax naturally |
| A row lifts near a wall or cabinet | Missing expansion space or a tight perimeter condition | The floor has nowhere to move as it settles |
| The same spot keeps failing | Repeat substrate problem or a bad plank batch | The issue is structural, not random |
Once I know whether I am dealing with the floor, the joint, or the room conditions, the next step is to check the problem area before adding more pressure to it.
The first checks I make before forcing another plank
The worst habit on a vinyl job is trying to “finish the row” before you understand the defect. I stop, back up a little, and verify the basics in this order:
- Lift the affected planks around the problem zone and look for sawdust, drywall grit, adhesive lumps, shims, staples, or a curled edge.
- Inspect the locking profile on both the tongue and groove. A tiny chip can keep the board from closing flush.
- Check the area with a long straightedge or a 6- to 10-foot level. If the floor can bridge a gap or teeter on a ridge, the issue is underneath.
- Confirm the perimeter gap at walls, cabinets, tubs, and door jambs. Many products want a visible expansion space of about 1/4 to 3/8 inch, but I always follow the carton.
- Check the room conditions. If the planks were stored cold in transit or hot in a garage, I want them at proper room temperature before I keep installing.
I also watch the board itself as I click it in. If it resists, springs back, or needs a heavy tap to close, I do not keep hammering. That is usually how a small issue turns into a permanently damaged edge. If those checks still point back to the floor, I move from diagnosis to correction.
How I flatten the subfloor without overcorrecting it
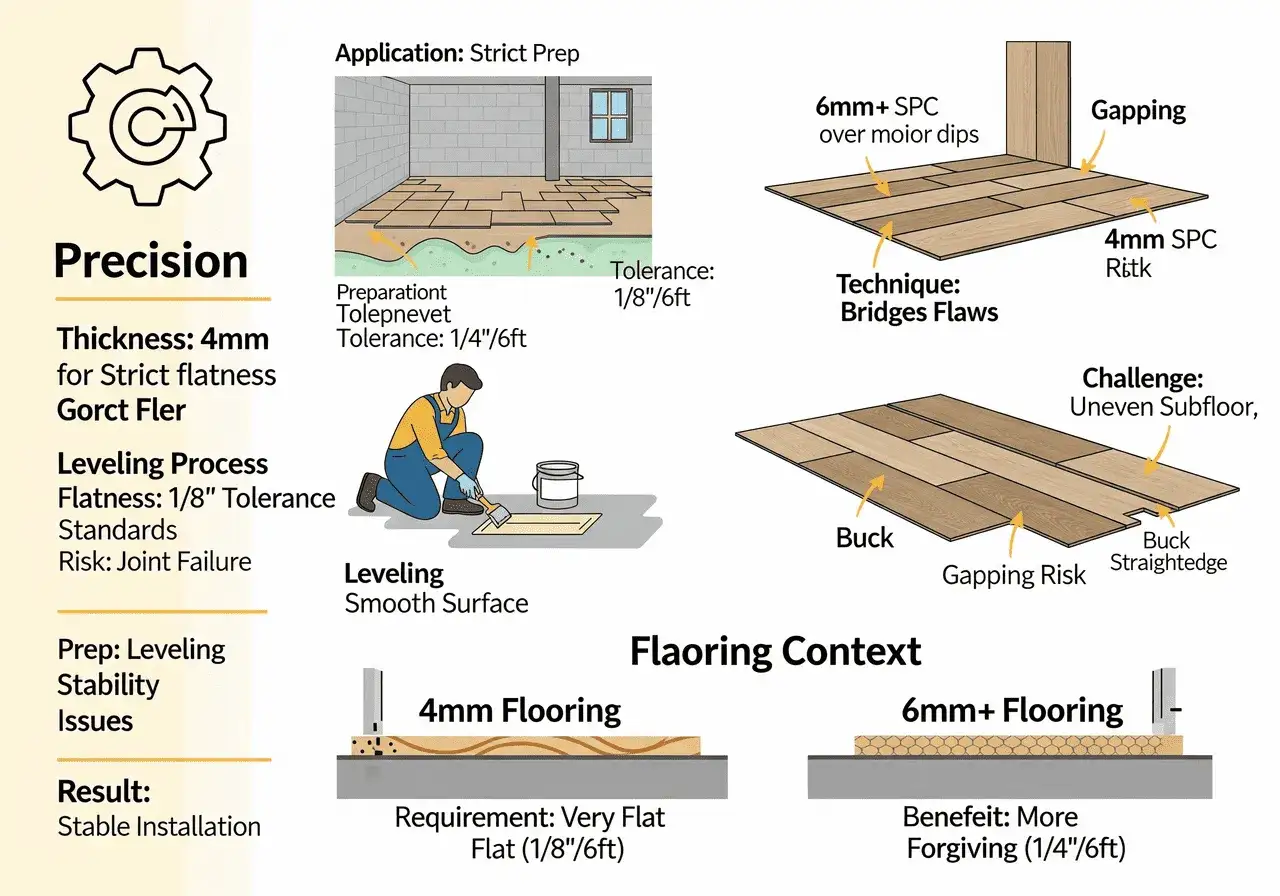
For vinyl, I want flat, not perfectly level. Chasing a dead-level room often wastes time and can create new problems, especially in bathrooms where plumbing penetrations, tub decks, and vanity toes already break up the surface. My goal is to remove abrupt changes in height so the planks can lie on a continuous plane.
| Substrate type | Best correction | Common caution |
|---|---|---|
| Wood subfloor | Screw down loose panels, sand high seams, patch low spots | Do not rely on leveling compound to fix movement |
| Concrete slab | Grind ridges, prime, then use a compatible self-leveling underlayment in low areas | Moisture testing matters before any vinyl goes down |
| Existing tile or patch layer | Fill grout lines, remove proud edges, and verify the overlay is approved | Tile lippage can telegraph right through the finished floor |
On wood, I usually start with fasteners and patching. Loose plywood or OSB can feel like a flatness problem when it is really a movement problem. On concrete, I am more likely to use a primer and a self-leveling underlayment, but only after I know the slab is dry enough and the product is approved for the room.
I avoid building the floor up blindly. A thick pour can solve a dip, but it can also create a transition issue at the doorway or leave you with a height change that becomes a tripping point. When the base is right, the click system works the way it was designed to; when it is not, even the best plank in the box will look wrong.
When the plank itself is the problem
Sometimes the substrate is fine and the board is the thing that is fighting back. I see that most often in these situations:
- Damaged tongue or groove - One chipped edge can keep a plank from closing all the way, even if the board looks fine from above.
- Warped or stressed plank - Heat, poor storage, or a manufacturing bow can leave a plank wanting to spring back instead of sit flat.
- Mixed cartons or lot variation - Most of the time this is subtle, but thickness changes or backing differences can show up as a stubborn seam.
- Too-soft underlayment - Some pads feel comfortable underfoot but are wrong for a rigid floating floor and make the joints work too hard.
- A plank bridging a dip - The board may be fine, but if it spans a low spot, the center will feel unsupported and look proud at the edges.
There is also a timing issue that people overlook. Some rigid-core products are designed for same-day installation if the cartons are already within the manufacturer’s temperature range; others still want 48 hours of acclimation in the room. I follow the carton, not a generic rule, because flooring instructions are not interchangeable.
If the same plank keeps misbehaving after you reseat it, I replace it. That is faster than arguing with a damaged profile, and it avoids burying a bad board in the middle of the room. When the product itself checks out, the remaining failures usually come from the way the floor was started or forced together.
Mistakes that make rigid vinyl refuse to sit flat
Most bad vinyl installs are not caused by one dramatic error. They come from a cluster of smaller mistakes that add up to stress in the field of the floor. The ones I see most often are:
- Starting over a ridge instead of finding the flattest reference line in the room.
- Skipping the door jamb cut, which leaves the plank trapped and lifted at the transition.
- Running too little expansion space around tubs, cabinets, toilets, and walls. In small bathrooms, this is easy to miss and hard to hide later.
- Stacking end joints too tightly. A 6-inch stagger is common, but some products ask for more, so I always check the instructions.
- Forcing the click with a hammer instead of resetting the board when it does not want to engage.
- Using an incompatible underlayment that adds bounce, compression, or too much height at the seams.
Bathrooms deserve extra attention here because the room is short, broken up by fixtures, and usually less forgiving than a living area. A floor that looks acceptable in the middle of the room can still fail at the vanity toe-kick or at the toilet flange if the perimeter or substrate was ignored.
The practical rule is simple: do not bully vinyl into place. If a board resists, I assume there is a reason, and I find it before I lock the mistake into the floor.
When I stop and call in a flooring pro
There is a point where the job stops being a flooring installation and becomes a substrate repair. I call in a pro when the floor is outside the manufacturer’s flatness tolerance, when the subfloor moves underfoot, or when moisture keeps testing too high for the room. At that point, more clicking is not a solution.That decision is often cheaper than it sounds. HomeAdvisor’s 2026 ranges put DIY leveling materials roughly around $3 to $8 per square foot and professional floor leveling around $3 to $12 per square foot, while structural corrections can run much higher. That is still far less painful than tearing out a finished floor that failed because the base was never corrected.
| Situation | Why I stop | Typical next move |
|---|---|---|
| Floor is outside flatness tolerance | The vinyl will keep telegraphing the defect | Patch, grind, or level before reinstalling |
| Subfloor feels soft or bouncy | Movement will keep opening joints | Screw, reinforce, or replace the affected section |
| Moisture keeps testing high | Adhesion and long-term stability are at risk | Resolve moisture sources and retest |
| Multiple rows fail in different spots | The issue is systemic, not local | Reassess the entire substrate and layout plan |
If the floor moves, the finish layer is not the place to solve it. I leave the vinyl out of the equation until the base is stable, dry, and actually flat enough to support the product.
The floor I want after the repair
When a vinyl plank floor is right, it is almost boring in the best way. The joints close without strain, the surface reads flat under a long straightedge, and the perimeter has enough space to move without telegraphing that movement into the room. In a bathroom, that calm finish matters even more because small flaws show quickly around fixtures and transitions.
My standard is simple: I want a floor that clicks quietly, stays quiet, and does not ask the planks to fight the subfloor underneath them. If I still see a proud edge, a rock in the middle of a board, or a seam that wants to reopen, I treat that as unfinished work, not acceptable detail.
That approach saves time, preserves the locking profile, and gives the floor a real chance to last. The best vinyl installation is the one where the correction happens before the last row goes in, not after the trim is already back on the wall.
