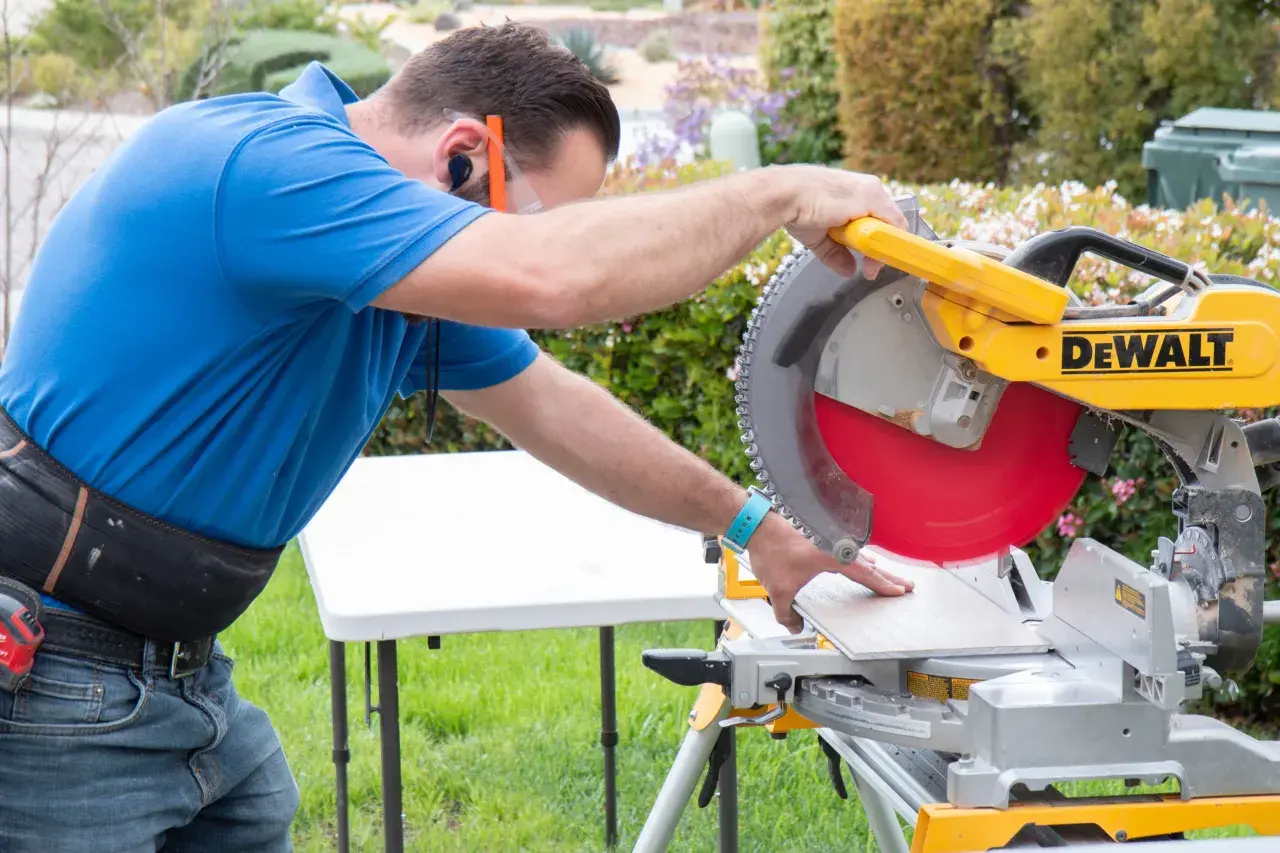
Cutting SmartCore flooring is usually less about brute force and more about matching the cut to the material. When people ask how to cut SmartCore flooring, the real question is whether the piece is a straight run, a tight notch, or a detailed cut around a doorway, toilet flange, or vent. I focus on the cut type first, because that is what keeps the edge clean, the joints tight, and the finished floor looking intentional in a bathroom or any other high-visibility room.
What matters most before the first cut
- Straight cuts are usually easiest with a sharp utility knife, a t-square, and a score-and-snap method.
- If the plank has an attached pad, I score the face first and then trim the backing from the underside.
- Curves, notches, and irregular openings are cleaner with a jigsaw or rotary tool than with repeated knife cuts.
- Many SmartCore instructions call for an expansion gap of about 1/4 inch and minimum end pieces between 6 and 8 inches, depending on the line.
- In bathrooms, perimeter trim and silicone caulk matter as much as the cut itself.
What SmartCore needs before the first cut
I treat SmartCore as a resilient floor, not as hardwood or ceramic tile. That matters because the material reacts differently depending on whether I am making a long straight rip, a short trim cut, or a shaped opening around plumbing. The decorative wear layer is thin, the core is dense, and some versions include an attached underlayment that changes the way the piece breaks.
The first decision is simple: can this piece be scored cleanly, or does it need a saw? Straight planks and tiles usually respond well to a utility knife. Irregular shapes usually do not. Once I separate those two jobs, the rest of the layout gets easier and the cuts become more predictable.
- Score-and-snap works best on straight, visible runs.
- Knife plus backing trim is useful when the product has an attached pad.
- Saw-based cuts make sense when the line bends, curves, or lands in a tight corner.
That distinction is the foundation for choosing the right tool, which is where I go next.
The tools I use for each type of cut
SmartCore’s installation guidance from Lowe’s points to a utility knife and t-square for most straight cuts, then a jigsaw, rotary tool, circular saw, or miter saw when the layout gets more complicated. I follow that logic because it keeps the work clean without overcomplicating a job that should stay fairly simple.
| Tool or method | Best for | Why I use it | What to watch for |
|---|---|---|---|
| Utility knife and t-square | Straight cuts, end cuts, last-row trimming | Fast, accurate, and usually clean on SmartCore planks and tiles | A dull blade tears the face instead of scoring it |
| Jigsaw | Door jambs, toilet flanges, vents, inside corners | Easy to maneuver around odd shapes | Cut slowly so the edge does not chatter or melt |
| Rotary tool | Tight radiuses and small finishing adjustments | Useful where a blade cannot turn cleanly | Remove material in small passes, not one aggressive pass |
| Circular saw or miter saw | Repeated cuts and dense rigid-core pieces | Good when a knife is struggling or the project is large | Use a fine-tooth blade and support the plank well |
I keep the knife and t-square on the bench first, because they solve most of the job. The saws are there for the cases where the floor stops behaving like a simple rectangle.
The cleanest way to score and snap straight pieces
For straight runs, I start by measuring the space, marking the cut on the finished face, and placing the plank on a flat surface that will not flex under pressure. Then I line up the t-square exactly on the mark and score the face several times with firm, controlled passes rather than trying to slice through in one aggressive cut.
- Measure twice and mark the cut clearly on the visible face.
- Place the t-square on the line and keep it from shifting.
- Score the top layer with a sharp utility knife until the cut is well-defined.
- Flex the plank gently along the scored line until it snaps cleanly.
- If the product has an attached pad, flip it over and back-cut the backing from the underside.
- Test-fit the piece before locking it into the row.
I prefer to keep the cut edge toward the wall whenever the layout allows it. That hides minor imperfections and gives me a cleaner visual line at the room edge. If the cut piece resists snapping, I do not force it with random bending; I re-score the same line and let the material do the work.
How I shape cuts around door jambs and plumbing
The moment a room stops being a clean box, templates become worth the extra minute. For awkward shapes, I like to make a cardboard pattern first, especially around toilet flanges, cabinet returns, pipe penetrations, and curved trim. That lets me test the fit before I sacrifice a plank.
- Door jambs are easier if I undercut the casing and slide the floor underneath when possible.
- Toilet flanges usually need a cardboard or paper template so the arc lands cleanly.
- Pipe holes work better when I drill a relief hole first, then connect the cut with a jigsaw or knife.
- Inside corners are best handled by stopping the cut at the corner, then trimming carefully from both directions.
For these details, I care more about accuracy than speed. A piece that takes two extra minutes to shape well will look better than a rushed cut that needs to be hidden later with trim or caulk. That caution matters even more once the edges start showing mistakes.
The mistakes that make the edge look rough
Most bad SmartCore cuts come from a small number of preventable errors. The material is forgiving, but it is not forgiving enough to hide a dull blade, a rushed template, or a missing expansion gap.
- Using a dull blade tears the decorative layer and leaves a fuzzy edge.
- Skipping the guide makes straight cuts wander, which shows immediately at baseboards and transitions.
- Ignoring the expansion gap can create binding at the wall and force the row out of line.
- Cutting tiny pointed ends makes the floor more fragile; if I have to leave a sharp tip, I reinforce it carefully instead of leaving it unsupported.
- Making pieces too short can hurt the layout. Many SmartCore guides call for end pieces of at least 6 to 8 inches, depending on the product line.
I also avoid overhandling cut pieces after I have shaped them. Every extra bend and pry mark shows up later, especially in bright bathrooms where the light comes across the floor at an angle.
How I finish SmartCore cleanly in bathrooms and tight rooms
Bathrooms ask more from the cut edges than a bedroom or closet. I leave the perimeter gap the installation calls for, then hide it with coordinating trim or a proper transition where needed. In wet areas, I also use silicone caulk around the perimeter when the installation instructions call for it, because that small step does more for the finished look than most people expect.
For the final row, I dry-fit before I commit to the cut. Then I trim the plank slightly conservatively, use a pull bar if the space is tight, and lock the row without forcing the joint. That approach is slower than guessing, but it prevents the last piece from turning into a visible compromise.
Once you know how to cut SmartCore flooring the right way, the whole room changes pace. Straight cuts become routine, awkward shapes stop feeling risky, and the floor starts looking built-in instead of patched together.
The workflow I trust when the room gets complicated
If I were tackling a real bathroom or laundry room today, I would keep the workflow simple: plan the layout, measure every piece, score the straight runs, template the irregular ones, and only reach for a saw when the cut shape truly demands it. That is the cleanest way to stay accurate without turning the job into a bigger project than it needs to be.
The practical rule is simple: let the material tell you which method fits. SmartCore rewards patience, a sharp blade, and a dry fit before every important cut, and that combination is usually enough to deliver a clean result the first time.
