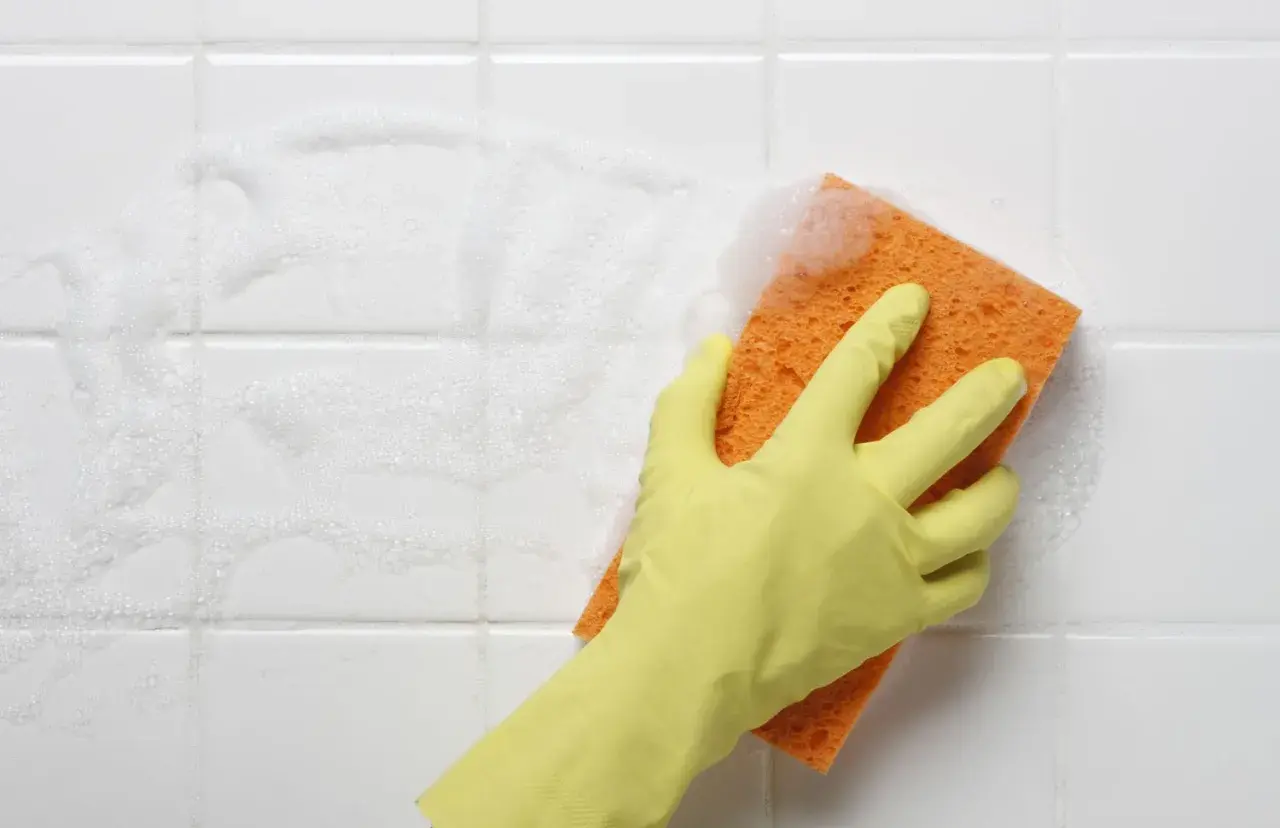
The fastest route to cleaner bathroom tiles is matching the cleaner to the tile and the stain
- Ceramic and porcelain usually do well with a pH-neutral tile cleaner, warm water, and microfiber.
- Natural stone needs non-acidic products only, so vinegar and lemon are off the table.
- Grout needs separate attention because it is more porous than the tile itself.
- Soap scum responds best to regular cleaning before it hardens into a film.
- Mildew and mold often signal a moisture or ventilation problem, not just a dirty surface.
- Sealing grout can slow future staining and make routine cleaning noticeably easier.
Know what you are cleaning before you pick up a spray bottle
I start here because the wrong cleaner can do more damage than the grime ever did. Ceramic and porcelain tile are fairly forgiving, but natural stone such as marble, travertine, limestone, and some slate surfaces can etch or dull when exposed to acidic cleaners. If you are not sure what you have, check the installer paperwork, the builder’s spec sheet, or a hidden corner before you commit to a product.
Grout matters just as much as the tile. Cementitious grout is the common, porous grout used in many bathrooms, and it stains faster because it absorbs water, soap residue, and oils. Epoxy grout is denser and more stain resistant, so it usually needs less aggressive treatment. I also pay attention to the finish: glossy tiles usually wipe clean easily, while textured or matte tile traps dirt in the surface pattern and may need a soft brush, not just a cloth.
The short version is simple: the more porous or delicate the surface, the gentler the cleaner should be. That rule saves a lot of expensive mistakes, and it makes the next step much easier to judge correctly.
The weekly routine I would use on most bathroom tiles
For routine cleaning, I prefer the least aggressive method that still removes soil completely. In a typical bathroom, that means removing loose dirt first, then cleaning with a mild solution, then drying the surface so residue does not sit there and harden. The whole process usually takes 15 to 25 minutes for an average shower wall or tub surround.
- Dry sweep or vacuum loose grit and hair from the floor and corners.
- Fill a bucket with warm water and add a pH-neutral bathroom or tile cleaner according to the label.
- Wipe the tile with a microfiber cloth or mop, then let the cleaner sit for 2 to 5 minutes if the label allows it.
- Use a soft-bristle grout brush or an old toothbrush for the joints between tiles.
- Rinse with clean water if the product calls for it, then dry the tile with a fresh microfiber towel.
I do not overcomplicate this routine. The biggest difference usually comes from consistent cleaning and complete drying, not from chasing a stronger chemical every time the shower looks dull. If your bathroom sees heavy daily use, doing this once a week is usually enough to stop buildup from becoming a much bigger project later.
Once the basic routine is in place, the real challenge becomes the specific stains that routine wiping does not fully solve.
Soap scum, hard water, and mildew need different answers
Bathroom tile cleaning gets frustrating when one product is expected to solve three different problems. Soap scum is a waxy film left by soap and body oils. Hard water deposits are mineral scale, usually calcium and magnesium, that leave cloudy white marks. Mildew and mold are biological growths that show up where moisture lingers. They may sit close together on the same shower wall, but I do not treat them the same way.
For soap scum, I reach for warm water plus a mild bathroom cleaner first. If the buildup is heavier, a product made to cut bathroom film is better than scrubbing harder with a generic all-purpose spray. For hard water, a slightly acidic cleaner can work on ceramic or porcelain, but I avoid it on natural stone because acid can etch the surface. For mildew on grout, a 3% hydrogen peroxide solution is one of the most practical options for small areas because it can help break down the stain without the heavy residue some cleaners leave behind.
If dark spots keep returning, I look beyond the tile itself. That usually points to poor ventilation, a slow leak, worn caulk, or grout that has never been sealed. In other words, the visible stain is often the symptom, not the cause. Fixing the cause matters more than scrubbing the same mark for the third time.
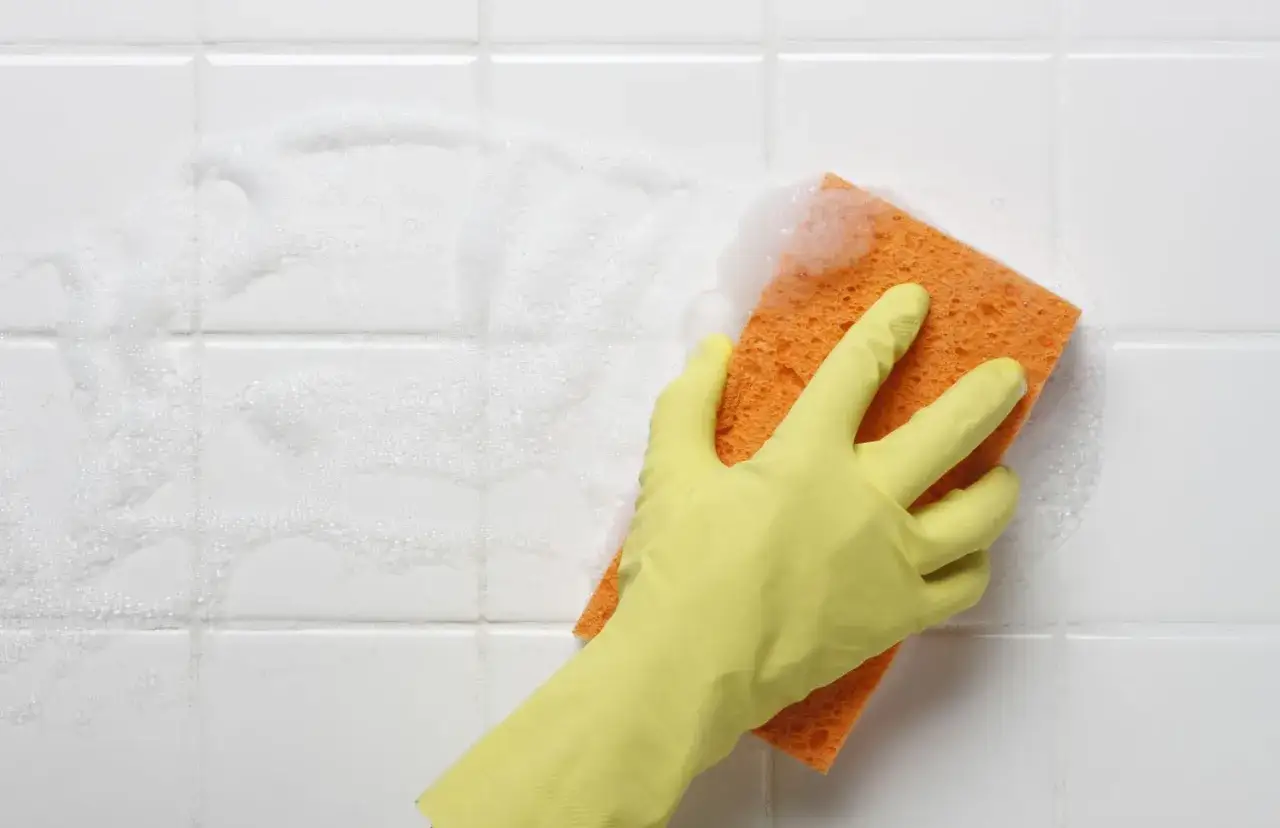
The cleaners worth keeping on hand
I like having a small, realistic toolkit instead of a crowded cabinet full of overlapping products. In the U.S., you can build that toolkit without spending much: a basic pH-neutral cleaner often costs about $8 to $20, 3% hydrogen peroxide is usually $2 to $6, a grout brush runs around $4 to $12, and a grout sealer typically costs $12 to $30. A steam cleaner is the only higher-ticket item here, usually in the $50 to $150+ range.
| Cleaner or tool | Best use | Watch-outs | Typical U.S. price |
|---|---|---|---|
| pH-neutral tile cleaner | Routine cleaning on ceramic, porcelain, and most sealed surfaces | May need more dwell time on heavy soap scum | $8-$20 |
| Warm water + mild dish soap | Light daily soil and fresh residue | Rinse well so film does not build up | $2-$5 |
| 3% hydrogen peroxide | Mildew on grout and other small stained spots | Test first on colored grout or unusual finishes | $2-$6 |
| Baking soda paste | Gentle scrubbing on grout and stubborn film | Can leave residue if not rinsed thoroughly | $1-$4 |
| Vinegar-based cleaner | Hard water on ceramic or porcelain, if the surface allows it | Avoid on natural stone and do not assume it is safe on every grout | $3-$10 |
| Steam cleaner | Deep cleaning grout and tile joints | Not ideal for cracked grout, delicate stone, or sealed surfaces that do not tolerate heat well | $50-$150+ |
My rule is straightforward: use the mildest product that can still finish the job. For many bathrooms, that means a good pH-neutral cleaner does 80 percent of the work, while hydrogen peroxide or a targeted grout cleaner handles the stubborn last 20 percent. The less you depend on aggressive products, the easier it is to preserve both the tile and the sealant over time.
Grout needs its own care plan
People often clean the tile and ignore the grout, which is why the room still looks tired even after a full wipe-down. Grout is more porous than tile, so it absorbs moisture and soil faster. That means the brush and the cleaner need to spend more time on the joints than on the tile face itself.
Clean grout more gently than you think
I prefer a soft or medium grout brush, a small amount of cleaner, and patient scrubbing in short passes. Aggressive abrasive pads can rough up the grout surface and make future staining even worse. If the grout is lightly discolored, a baking soda paste or a mild tile cleaner often works well enough after 5 to 10 minutes of contact time.
Read Also: Clean Laminate Floors - Avoid Damage & Keep Them New
Seal it when the grout is dry and stable
Sealing does not make grout invincible, but it does slow water absorption and buy you more time before stains set in. I usually recommend sealing cementitious grout after it has fully cured and once the bathroom has been cleaned thoroughly. Depending on the product and traffic level, many grout sealers need to be refreshed every 1 to 3 years. That is one of those small maintenance tasks that pays back every time you wipe the shower down.
Once grout is protected, the next biggest threat is usually not grime at all, but avoidable cleaning mistakes that slowly wear the surface down.
Small mistakes that make clean tile look dull again
The most common problem I see is not under-cleaning, but cleaning in a way that leaves residue, scratches, or damage behind. Some of these mistakes are subtle, which is why they keep repeating in real bathrooms for years.
- Using vinegar or lemon on natural stone, which can etch the surface and weaken the finish.
- Mixing bleach with ammonia or vinegar, which creates dangerous fumes.
- Scrubbing glossy tile with abrasive powder or rough pads, which can dull the shine.
- Skipping the rinse, which lets cleaner film attract fresh soil.
- Leaving standing water, which feeds mildew and hard water spots.
- Assuming dark grout stains are only surface dirt, when they may actually be moisture intrusion or damaged caulk.
I also avoid the habit of spraying everything and wiping immediately. A cleaner needs a little dwell time to loosen the grime, usually 2 to 5 minutes for routine work and a bit longer for stubborn buildup if the label allows it. That small pause often does more than an extra ten minutes of aggressive scrubbing.
When you stop repeating those mistakes, maintenance becomes much easier, which is exactly what I want from a bathroom cleaning routine.The maintenance rhythm that keeps the job small
If I were setting up a bathroom from scratch, I would not wait for the tiles to look bad before acting. I would build a rhythm that keeps the surface from ever reaching that point. For most homes, that means a fast wipe after heavy shower use, a weekly clean, and a deeper grout treatment every few weeks or months depending on moisture and traffic.
- After showers, run a squeegee or microfiber towel over wet walls and glass to cut water spotting.
- Weekly, clean tile with a mild product and dry it completely.
- Monthly, inspect grout, caulk, and corners for early mildew or cracking.
- Every 1 to 3 years, refresh grout sealer if the tile system uses cementitious grout and the area sees regular moisture.
The real goal is not a heroic deep clean every few months. It is a bathroom that never gets far enough off track to need one. If I had to reduce the whole answer to one sentence, I would say this: match the cleaner to the surface, give it enough contact time, dry the tile completely, and give the grout separate attention when it needs it. That is the approach that keeps bathroom tile looking genuinely clean instead of just temporarily brighter.
