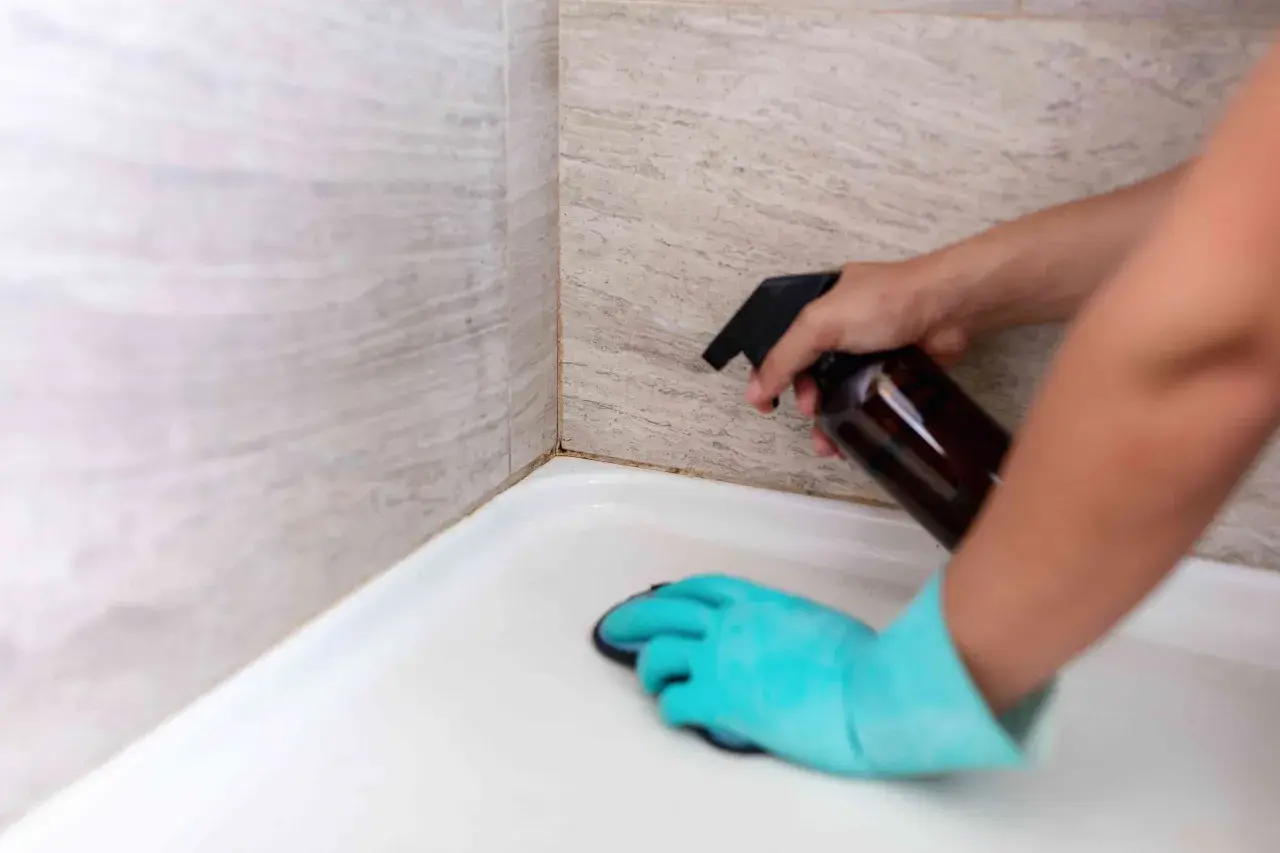
Key takeaways for cleaner grout and less guesswork
- Start with the stain, not the strongest cleaner. Soap scum, mildew, and hard-water residue each need a different approach.
- Warm water and a pH-neutral cleaner solve more than people expect. I reach for harsher products only when the first pass fails.
- A nylon grout brush does the real work. Cleaner loosens buildup; brushing lifts it out of the pores.
- Drying matters as much as scrubbing. Grout that stays damp will stain again fast.
- Acids and bleach need caution. They can damage natural stone, discolor grout, or create unsafe fumes if mixed incorrectly.
- Persistent dark staining usually means the grout needs sealing, repair, or replacement.
What is really staining the grout in your shower
Cement-based grout is porous, which means it behaves a little like a tiny sponge. In a shower, that sponge gets hit with soap residue, body oils, hard-water minerals, and constant humidity. The result is usually not one problem but a mix of them, and each one leaves a different kind of mess.
I read shower grout by the stain pattern before I choose a cleaner. Gray film is often soap scum and body soil. White, chalky buildup usually points to mineral deposits from hard water. Dark speckling or patches can be mildew or mold, especially in poorly ventilated bathrooms. If the grout looks dull but not actually dirty, the issue may be wear, not grime.
Epoxy grout behaves differently. It is denser and less porous than cement grout, so it stains less easily and usually responds well to gentler cleaning. If you are not sure which type you have, start with the mildest method and test a hidden spot first. Once you identify the stain, the cleaning method becomes a lot less guesswork.
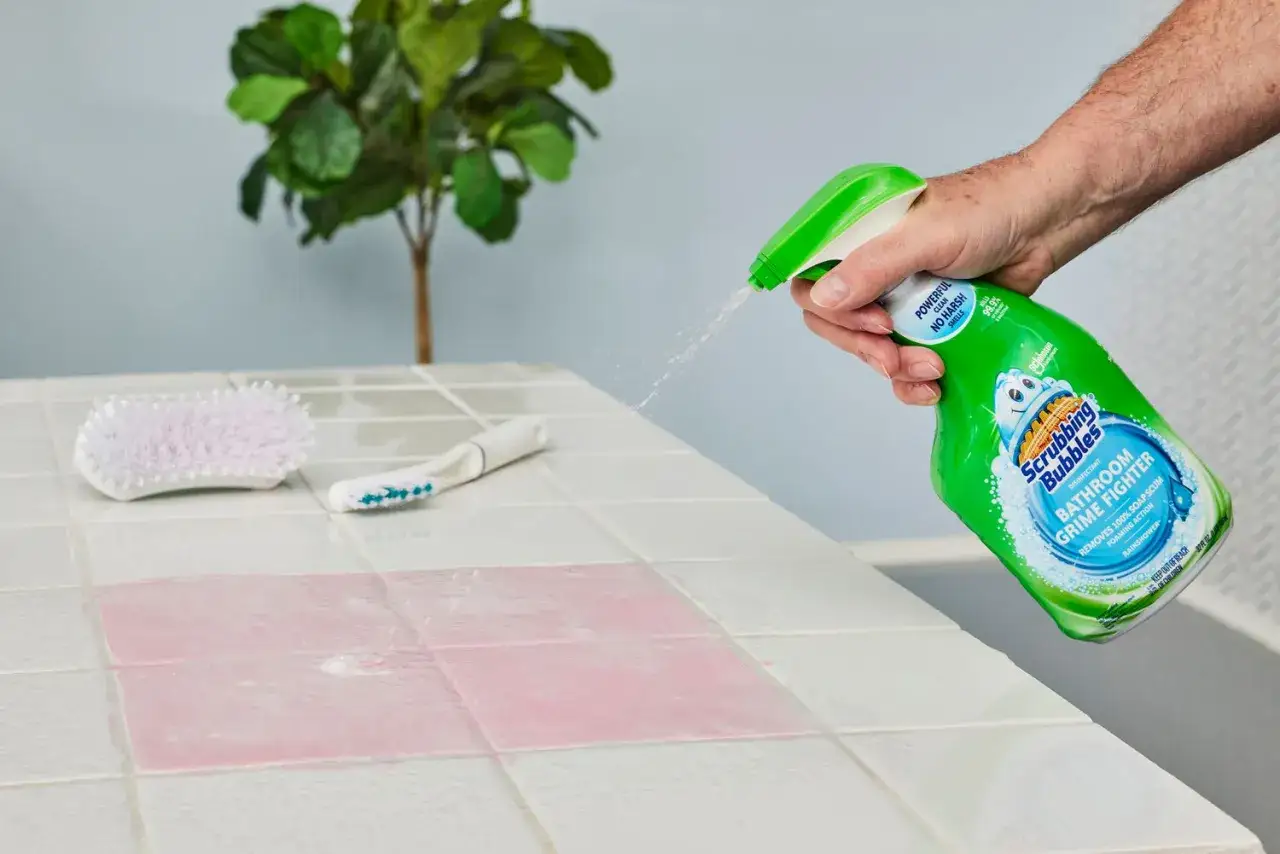
The safest way to clean shower grout step by step
For most showers, I start with the least aggressive method that can still do the job. That keeps the grout intact and avoids damaging nearby tile, caulk, or stone accents.
- Ventilate the bathroom. Turn on the exhaust fan or open a window. You want the surface to dry properly, and you do not want to breathe concentrated cleaner for long.
- Rinse the grout with warm water. This softens loose film and helps the cleaner spread evenly instead of getting absorbed in one spot.
- Apply a mild cleaner. For light soap scum, warm water with a few drops of dish soap is often enough. For more buildup, use a pH-neutral bathroom cleaner or a grout-safe product.
- Let it dwell for 5 to 10 minutes. Dwell time is simply the time the cleaner sits on the surface and breaks down grime. Do not let it dry out completely.
- Scrub with a nylon grout brush. Work along the joint, not across the tile, so you lift dirt out of the grout line instead of spreading it around.
- Rinse thoroughly. Leftover cleaner can attract more dirt or leave a hazy film.
- Dry the area completely. A microfiber towel or squeegee helps more than most people expect. The EPA’s mold guidance is simple: clean hard surfaces with detergent and water, then dry them completely.
If the grout is still dark after one pass, repeat the process before moving to a stronger product. I would rather do two careful cleanings than one aggressive one that etches the tile or weakens the grout. After that first pass, the next decision is which cleaner matches the stain and the material.
Choose the right cleaner for the problem
The product matters, but it matters most when it matches the stain. I use this as a simple decision map instead of assuming one cleaner will fix everything.
| Problem | Best first choice | Why it works | Watch-outs |
|---|---|---|---|
| Soap scum | Warm water with dish soap or a pH-neutral bathroom cleaner | Breaks the oily film without stripping the grout | May need brushing and a second rinse |
| Mildew or surface mold | 3% hydrogen peroxide or a bathroom cleaner labeled for mold and mildew | Helps lift dark staining and surface growth | Test color first; ventilate well |
| Hard-water deposits | Diluted white vinegar or a citric-acid cleaner on ceramic or porcelain only | Breaks mineral scale that soap alone will not touch | Keep acids away from natural stone and do not overuse them |
| Heavy buildup | Commercial grout cleaner | Formulated for stubborn residue and embedded grime | Follow the label exactly; stronger is not always better |
| Deep grime on sound grout | Steam cleaning | Can loosen dirt without added chemicals | Only for intact grout and compatible tile |
I am careful with bleach. It can lighten some stains, but it is not a universal grout cleaner, especially on porous material where discoloration may come back unevenly. The EPA also warns not to mix bleach with ammonia or other cleaners because toxic fumes can form. If you have colored grout or natural stone, I would start with a gentler method first and save harsher chemistry for a true last resort.
What I would avoid on shower grout
Most grout damage comes from overconfidence, not dirt. People reach for the fastest option and assume the surface can take it. In a shower, that is how you end up with etched tile, faded grout, or sealant failure.
- Do not mix cleaners. Bleach plus ammonia is dangerous, and vinegar plus bleach is also a bad idea.
- Do not use abrasive pads or steel wool. They can scratch glossy tile and wear down grout edges.
- Do not use acidic cleaners on marble, limestone, travertine, or other natural stone. Those surfaces can etch quickly.
- Do not scrub loose grout aggressively. If the joint is crumbling, scrubbing only removes more material.
- Do not steam damaged grout. Heat and moisture can worsen a weak joint or push water where it does not belong.
- Do not ignore caulk lines. Mold that keeps returning at the corners is often a caulk or moisture problem, not a grout problem.
If you are not sure whether a shower wall is ceramic, porcelain, or stone, use the mildest cleaner first. I also like to test in a low-visibility corner because one small spot can tell you a lot about how the surface will react. Once you rule out the risky products, maintenance becomes much simpler.
Keep grout cleaner longer with a few habits
A clean shower does not stay clean by luck. The daily routine matters more than the occasional deep scrub, especially in humid bathrooms with hard water or poor airflow.
Use a squeegee after showers. It takes under a minute and removes the water that feeds mildew and mineral spotting. Run the exhaust fan for 20 to 30 minutes after bathing so moisture does not sit on the surface. Wipe down soap residue weekly before it hardens into film. If you have cement grout, resealing it every 1 to 2 years is a practical rule of thumb in many homes, though busy showers may need attention sooner.
If your water is especially hard, the glass door and tile may need more frequent wiping than the grout itself. That is normal. The point is not perfection; it is cutting down the cycle of wet, dirty, and damp again. If the grout is still sound, these habits can keep it looking good far longer than a once-in-a-while reset.
The point where cleaning stops paying off
There is a difference between dirty grout and tired grout. If the color stays uneven after cleaning, the joints feel sandy or crumbly, or mildew returns within days, the surface is telling you that cleaning alone is not enough.
Here is the practical cutoff I use: if the grout is intact but dull, clean and seal it. If the grout is stained but structurally fine, a stronger cleaner or steam may help. If the grout is cracked, missing, or soft, regrouting is usually the better fix. And if dark staining keeps returning in the same area, I start thinking about hidden moisture or a failed waterproofing layer behind the tile.
| Option | Typical cost in the U.S. | Best use case |
|---|---|---|
| Basic DIY supplies | About $10 to $25 | Light to moderate shower cleaning |
| Reusable steam cleaner | About $40 to $150 | Regular deep cleaning on sound grout |
| Professional grout cleaning | Roughly $150 to $400 | Large showers, heavy buildup, or limited time |
| Regrouting or repair | Often higher, depending on damage and labor | Cracked, missing, or permanently stained grout |
Once you know how to clean grout in shower the right way, the bigger win is preventing the same buildup from coming back. I would clean first, let everything dry fully, seal only intact grout, and then build a simple routine around ventilation and squeegeeing. That sequence does more for long-term bathroom care than any miracle cleaner, and it keeps the shower looking cared for without turning maintenance into a project.
