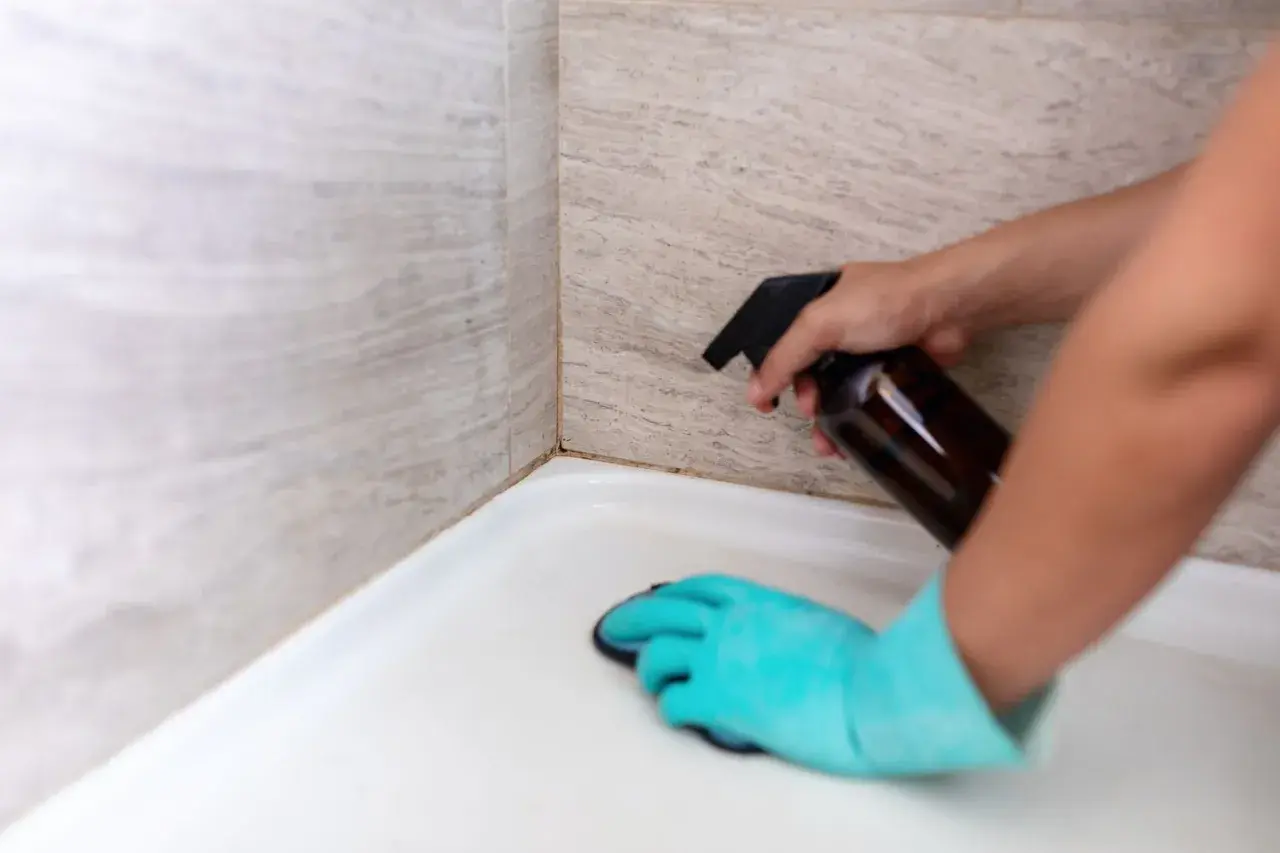
What matters most before you start scrubbing
- Match the cleaner to the stain. Soap scum, mildew, and mineral deposits respond to different approaches.
- Use a nylon grout brush, not a metal one. You want agitation without chewing up the joints.
- Avoid vinegar as a default choice. It is acidic, and grout generally holds up better to alkaline cleaning.
- Test a small hidden spot first. That matters even more if the grout is colored, unsealed, or next to natural stone.
- Clean, rinse, and dry. Leftover cleaner or standing water can make grout look dull again.
- If the grout is cracked or crumbling, cleaning will not fix it. That is a repair problem, not a stain problem.
Why grout looks dirty long before the tile does
Tile itself is usually the easy part. Glazed ceramic and porcelain have a hard surface that wipes down quickly, while grout is designed to fill gaps and lock the tile in place, which makes it naturally more porous. That porosity is exactly why it collects soap scum in showers, darkens from body oils near tubs, and picks up mineral haze in hard-water homes.
In practice, I think about grout dirt in four buckets: organic buildup, like soap and body oils; mineral buildup, like calcium and lime; mildew growth in damp areas; and plain embedded soil from mopping or foot traffic. The cleaning method changes depending on which bucket you are dealing with. That is why a one-size-fits-all trick often disappoints, and why the rest of the process starts with choosing the right approach.
If your grout is epoxy-based, it usually resists staining better and does not need sealing the way cement grout does. Most bathrooms still use cementitious grout, though, so I clean with that assumption unless I know otherwise.
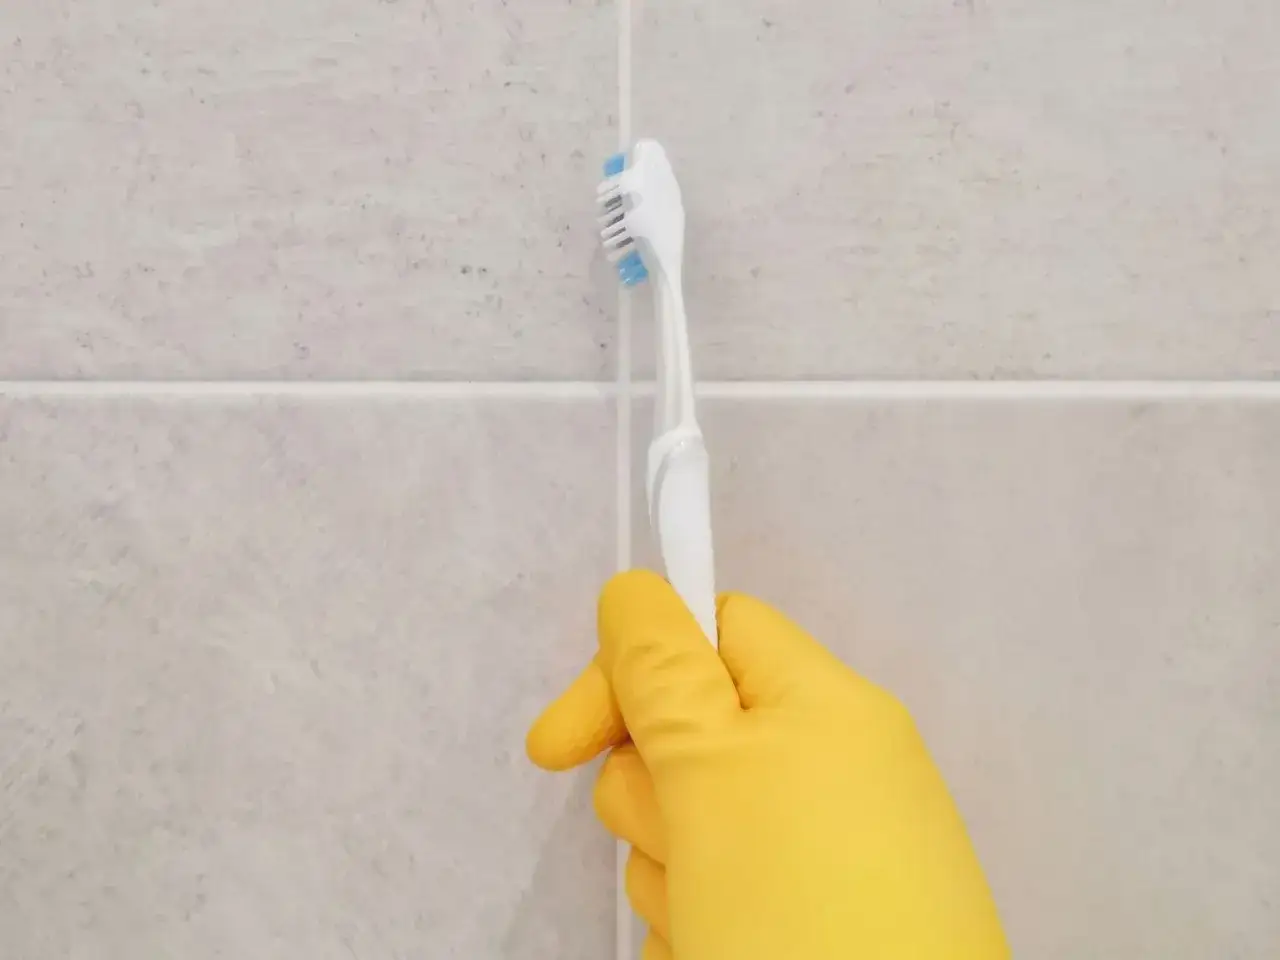
The safest cleaning method for most bathroom grout
For everyday bathroom buildup, I want a method that is strong enough to remove residue but gentle enough to protect the joints. What I use most often is a simple sequence: loosen the soil, give the cleaner a short dwell time, scrub with a grout brush, then rinse thoroughly.
- Clear the surface first. Sweep, vacuum, or wipe away loose dust and hair so you are not grinding debris into the grout line.
- Apply an alkaline cleaner or a baking-soda paste. A thin paste made with baking soda and water works well on light soil; a bathroom-safe alkaline cleaner is better for heavier soap film.
- Let it sit briefly. Five to 10 minutes is usually enough. Do not let the cleaner dry on the surface.
- Scrub with a nylon grout brush. Use short back-and-forth strokes along the grout line, not huge circular motions across the tile.
- Rinse with clean water. Wipe or mop up the residue so the cleaner does not leave a haze.
- Dry the area. A microfiber cloth or dry towel helps you see whether the grout is actually clean or just still wet.
The detail people miss is the rinse. If cleaner or loosened soil stays in the joint, the grout can dry with a gray film that looks suspiciously like dirt. I also avoid soaking the floor; grout needs moisture to clean, not a puddle. For shower walls, I work top to bottom so dirty runoff does not streak over areas I already cleaned.
Once the basic method is in place, the real difference comes from matching the cleaner to the stain instead of hoping one product handles everything.
Which cleaner to use for the stain in front of you
I reach for different products depending on the problem I am trying to solve. The Tile Council of North America recommends an alkaline cleaner rather than an acid-based one for grout, and that lines up with what I see in bathrooms: acids can seem effective fast, but they are not my first choice for routine grout care.
| Stain or buildup | Best cleaner type | Why it helps | What to watch for |
|---|---|---|---|
| Soap scum | Alkaline bathroom cleaner or baking-soda paste | Breaks down oily residue and body-film buildup | Rinse well so the residue does not dry dull |
| General gray dinginess | Alkaline cleaner with a grout brush | Handles mixed bathroom soil without being overly harsh | Test colored grout first |
| Mildew staining | Oxygen bleach cleaner | Helpful on organic discoloration without the smell of chlorine bleach | Give it dwell time and do not assume one pass will erase old stains |
| Hard-water film | Cleaner labeled for mineral deposits on ceramic or porcelain tile | Targets calcium and lime that sit on top of the grout | Keep it away from natural stone tile and do not leave it on too long |
| Light maintenance | Warm water plus a mild cleaner | Prevents buildup from becoming a deep-clean project | Change the water often if you are mopping a large area |
| Very stubborn set-in grime | Commercial grout cleaner | Stronger formulas can reach stains that household mixes miss | Follow the label, ventilate the room, and spot-test first |
I avoid vinegar as a default grout cleaner. It is acidic, so it is not the best match for regular grout care, especially if the grout is unsealed or if the tile includes marble, limestone, or travertine. If you only remember one thing from this section, remember that matching the cleaner to the stain matters more than using a trendy ingredient.
When that still is not enough, the next step is deciding whether steam or a stronger formulated cleaner makes sense for the surface in front of you.
When steam, oxygen bleach, or a stronger product makes more sense
There are times when a simple scrub is enough, and there are times when it is not. That is where steam, oxygen bleach, and commercial grout cleaners come in, but I treat each one as a tool with a specific job rather than a miracle fix.
| Method | Best for | Why I use it | Limitations |
|---|---|---|---|
| Steam cleaning | Sealed grout with surface grime | Heat and moisture loosen dirt quickly, especially in showers | Can strip sealant or expose weak grout if the joints are already damaged |
| Oxygen bleach | Old discoloration, mildew staining, dingy white grout | Good for stains that sit deeper in the pore structure | Needs time, may not fully restore badly neglected grout |
| Commercial grout cleaner | Heavy buildup or repeated failed DIY attempts | More targeted than improvised mixes | Some formulas are too strong for stone tile or colored grout |
| Chlorine bleach | Very limited spot treatment | Can lighten certain stains fast | Easy to overuse, harsh on lungs and materials, and not my first recommendation |
Home Depot notes that steam cleaning can remove sealant along with dirt and mildew, and that is the tradeoff I keep in mind. Steam is useful when I want a deeper reset, but I would not make it my weekly habit on a shower that depends on its sealer. If the grout is already loose or flaky, steam can make a weak joint look worse rather than better.
For oxygen bleach, I like it when the grout is structurally fine but visibly tired. It is slower than people expect, but it is much better than scrubbing the same line for 20 minutes with the wrong product. That said, if a stain comes back the moment the grout dries, the problem may be moisture intrusion rather than dirt.
That distinction matters because technique can only do so much; once the grout itself is damaged, the job shifts from cleaning to repair.
The mistakes that make grout look worse after cleaning
Most grout damage I see comes from overconfidence, not neglect. People either use the wrong chemistry or scrub so hard that they wear down the surface of the joint, and then the grout starts collecting soil even faster.
- Using a metal brush or abrasive pad. These can rough up the grout edge and make future staining easier.
- Mixing cleaning products. Bleach and vinegar should never be combined, and strong cleaners should never be layered casually.
- Skipping the rinse. Leftover cleaner can leave a haze and attract new soil.
- Soaking the shower floor. Too much standing water can push dirt deeper and feed mildew.
- Ignoring color changes that do not scrub out. That is often a sign of damage, not dirt.
- Cleaning over cracked or missing grout. Once the joint is failing, scrubbing is just a temporary cosmetic step.
A quick test helps separate dirt from damage: place a few drops of water on the grout and watch what happens. If the water beads, the grout is probably sealed; if it darkens the line quickly, the surface is absorbing moisture and may need sealing or repair. That one check saves a lot of wasted scrubbing.
There is also a point where the issue is not cleanliness at all. Powdery grout, widening gaps, or crumbling edges are signs the material is breaking down. In those cases, cleaning helps only if you are preparing for repair.
From there, the most useful question becomes how to prevent the same problem from returning after the area is cleaned or fixed.
When cleaning is no longer enough
Some grout problems are cosmetic, and some are structural. I separate them by asking one simple question: does the grout still look dirty after it has been fully cleaned and fully dried, or does it actually look damaged?
| What you see | Likely cause | Best next step |
|---|---|---|
| Gray film that lifts with scrubbing | Surface soil or soap scum | Repeat the cleaning method with a better dwell time |
| Black specks that return quickly | Mildew or persistent moisture | Check ventilation, leaks, and caulk joints |
| White powder on the surface | Efflorescence, which is mineral salt left behind as moisture moves through grout | Address the moisture source before trying to clean it away repeatedly |
| Cracks, pits, or missing sections | Wear, movement, or old grout failure | Repair or regrout the area |
| Dark lines that will not lighten at all | Deep staining or trapped moisture | Consider sealing, spot repair, or professional help |
This is the part people skip because they want the easy answer, but it is the most useful one: not every grout problem is a cleaning problem. If the joints are failing, scrubbing harder usually just buys you a few more days of the same look. In a bathroom, moisture control matters as much as the cleaner itself.
Once you know whether you are cleaning, sealing, or repairing, keeping the grout in better shape is mostly a matter of small habits.
How I keep bathroom grout cleaner between deep cleans
Once the grout is clean, the real win is keeping it from sliding backward. In a bathroom, that usually comes down to reducing moisture, removing soap residue before it hardens, and resealing when the grout stops repelling water.
- Squeegee shower walls after use. This cuts down on soap film and water spots before they settle into the joints.
- Run the exhaust fan long enough. I want the room to dry out, not just feel less steamy.
- Wipe grout weekly with a mild cleaner. Small cleanups are easier than monthly rescues.
- Use clean mop water. Dirty water just redistributes soil across the floor.
- Check the sealer periodically. If water no longer beads, the grout is telling you it needs protection again.
- Fix leaking fixtures and bad caulk quickly. Persistent moisture is the fastest way to turn maintenance into repair.
If I were maintaining a family bathroom, I would keep the routine simple: light wipe-downs during the week, a deeper scrub only when the grout starts to look tired, and a fast check for moisture problems whenever staining keeps returning. That approach does more for the look and life of the grout than any single cleaning product ever will. Once the joint is clean and protected, the bathroom feels better overall, and it stays that way with far less effort.
