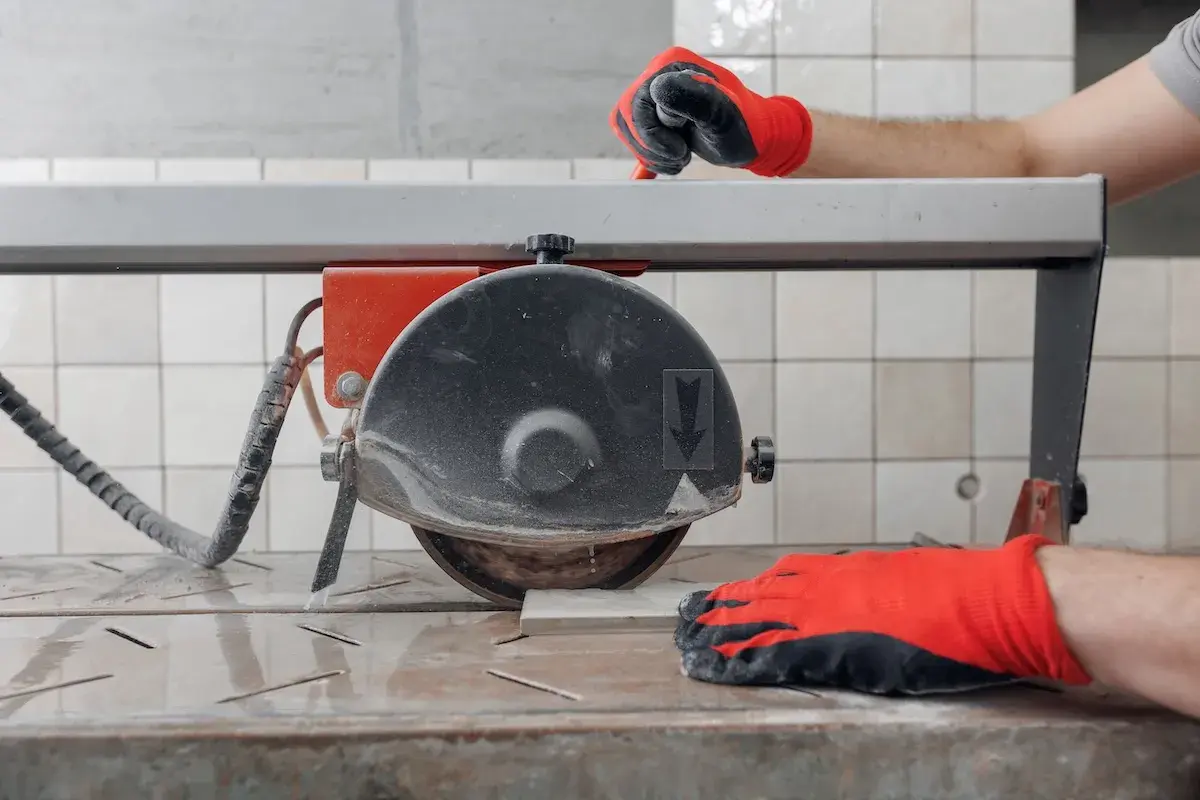
A wet saw is the cleanest way to cut bathroom tile when you need straight edges, tight notches, and a finish that still looks deliberate after grout goes in. Learning how to use a wet saw well is less about pushing harder and more about setup, patience, and matching the blade to the tile. I use a simple routine: prep the saw, mark the cut, feed the tile slowly, and clean up before the slurry hardens.
What matters before you make the first cut
- Stability first. Set the saw on a level surface or stand so the tile stays supported and your body position stays relaxed.
- Water is not optional. Confirm that a steady stream reaches the blade before you cut anything you care about.
- Use the right blade. A tile-rated diamond blade is the baseline; porcelain and glass usually need more care.
- Mark accurately. A wax pencil, square, and dry-fit check prevent expensive mistakes on visible edges.
- Feed slowly. Gentle, even pressure gives cleaner cuts than trying to hurry the pass.
- Stay safe. Eye protection, hearing protection, and a GFCI-protected outlet belong in the setup, not as afterthoughts.
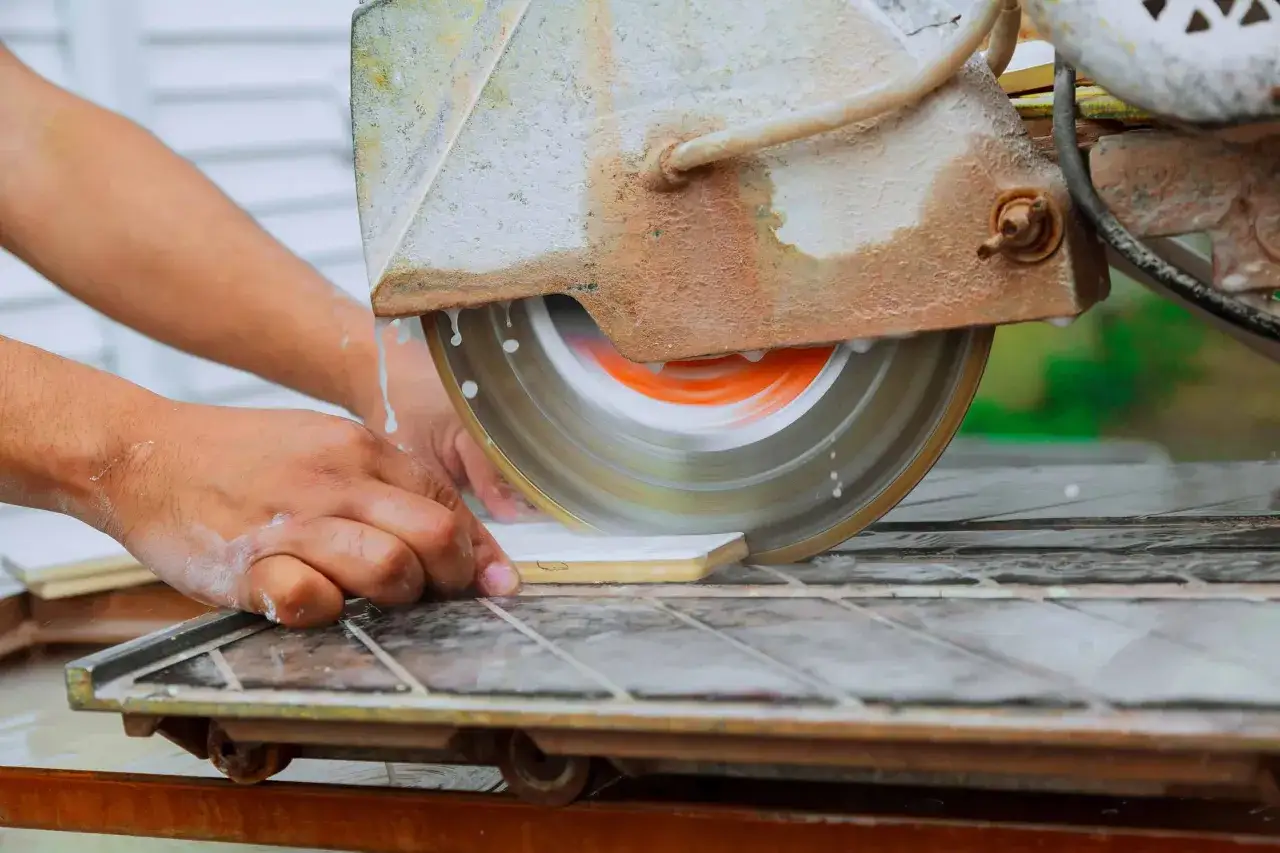
Set up the saw so the cut starts clean
Before I make a single cut, I want the saw stable, level, and comfortable to work at. A stand or table that keeps me from hunching over the blade matters more than people think, because control drops fast when your shoulders are cramped. I fill the reservoir to the marked line, confirm that the pump is moving water over the blade, and plug the saw into a GFCI-protected outlet.
Then I check the blade itself. A continuous-rim diamond blade is the safe default for tile, but it still has to match the material: ceramic is forgiving, porcelain asks for a sharper blade and slower feed, and glass or stone usually need a more specific setup. I also check that the fence, tray, and miter guide move smoothly before I start a bathroom job. Once that is done, I make one test cut on a scrap piece so I can see whether the water flow and blade alignment are actually right.
That setup work is what keeps the rest of the cut predictable, and it leads straight into marking the tile accurately.
Measure and mark the tile like the cut matters
Bathroom tile rarely fits the first time, especially around vanities, niches, and shower corners, so I treat layout as part of the cut, not a separate step. I measure from the visible edge, then transfer the mark with a wax pencil or fine marker that still reads after the tile gets damp. If a wall is out of square, I dry-fit first and mark the real gap instead of trusting the plan on paper.For straight cuts, I keep the finished face oriented the same way every time and push the tile firmly against the fence. For exposed edges, I leave the best factory edge where the eye will see it and place the cut edge where trim, grout, or a profile will hide it. That small choice saves a lot of sanding later, especially on glossy wall tile.
Once the mark is true, the actual cut is much easier to control.
Cut straight lines with steady pressure
For a rip or crosscut, I start the saw, wait for the blade to reach full speed, and then ease the tile into the cut. The feed should feel deliberate, not aggressive. If I have to force the tile forward, something is wrong: the blade is dull, the water flow is weak, or the tile is moving against the fence.
I keep both hands on the tile, with my fingers well away from the blade path, and I support the offcut so it does not break away at the end of the pass. That last inch is where many DIY cuts chip, because the tile loses support right when the blade exits.
| Tile type | How I change the cut | What I watch for |
|---|---|---|
| Ceramic | Moderate feed, standard tile blade, steady water flow | Clean exit and a smooth glazed edge |
| Porcelain | Slower feed and a sharper blade rated for dense tile | Chipping at the end of the cut |
| Glass | Very light pressure and extra support on both sides | Fractures, flaking, or vibration |
| Natural stone | Clean water, slow steady motion, and a scrap test first | Hidden fissures or uneven resistance |
For most bathroom work, ceramic is the most forgiving and porcelain is the one that punishes impatience. The table above is how I adjust, not a hard rule: the denser or more brittle the tile, the slower and lighter my feed rate becomes.
From there, the next challenge is not the straight cut itself but the shapes that interrupt it.
Handle miters, notches, and small pieces
Shower niches, valve openings, and around-corner transitions are where a wet saw earns its keep. For an L-cut or U-cut, I make the longest clean pass first, then make a second pass to remove the waste. If the corner needs a very tight finish, I stop short of the inside corner and clean up the last bit with tile nippers instead of trying to force a fragile point through the blade.
For 45-degree miters, I set the miter guide carefully and test the angle on scrap before touching the finished tile. A miter that looks fine on the saw can still leave a hairline mismatch once two pieces meet in the room, so I check the fit dry. Small strips are the other place I slow down: if the piece is too narrow to control safely, I support it with a sacrificial board or choose a different cutting method.
This is the stage where precision matters more than speed, and that leads to the mistakes I watch for most closely.
Avoid the mistakes that chip tile or stall the blade
Most bad cuts come from the same four problems: too much speed, too little water, poor support, and a blade that is wrong for the tile. When a blade starts glazing over or leaving a ragged edge, I stop and check the water stream before I blame my hands. A wet saw should look and sound steady; if it sounds strained, I am asking too much of the blade or moving too fast.
- Chipped glaze usually means the feed rate was too fast or the tile lost support at the end of the cut.
- Crooked lines usually mean the fence was off or the tile drifted because I was pressing unevenly.
- Rough, burned-looking edges usually mean water is not reaching the blade consistently.
- Breakage near the end of the cut usually means the offcut was not supported or the piece was too small for the saw.
When I am cutting porcelain in particular, I would rather make two careful passes on scrap than ruin one visible piece. A minute of testing is cheaper than replacing a tile that is already installed around a shower niche or vanity backsplash.
Once the cut quality is where it should be, the final job is cleanup, because wet slurry can undo a tidy workspace fast.
Clean the saw and workspace before slurry hardens
The slurry from a tile saw dries like concrete dust mixed with paste, so I clean while it is still wet. I scoop or wipe the tray before it hardens, rinse the blade guard and table, and wipe down any rails or guide surfaces that picked up grit. If I am working indoors, I also make sure the floor is dry enough that nobody tracks slurry through the room.
I do not dump heavy sediment straight down a drain. I let the solids settle, remove them, and then dispose of the waste in a way that makes sense for the jobsite. That habit keeps plumbing cleaner and makes the saw easier to use the next time. I also unplug the unit before cleaning around the blade or pump, because wet cleanup deserves the same respect as the cut itself.
When the saw is clean and dry, the job feels smaller and the next layout goes faster.
The checks I make before every bathroom cut
On a shower wall, backsplash, or floor transition, I keep a few habits in place no matter how simple the cut looks. They are small, but they prevent the mistakes that turn a neat layout into a patchwork of replacements.
- I test the first cut on scrap. That tells me more about the saw than the packaging ever will.
- I keep extra tile nearby. A spare field tile is cheap insurance when a visible edge chips.
- I verify the dry fit before thinset goes on. A good-looking cut still has to fit the room, not just the saw.
- I leave the saw set up until the room is finished. Repeated cuts are easier when the fence, water, and blade stay consistent.
Those habits do not make the work glamorous, but they keep bathroom tile installs from turning into repair work. The cleaner the setup, the less the saw feels like a problem and the more it feels like a precision tool.
