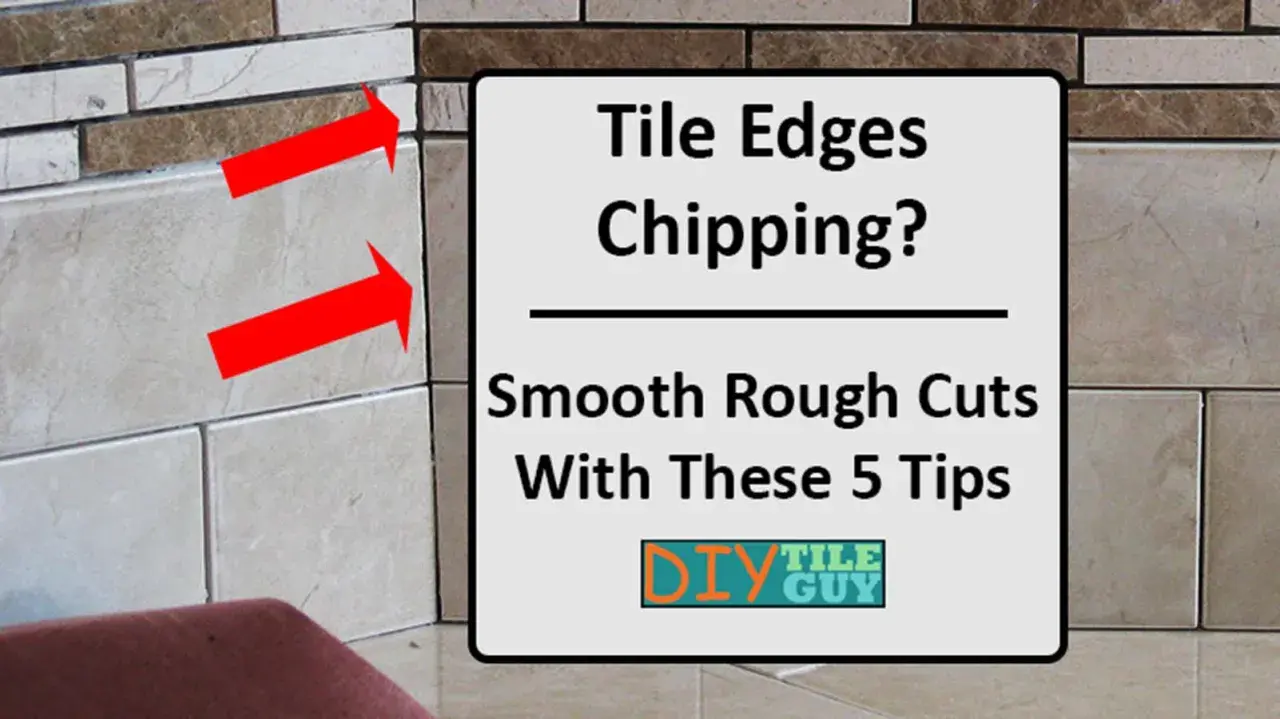
Stone changes the rules of tile work. The cut line can follow a clean vein, open a hidden fissure, or chip a corner that looked solid a minute earlier, so the process matters as much as the layout. To cut stone tile cleanly, I start with the material, not the saw, because the best result comes from matching the tool, the blade, and the edge you want to see in the finished room.
In a bathroom, that usually means planning for shower walls, niches, vanity splashes, and thresholds where the cut edge is visible and handled often. The goal is not just a straight line; it is a cut that looks deliberate, stays safe, and does not waste expensive material.
The cleanest stone cuts come from the right saw, a patient feed rate, and a plan for the edges
- A wet saw with a diamond blade is the default choice for most natural stone.
- Manual snap cutters are rarely my first pick for stone because brittle material breaks unpredictably.
- Layout comes before cutting: veining, grout joints, and visible edges should all be mapped first.
- Dust control matters just as much as accuracy, especially in enclosed bathrooms.
- A rubbing stone or diamond pad is what turns a raw cut into a finished edge.
Why stone behaves differently from ceramic or porcelain
Stone is not manufactured to behave like a uniform factory product. It carries natural variations, tiny faults, veins, and pockets that affect how it responds when a blade touches it. Marble, limestone, and travertine are usually more forgiving in the room than they are on the saw, because their edges can chip faster than a dense stone like granite.
That is why I look at stone in two ways at once: the pattern I want to preserve and the structure I need to respect. A veined marble wall can look beautiful when the cut follows the movement of the stone, but it can also look awkward if the pattern is chopped into short pieces without a plan. On a bathroom project, that difference shows up fast around niches, curb returns, and tight trim details.
The practical takeaway is simple: the stone decides how aggressive you can be. Once you understand that, the next step is choosing the cutting method that gives you control instead of surprises.
Choose the right cutter for the shape and the stone
For most bathroom work, I prefer a wet saw with a diamond blade made for stone. It gives the cleanest line, keeps the blade cooler, and reduces the kind of dust that turns a small job into a mess. On a job with a lot of visible cuts, that consistency pays for itself quickly.
| Method | Best use | Strength | Tradeoff |
|---|---|---|---|
| Wet saw | Straight cuts, miters, visible edges | Cleanest result and best control | More setup and slurry cleanup |
| Angle grinder with diamond blade | Notches, L-cuts, curves, trim work | Flexible and fast for awkward shapes | More dust and more chance of chipping |
| Manual snap cutter | Limited straight cuts on forgiving stone | Quick on simple, wide offcuts | Unreliable on many natural stones |
| Nippers or rubbing stone | Small corrections and edge cleanup | Good for refinement | Not a primary cutting method |
My rule is straightforward: if the cut is visible, precise, or expensive to replace, I go wet. If it is a small notch or an inside corner, I may combine the saw with a grinder and finish the edge by hand. I would not rely on a manual cutter for most natural stone, because the break line often wanders when the material has internal tension.
The TCNA Handbook is still the reference I trust when a cut is part of a broader installation plan, because the cut itself only works if the substrate, layout, and finished transitions are all thought through together. Once the tool is chosen, the layout becomes the part that saves or wastes the tile.
Set up the cut before you switch on the saw
I never start by chasing the blade. I start by confirming where the cut lands in the room, because the most visible mistake is usually a layout mistake, not a cutting mistake. If a cut edge will sit at eye level in a shower niche or at the front of a vanity splash, I want to know that before I touch the tile to the saw.
Measure from the finished edge
Stone installation is easiest when I measure from the surfaces that will actually be seen. That means accounting for grout joints, trim profiles, and any movement joint that changes the final position of the tile. A line that looks right on paper can be off by enough to matter once the tile is dry-fit against adjacent pieces.
Protect the face and mark the waste side
I mark the waste side clearly and keep the finished face clean. On polished stone, even a small scratch can show under bathroom lighting. On honed stone, the issue is less glare and more edge quality, so I still keep the mark light and easy to wipe away.
Dry-lay pieces when the pattern matters
If the stone has strong veining or a directional grain, I dry-lay a few pieces first so the flow feels intentional. This matters in a shower or tub surround more than people expect, because a random cut can break the visual rhythm across the whole wall.
Read Also: Remove Ceramic Tile Flooring - The Smart Way to Start
Test on a scrap before the first real cut
A test cut tells me more than a second round of measuring. It shows how the blade is behaving, whether the stone is chipping at the exit, and whether I need a slower feed rate before I touch the actual piece. That quick check usually costs less than one ruined tile.
Once the layout is set and the test cut looks right, the actual cutting step becomes much easier to control.
Make the cut slowly enough to keep the edge intact
Here is the part that saves more stone than any fancy blade: I let the saw do the work. Pushing hard does not make stone cooperate. It usually creates heat, vibration, and a chipped edge where the blade exits the tile.
- Start with a clean blade and steady water flow.
- Let the blade reach full speed before feeding the tile.
- Keep the tile flat and supported so it does not twist under pressure.
- Feed the stone slowly and evenly instead of forcing it through.
- For L-cuts or notches, make the long cuts first, then remove the corner in smaller passes.
- Stop just short of a fragile corner if the last bit is likely to break, then finish it with a grinder or nippers.
That last point matters more than it sounds. Narrow offcuts are where natural stone tends to fail unevenly, especially on smaller bathroom pieces. If the waste section is thin, I do not trust a single aggressive pass to save time. I would rather finish the cut in stages than replace a cracked tile.
If the cut is straight and the stone is cooperative, the wet saw does the cleanest work. If the shape is tight or awkward, a grinder helps, but I keep the motion controlled and avoid freehand rushing. The edge is only half the job, though, because a raw cut still needs to be dressed before it belongs in the room.
Finish the edge so it disappears into the installation
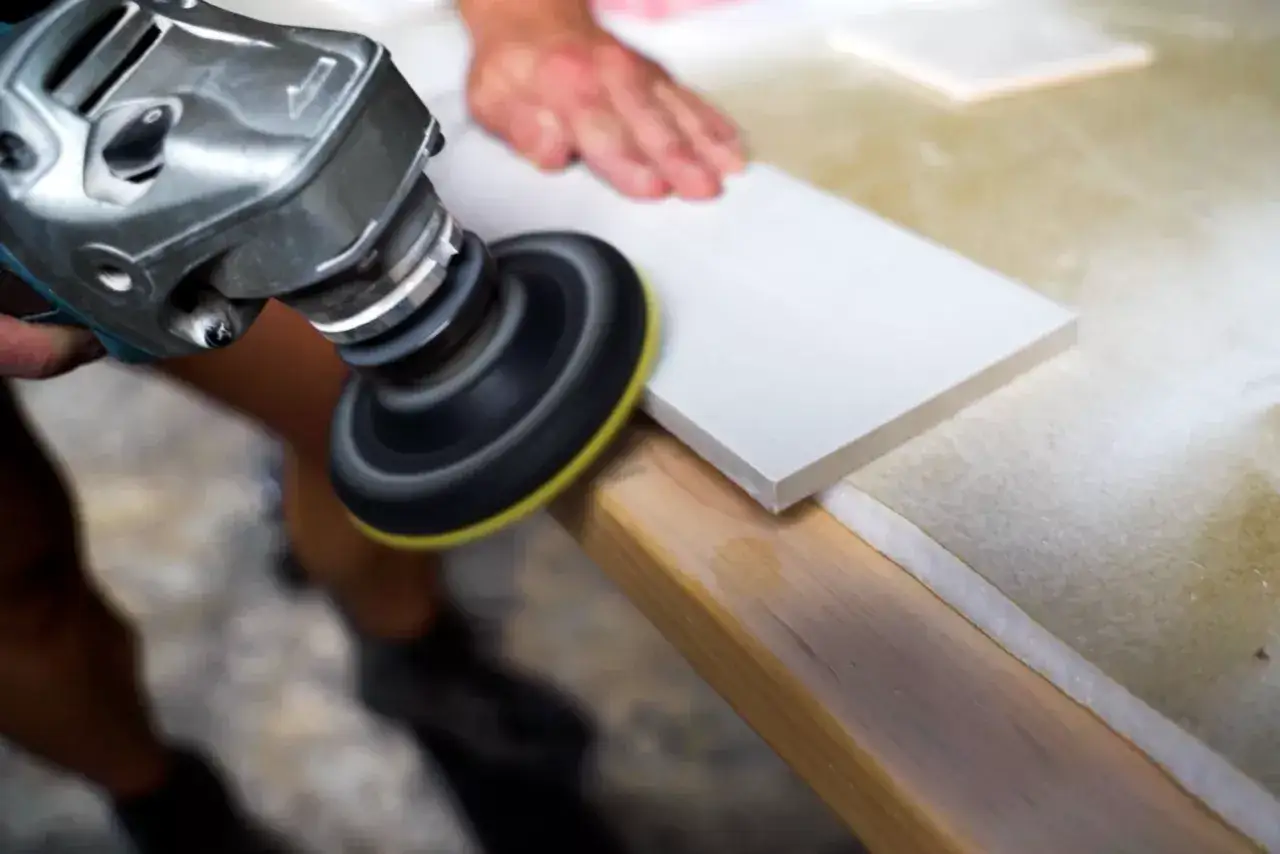
A good cut still looks unfinished if the edge is rough. I smooth the cut with a rubbing stone or diamond hand pad so it feels intentional rather than accidental. On a bathroom wall, that final pass matters because your eye catches sharp edges under bright lighting, especially near a niche opening or countertop splash.
For honed stone, I stop as soon as the edge feels consistent to the touch. For polished stone, I may work the edge a little longer so the cut does not look flat beside the factory finish. On rustic or tumbled material, I usually ease the edge rather than trying to make it look machine-perfect. The goal is to match the rest of the installation, not to over-refine one spot and make it stand out.
I also clean burrs off every visible corner, even if they will not be the focal point. Sharp micro-chips can catch grout, scratch hands, and make the installation feel less finished than it should. A few minutes with a hand pad can change the whole read of the surface.
Once the edge looks right, the remaining work is not cosmetic. It is safety and dust control, and that is where many DIY jobs go sideways.
Keep silica dust and slurry under control
Stone cutting creates fine dust that should not be treated like ordinary cleanup. OSHA treats silica exposure as a serious construction issue, and I agree with that approach on any job where stone is being cut indoors or in a tight space. A water-fed saw is the baseline, not the upgrade.
For a bathroom project, I think about three things at once: the blade, the room, and the cleanup. Wet cutting reduces airborne dust, but it creates slurry that needs to be removed before it dries out and turns back into dust. If I am working in an enclosed bathroom, I also want ventilation, because water alone does not solve every exposure problem in a small room.
- Use water-fed cutting whenever possible.
- Wear eye protection and hearing protection during cutting.
- Keep cords, outlets, and water routing under control.
- Do not dry sweep stone dust or dried slurry.
- Use a HEPA vacuum or wet cleanup method for residue.
- Ventilate the room if you are cutting indoors.
I also pay attention to the blade itself. A worn blade can chip stone more aggressively and generate more mess, so I replace dull blades sooner rather than trying to squeeze extra life out of them. Clean water, decent airflow, and a sharp blade are a much better combination than trying to fix dust after the fact.
With the safety side handled, the only thing left is the checklist I use before I make the first real cut in a bathroom.
Before the first bathroom cut, I check these details
Before I commit expensive stone to the saw, I want a few things settled. I usually order or keep 10 to 15 percent extra material for a bathroom job, and I lean toward the higher end when the stone is heavily veined, the layout is busy, or the room has lots of corners. That extra margin is cheap insurance compared with trying to patch a broken piece later.
- Where the cut edge will land in the room.
- Whether the stone has a strong vein or directional pattern that needs alignment.
- Whether the visible edge needs a polished, honed, or eased finish.
- Whether the blade is clean, sharp, and appropriate for stone.
- Whether the bathroom has enough ventilation for wet cutting and cleanup.
If I am cutting a small accent wall, a shower niche, or a piece of expensive marble, I slow down even more. Those are the cuts that look simple until one corner breaks and the rest of the layout has to be adjusted around the mistake. In that sense, the real skill is not cutting fast. It is deciding when to cut carefully, when to test first, and when the job is better handled by someone with the right saw and enough room to work cleanly.
