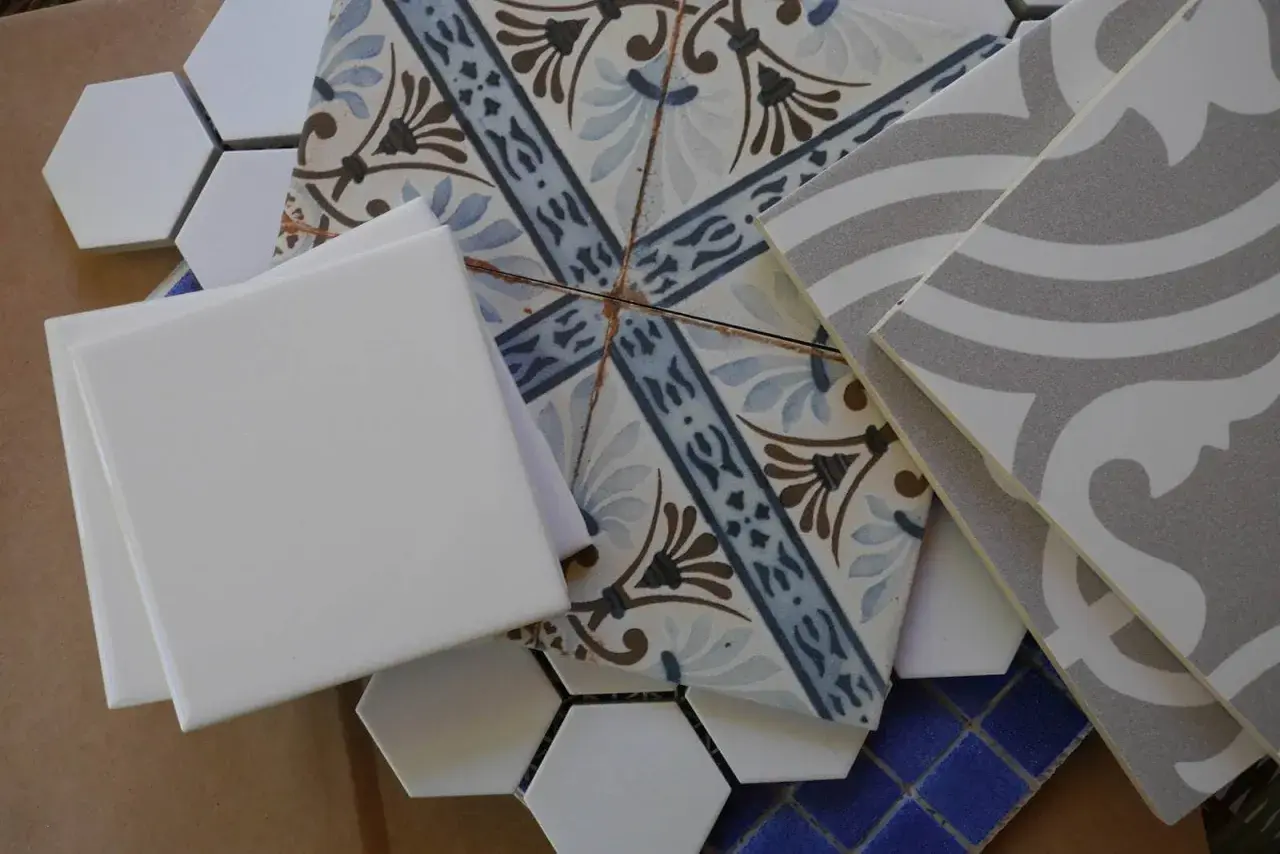
Leftover tile is one of those materials that quietly rewards a little creativity. The best diy leftover tile ideas are usually small, practical, and shaped around the tile you already have, whether that means turning a few pieces into coasters, a bathroom tray, a soap dish, or a sharper accent for a vanity. I like this topic because it sits right between design and utility, which is exactly where good bathroom details usually live.
In this guide, I focus on what actually works: which projects suit tiny scraps versus larger offcuts, how tile material changes the result, what tools you need, and where people usually go wrong. If you have surplus tile from a remodel, you probably have more usable material than you think.
The smartest leftover tile projects are the ones that match the tile, the space, and the amount you have
- Small scraps are best for coasters, soap dishes, trays, and framed decor.
- Ceramic and porcelain are the easiest to reuse; stone and glass need more care.
- For bathroom projects, moisture resistance matters more than the idea itself.
- Most DIY tile projects need only a cutter, adhesive, grout, sealant, and felt pads.
- If the tile edges are chipped or irregular, mosaic-style projects are usually the cleanest fix.
- For original installs, a 10% to 15% overage is normal, which is why leftovers are so common.
Start by matching the project to the tile you actually have
Before I pick a project, I look at three things: size, material, and condition. A single 12-by-24-inch tile opens a very different set of options than a handful of 2-inch mosaics, and a smooth porcelain remnant behaves differently from porous natural stone. That sounds obvious, but it is the difference between a project that feels intentional and one that feels forced.
Here is the simplest way I think about it:
| What you have left | Best uses | Why it works |
|---|---|---|
| 1 to 4 small tiles | Coasters, soap dishes, candle plates, plant bases | Fast to finish, low waste, and useful in a bathroom or kitchen |
| Several matching tiles | Serving tray, framed wall art, mirror border, vanity accent | Enough repetition to create a polished look |
| One large tile or slab | Tabletop insert, bath tray, shelf topper, decorative panel | One piece can feel like a custom surface without a full installation |
| Chipped or mixed scraps | Mosaic art, picture frame, planter surround, abstract decor | Irregular edges become part of the design instead of a flaw |
If I am trying to get the most value out of a pile of leftovers, I usually save the best-looking pieces for visible surfaces and push the rougher scraps into mosaic work. That approach keeps the finished piece cleaner, and it leads nicely into the projects that give the biggest payoff for the least effort.
My favorite small projects for one to four tiles
The most satisfying small projects are the ones you can actually use every day. A coaster set sounds basic, but tile is ideal for it because it is flat, durable, and easy to wipe clean. If you want something more bathroom-friendly, a tile soap dish or toothbrush tray does the same job while looking more custom than store-bought accessories.
- Coasters work best with ceramic or porcelain tiles that have smooth edges. Add cork or felt on the bottom so they do not scratch furniture.
- Soap dishes are especially useful in showers and at the sink. I prefer slightly textured tile here so soap does not slide around.
- Vanity trays are a smart upgrade for perfumes, hand cream, jewelry, or a small candle. A single large tile can become the insert inside a wood or resin tray.
- Plant bases protect shelves and windowsills from moisture. They are simple, practical, and ideal when you only have one strong remnant.
- Candle plates and diffuser pads are quick wins if you want something decorative without cutting tile.
- Framed tile art lets you use patterned or hand-glazed pieces almost like a small architectural object.
For bathroom spaces, I like soap dishes and vanity trays most because they fit the room naturally. They also make a remodel feel finished, which is often what a room needs after the big work is done. If you have a little more material than that, the next tier of projects opens up quickly.
Use larger leftovers to create a real design moment
Once you have enough tile for a larger surface, the project can start acting more like architecture and less like craft. That is where leftover pieces become especially useful in bathrooms and powder rooms, because even a narrow border or a small accent panel can change the room’s tone. I have noticed more designers leaning into these smaller statements, and the 2026 bathroom conversation is clearly moving toward more personality-led details rather than safe, invisible finishes.
These are the bigger projects I would consider first:
- Mirror borders add shape and weight to a plain vanity wall. This works well with rectangular tile, especially if the mirror itself is simple.
- Backsplash accents can frame a sink or vanity area without requiring a full wall of tile. A short band is often enough to make the room feel custom.
- Tabletops are a strong use for matching leftovers because they turn a practical object into a focal point. They are also easier to clean than many painted finishes.
- Shelf tops or niche liners are ideal when you want a small flash of texture inside a built-in detail.
- Bath trays work well if you want a spa-like look, especially with larger tiles that give the piece a more finished surface.
There is one limitation worth stating plainly: bigger projects only work if the leftover amount is actually enough to keep the pattern consistent. If the tile is heavily varied, or if you are short by just a few pieces, I would rather shrink the idea than force it. A smaller but polished accent always reads better than an unfinished large one.
How to turn scraps into a clean, durable finished piece
The process is usually simpler than people expect, but the order matters. I start by checking every piece for chips, hairline cracks, and sharp corners. If the edges are rough, I sand them lightly or use a rubbing stone before I build anything. That small step makes the project feel finished instead of improvised.
- Clean the tile thoroughly so dust, grout haze, and old adhesive do not interfere with bonding.
- Dry-fit the layout first, especially if you are making a tray, frame, or mosaic panel.
- Choose the backing carefully. Plywood can work for decorative pieces, but wet areas need moisture-resistant backing or a proper waterproof substrate.
- Use the right adhesive for the job. For tiny craft pieces, a strong construction adhesive may be more practical than thinset. For anything exposed to real moisture, use a product rated for that environment.
- Grout only after the adhesive has set, which is usually around 24 hours, though the label should always win.
- Let grout cure fully before heavy use. Most products need 24 to 72 hours.
- Seal porous stone and any grout that needs protection, then add felt pads or rubber feet to the bottom.
For bathroom projects, I am strict about moisture. A decorative piece that sits near a sink is one thing. Anything that lives inside a shower, around standing water, or on an outdoor surface needs more thought, better backing, and more patience during curing. That caution leads directly into the mistakes that cause most DIY tile projects to fail.
The mistakes that waste good tile
The biggest mistake is treating every leftover piece as if it deserves the same treatment. It does not. Porcelain is forgiving, stone is more temperamental, and glass demands cleaner cuts and cleaner edges. If you ignore those differences, the project usually looks amateurish even when the idea is solid.
- Using porous stone without sealing it can leave stains, water marks, or grout discoloration.
- Choosing a project that is too large for the amount of tile creates awkward gaps and pattern mismatch.
- Skipping edge finishing makes coasters, trays, and table pieces uncomfortable to use.
- Mounting heavy tile without checking the backing can lead to cracks or failure over time.
- Using tile as a cutting board or direct food surface is a bad fit unless the whole assembly is designed for that purpose.
- Rushing the cure time is one of the easiest ways to ruin a clean-looking piece after all the work is done.
There is also a design mistake I see often: people try to save every scrap, even the pieces that are too small or too irregular to matter. In practice, the smartest move is to keep the best leftovers for repairs and high-visibility accents, then let the rest become mosaic filler or decorative fragments. That mindset makes the final result look intentional rather than cluttered.
What I would do with the last few pieces from a bathroom remodel
If I had only a small pile of leftovers from a bathroom renovation, I would keep the most matching pieces for future repairs first. After that, I would make one practical object for the room, usually a soap dish or vanity tray, because it gives you daily value without demanding much material. The remaining pieces would either become a coaster set or go into a framed accent, depending on how consistent the tile finish is.
I would also store the leftovers flat, label the box with the tile name and finish, and keep any extra grout or trim notes with it. That takes minutes now and can save hours later if you ever need to patch a chipped corner or match a small repair. When tile is handled that way, it stops being scrap and starts acting like a design resource.
In the end, the best use for surplus tile is the one that fits the room you already live in. Small bathroom details, clean surfaces, and durable little accents are where leftover tile tends to shine, and that is usually where I would spend it first.
