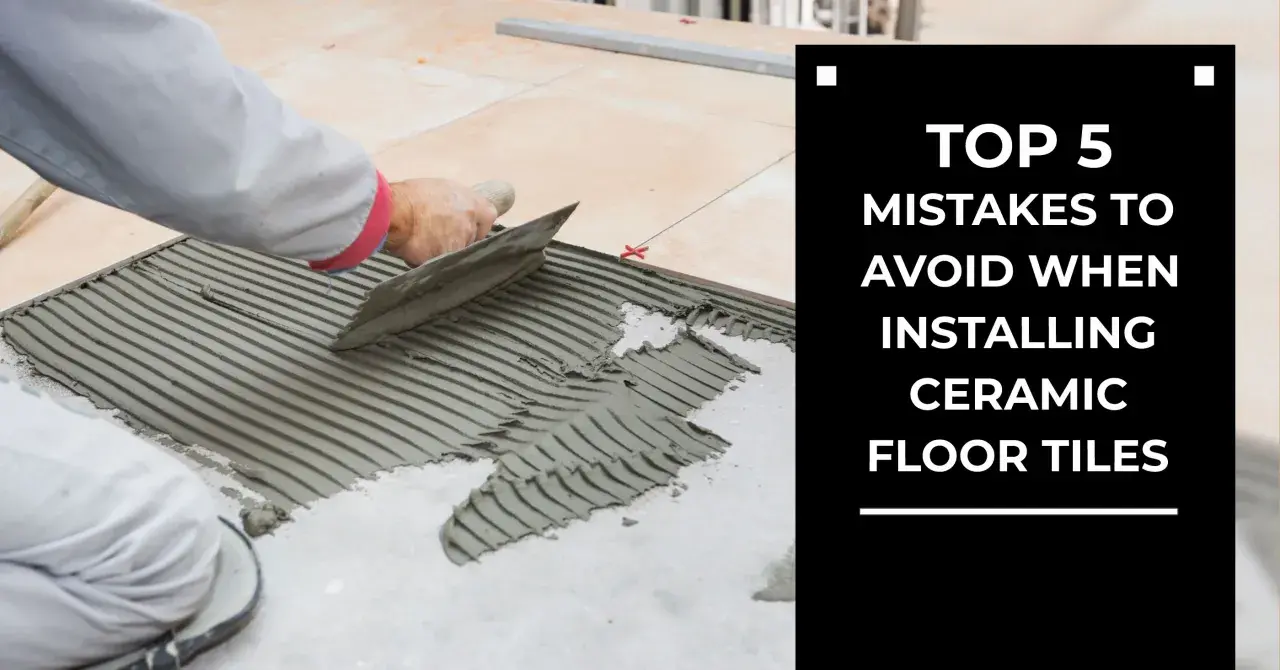
A durable tiled floor starts with what sits under the surface, not with the tile itself. In bathrooms, kitchens, laundry rooms, and entryways, the difference between a floor that stays crisp and one that cracks or sounds hollow usually comes down to substrate prep, the right setting materials, and a layout that respects movement. This guide walks through the full tile floor installation process, what to choose before you begin, and where the most expensive mistakes usually happen.
The main decisions are underneath the tile, not on top of it
- Flatness matters more than most DIYers expect. Large-format tile needs a flatter surface than small tile to avoid lippage.
- Porcelain is the safest all-around choice for wet rooms and high-traffic floors in the U.S.
- Movement joints are not optional decoration. They help the floor handle expansion, contraction, and building movement.
- Grout is not a fix for bad prep. It fills joints, but it does not replace proper mortar coverage or substrate repair.
- Budget for waste and prep. Simple projects are far cheaper than floors that need leveling, demolition, or waterproofing.
Choose the tile that fits the room, not just the look
When I help people think through a floor project, I start with use, moisture, and maintenance. A tile that looks perfect in a showroom can be the wrong choice in a bathroom that gets constant splashing or a mudroom that sees grit every day. The smartest choice is the one that balances appearance, slip resistance, cutting difficulty, and long-term upkeep.| Tile type | Where it works best | Tradeoffs |
|---|---|---|
| Ceramic | Guest baths, powder rooms, light-use floors | Usually easier to cut and more budget-friendly, but less dense than porcelain |
| Porcelain | Bathrooms, kitchens, laundry rooms, entryways | Very durable and moisture-resistant, but harder to cut and often pricier |
| Natural stone | High-end spaces where variation is part of the design | Needs more maintenance and usually sealing; also less forgiving during installation |
| Mosaic or small-format tile | Shower floors and other areas that need more grip or slope | More grout lines, more labor, and more time to set cleanly |
For most homes, porcelain gives the best mix of durability and everyday practicality. Ceramic still has a place, especially when cost matters and the room is not constantly wet. Once the tile choice is clear, the floor below it becomes the next deciding factor.
Prepare the floor so the tile has something trustworthy to bond to
This is the part that saves or ruins the job. Tile does not forgive a floor that flexes, dips, or holds moisture. I want the surface clean, dry, flat, and structurally sound before I even think about mixing mortar.
- Check stiffness first. A tile floor should not ride on a bouncy subfloor. If the structure moves too much, grout cracks and tiles can loosen.
- Know what you are tiling over. Concrete and wood floors need different prep, and each may need a backer board, uncoupling membrane, or other underlayment depending on the system.
- Respect flatness requirements. As a practical benchmark, I want no more than 1/8 inch of variation in 10 feet for tile with an edge 15 inches or longer, and no more than 1/4 inch in 10 feet for smaller tile, unless the manufacturer calls for tighter limits.
- Watch new concrete closely. Fresh slabs usually need about 28 days to cure under normal conditions before tile goes down.
- Deal with moisture early. If a slab is damp or wicking water, the tile job is not the place to guess and hope.
For wood floors, the big issue is usually movement and deflection. For concrete, the usual problems are moisture, cracks, and surface contamination that can weaken the bond. If I have to choose, I would rather spend time flattening and repairing the floor now than spend money replacing a failed tile floor later. That prep work sets up the setting process, which is where the actual floor starts to take shape.
Set the floor in a deliberate order, not a rushed one
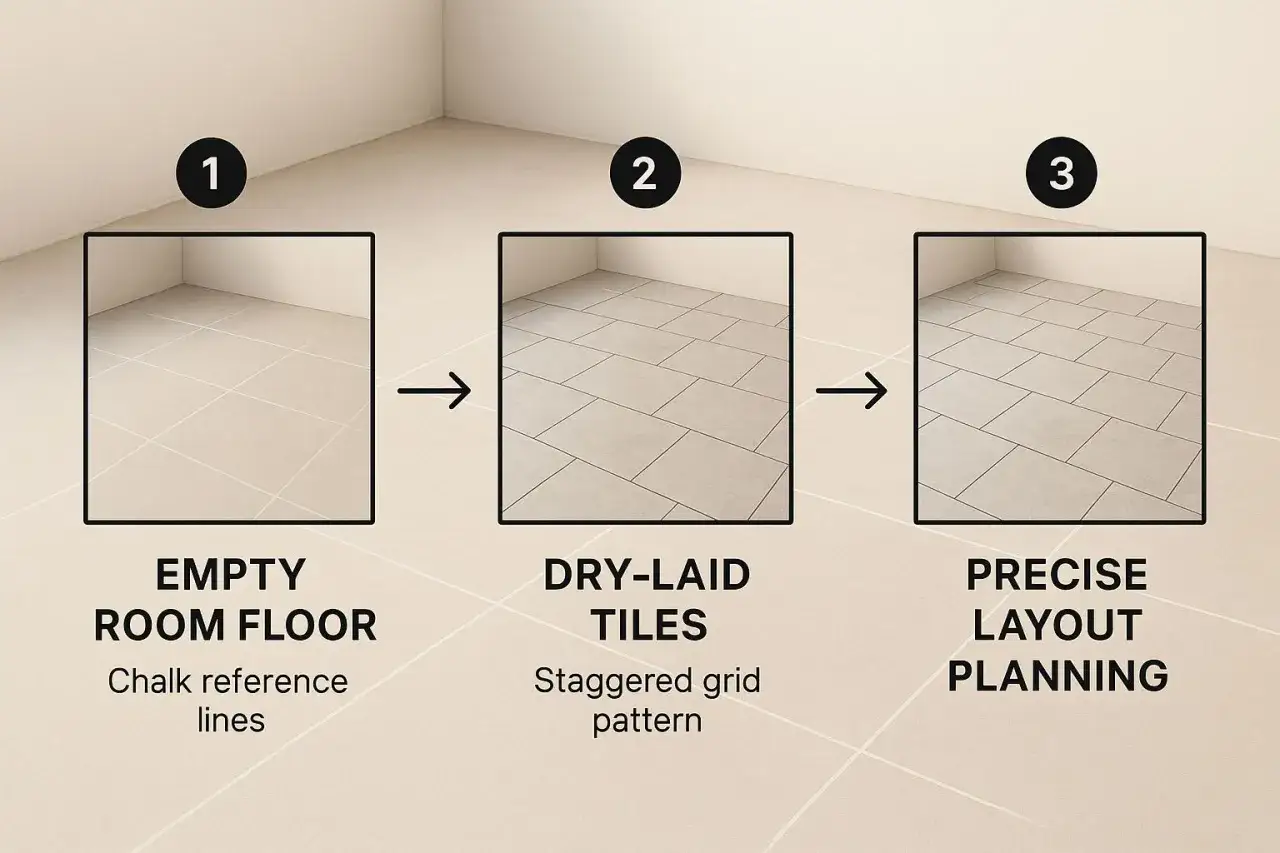
The setting stage is where planning turns into visible work. Good installers do not start in the corner and hope the pattern works out. They dry-lay, measure, snap lines, and make sure the cuts land where they should. That is how you avoid a floor that looks slightly off even when each tile is individually straight.
- Dry-lay the pattern. I check the room shape, edge cuts, and whether the pattern will leave slivers at walls or cabinets.
- Snap reference lines. A center line is useful, but the real goal is a layout that balances the room visually.
- Mix thinset in small batches. Thinset is the cement-based mortar that bonds the tile to the floor, and it should be mixed to the consistency the bag calls for.
- Spread mortar with the right trowel. The notch size matters because it controls coverage. Bigger tile usually needs more mortar.
- Set and move each tile into the bed. A slight wiggle helps collapse ridges and improve contact.
- Back-butter larger pieces when needed. That means applying a thin coat of mortar to the back of the tile to improve coverage, especially on large-format tile.
- Check lippage as you go. Lippage is the height difference between neighboring tiles, and it becomes very visible on floors once light hits the surface.
- Leave perimeter gaps. Tile should not be jammed tight against walls, tubs, cabinets, or other restraining surfaces.
The Tile Council of North America treats movement joints as a requirement in tilework, and that matches what I see in real projects: floors that fail often skipped the boring details. If the layout is deliberate, the next step is protecting the joints and letting the assembly cure on its own schedule.
Grout, movement joints, and curing decide whether the work survives
People often think the floor is nearly done once the tile is set. In practice, the finishing stage is where a lot of durability gets decided. Grout fills the joints, but it is not a flexible crack absorber. That job belongs to movement joints and, in some assemblies, the underlying system design.
- Use the right grout for the room. Cement grout is common and budget-friendly, while epoxy grout costs more but handles stains and moisture better in demanding spaces.
- Do not grout over movement joints. Those joints need a flexible sealant or another manufacturer-approved system, not rigid grout.
- Watch the perimeter. Where tile meets walls, tubs, thresholds, or different flooring, movement accommodation is what keeps the floor from pushing against itself.
- Wait before using the floor. Most mortars need at least overnight before grout, and the surface should usually stay light-duty for 24 to 72 hours afterward, depending on the products used.
- Seal only when the material calls for it. Many modern grouts are stain-resistant enough to skip sealing, but cement-based grout often benefits from it.
Here is the rule I trust: if the floor is wet, warm, or wide enough to move, the joints matter more than the pattern. A beautiful installation still fails if it cannot move naturally. Once those finishing decisions are made, the conversation turns to budget and timeline.
Budget for the parts people forget
Tile pricing is easy to underestimate because the tile itself is only one line item. In the U.S., a straightforward floor can be affordable; a floor with demolition, leveling, waterproofing, or a complex pattern can climb quickly. I always tell people to budget for waste, cuts, and the conditions that do not show up in the showroom.
| Project type | Typical installed budget per sq. ft. | What usually drives the price |
|---|---|---|
| Simple ceramic or porcelain on a clean, flat slab | $10 to $25 | Basic labor, standard mortar, limited cutting |
| Wood subfloor with backer board or membrane | $15 to $35 | Extra underlayment, more labor, more prep |
| Natural stone, large-format tile, or patterned layout | $25 to $75+ | Higher material cost, flattening, more cuts, slower install |
Labor alone for a basic tile floor often lands around $5 to $14 per square foot, and that number climbs when the room is small, irregular, or hard to prep. I also plan for extra tile: about 10% waste for a simple grid, and closer to 15% or more for diagonal, herringbone, or heavy-cut layouts. A 100-square-foot room can therefore sit anywhere from roughly $1,000 to $2,500 for a straightforward job, with much higher totals once the project gets complicated. That is why the final section is less about decoration and more about failure prevention.
The details that separate a floor that lasts from one that fails early
When I look at a tile floor that has aged well, I usually see the same things: a flat substrate, the right tile for the room, enough mortar coverage, and movement joints where the assembly needs room to breathe. None of those are glamorous. All of them matter more than a fancy pattern.
- Flatness is non-negotiable, especially with large-format tile.
- Porcelain is usually the safest everyday choice in bathrooms and other wet rooms.
- Perimeter and transition joints protect the floor from stress.
- Rushing grout or traffic can undo an otherwise solid installation.
- Cut quality and layout planning are visible every day after the job is done.
If I had to reduce the whole process to one sentence, it would be this: tile rewards patience and punishes guesswork. Start with a sound floor, choose the right material, set it carefully, and let the assembly move and cure the way it was designed to. That is the difference between a floor that looks good for a month and one that still feels right years later.
