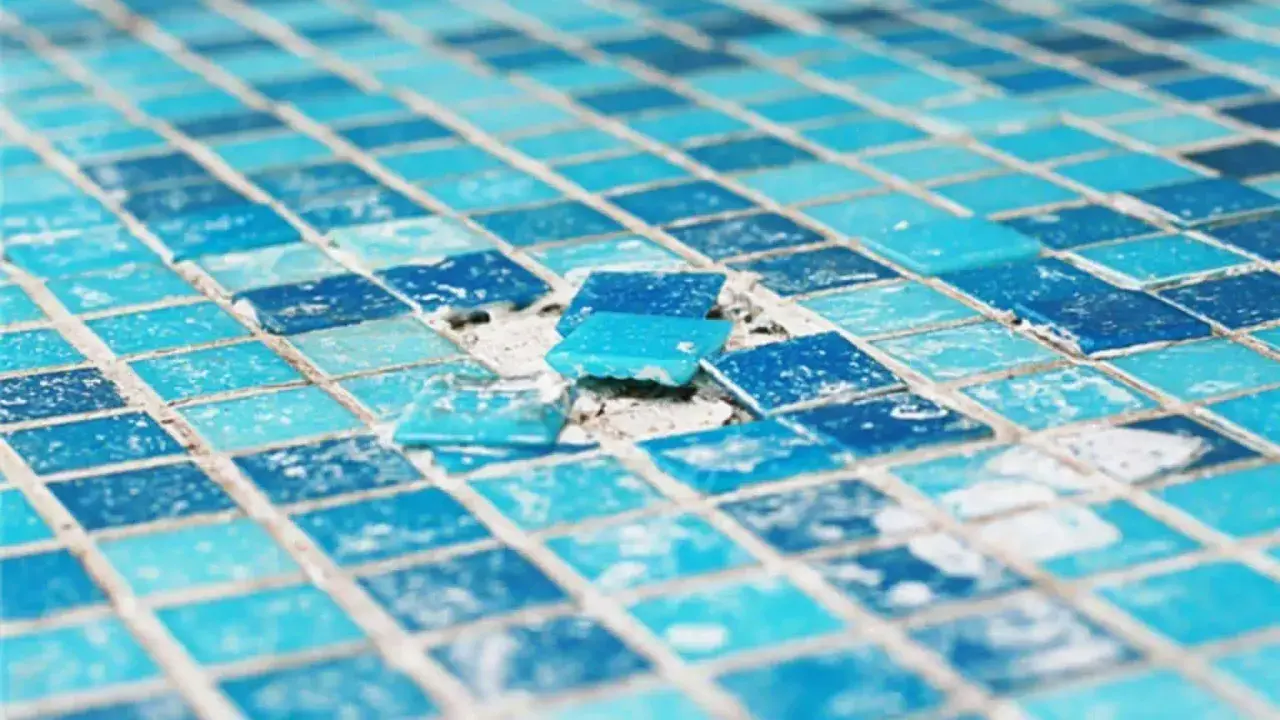
To install glass mosaic tiles well, I focus on flatness, mortar choice, and patient cleanup, because those three things decide whether the surface looks crisp or busy. In a bathroom, that matters even more: glass reflects light, exposes lippage, and can make a small layout look either elegant or chaotic. This guide covers the materials, prep, setting method, grout choices, and the mistakes I would avoid on a backsplash, shower wall, or accent niche.
The essentials that make the job go smoothly
- Start with a very flat substrate. Glass does not hide dips, humps, or patched seams.
- Use a white, glass-safe mortar. Dark thinset can show through translucent tiles and change the final color.
- Keep mortar out of the joints. Clean squeeze-out before it hardens so grout can bond properly.
- Set small areas at a time. Mosaic sheets drift fast if you try to cover too much wall at once.
- Match grout to the tile and the manufacturer’s instructions. Unsanded, epoxy, or a specialty formula may be the right choice depending on the glass.
Know which mosaic backing you are working with
Before I touch a trowel, I want to know how the mosaic is mounted. That detail changes the pace of the job, the cleanup, and even how much pressure I use when I press the sheet into the wall.
| Backing format | What it means on site | Best use | Main caution |
|---|---|---|---|
| Mesh-backed sheets | The easiest format to align and the fastest for most wall projects. | Bathroom backsplashes, shower accents, and niche walls. | Mortar can squeeze through the joints if the notch is too large or the bed is too wet. |
| Paper-faced sheets | The face paper stays on during the initial set, then gets removed. | Layouts that need very even alignment on the visible face. | You have to follow the removal process carefully or the sheet can shift. |
| Loose pieces | Individual tiles are placed one by one or in small clusters. | Curves, custom borders, and detailed decorative work. | Slowest option, and every line has to be checked manually. |
For a DIY bathroom wall, mesh-backed sheets are usually the most forgiving. Paper-faced and loose mosaic work can look more refined in the right hands, but they demand more control and more patience. Once the backing format is clear, the next decision is whether your materials are actually compatible with the glass.
Choose materials that support the glass instead of fighting it
I am strict about the setting system with glass. The wrong mortar or grout can dull the finish, telegraph through translucent tile, or leave scratches that never disappear.
- Use a white, polymer-modified thinset or a glass-specific mortar. White matters because many glass mosaics are translucent enough for the bed color to show through.
- Choose a small notch trowel. A low ridge is usually better than a deep one, because excess mortar is the main reason joints get clogged.
- Keep grout choice conservative. For many polished mosaics, unsanded or a fine, manufacturer-approved grout is the safer starting point.
- Have color-matched caulk for changes of plane. Corners, wall-to-counter transitions, and wall-to-tub joints should flex, not crack.
- Use non-scratch cleanup tools. I prefer a clean sponge, microfiber cloths, and a soft grout float over anything abrasive.
Some tile systems also call for a dedicated glass tile mortar or even a one-step method where the same mix is used to set and grout. I treat that as a product-specific instruction, not a general rule. If the tile maker or mortar maker says to use a particular system, I follow that instead of improvising.
Prep the wall until it is flatter than it looks necessary
Glass rewards precision and punishes shortcuts. A wall that would look fine under ceramic can still read wavy once reflective tile goes up, because the light catches every small ridge and dip.
My prep checklist is simple:
- Remove dust, soap residue, loose paint, and any failing patch material.
- Check the wall with a long straightedge, not just a level.
- Skim-coat or float low spots before setting the first sheet.
- Let patching and waterproofing cure fully, not just until they feel dry.
- Confirm that any membrane or backer is compatible with the tile system.
A practical flatness target for thin-bed tile work is about 1/8 inch in 10 feet and 1/16 inch in 1 foot, with even tighter control in small decorative areas. I still treat that as a baseline rather than a comfort zone, because glass mosaics can expose imperfections that other tile hides. Once the wall is ready, the actual setting process becomes much easier to control.

Set the sheets one small section at a time
When I set glass mosaics, I work in short, deliberate passes. Trying to cover a large area too quickly is how sheets drift, joints fill with mortar, and the pattern starts to look handmade in the wrong way.
- Dry lay the sheets first. I check the pattern, the color blend, and the sheet orientation before I mix anything.
- Mark reference lines. A plumb line or laser helps keep rows from wandering, especially around a vanity wall or shower niche.
- Mix the mortar exactly to spec. I want it creamy and workable, not soupy.
- Key mortar into the wall. I press a thin coat into the substrate first, then comb fresh mortar with a small notch.
- Keep the working area small. I usually spread only about 2 to 4 square feet at a time so the mortar stays fresh and controllable.
- Set the sheet and press evenly. A grout float or flat beating block works better than aggressive tapping.
- Check coverage and joint depth immediately. If mortar is squeezing into the joints, I stop and correct it before moving on.
One thing I watch closely is sheet drift. If the sheet slides after placement, the mortar is too wet, the wall is not flat enough, or both. I would rather lift and reset one sheet than discover a crooked field after three rows are in place. That kind of correction is cheap early and expensive late, which is why the grout stage deserves the same level of patience.
Grout carefully and clean before haze locks in
I do not rush grout on glass. I wait until the mortar has cured, which is often about 24 hours for a standard wall installation, and longer if the room is cool, humid, or heavily detailed. The joints have to be firm enough to accept grout without disturbing the sheets.
For many polished or translucent mosaics, I start with unsanded grout or another fine grout that the manufacturer approves. Sanded grout can scratch delicate surfaces, and pigmented grout can leave a haze that is hard to remove once it sets. If I am unsure, I test a spare sheet first. That small test is cheaper than trying to rescue a finished wall.
My grout routine is straightforward:
- Work in small areas so the grout does not skin over before cleanup.
- Hold the float at an angle and pack the joints firmly.
- Wipe diagonally with a barely damp sponge so I do not pull grout back out.
- Rinse often and change the water before it turns cloudy.
- Buff the surface with a dry microfiber cloth once the haze starts to firm up.
At every change of plane, I use flexible sealant instead of grout. That includes inside corners, the seam between a backsplash and countertop, and the junction around a tub or shower base. Those joints move, and grout there usually cracks sooner than people expect. After the grout is done, the final quality check is not cosmetic, it is structural.
The mistakes that show up fast on glass
Glass mosaics are not difficult because they are fragile. They are difficult because every small mistake is visible.
- Using too much mortar. Thick ridges squeeze into the joints and flatten the look of the pattern.
- Skipping wall flattening. The tile will follow every bump, and the reflected light will make it obvious.
- Setting too much area at once. By the time you correct the first drift, the far edge has already skinned over.
- Choosing the wrong grout. A scratchy or overly coarse product can ruin polished glass fast.
- Ignoring mortar color. Gray under translucent glass can make a clean design look muddy.
- Grouting corners. Hard grout in a movement joint usually fails earlier than a flexible sealant.
- Not testing a sample first. A single spare sheet tells you more than guesswork ever will.
The common thread is control. If I keep the substrate flat, the mortar thin, and the cleanup disciplined, most of the usual failures never happen. That leaves the finish looking precise instead of patched together, which is exactly what decorative glass is supposed to do.
Keep the finish clear, bright, and low maintenance
Once the installation is complete, maintenance should be simple. I recommend a soft cloth or sponge, a pH-neutral cleaner, and no abrasive pads. In a shower, a quick squeegee after use helps prevent soap film and hard-water spots from building up on the glass face.
Glass itself usually does not need sealing, but cement-based grout may, depending on the product and the area of use. If the grout maker recommends a sealer, I wait until the grout is fully cured before applying it. I also keep a record of the grout color and the exact setting system used, because touch-ups are easier when I do not have to guess months later.
For me, the real payoff with glass mosaics is the way they handle light in a bathroom. If the wall is flat, the mortar is chosen carefully, and the grout is treated as a finishing step rather than an afterthought, the tile does the visual work by itself. That is what makes the surface feel intentional, not just installed.
