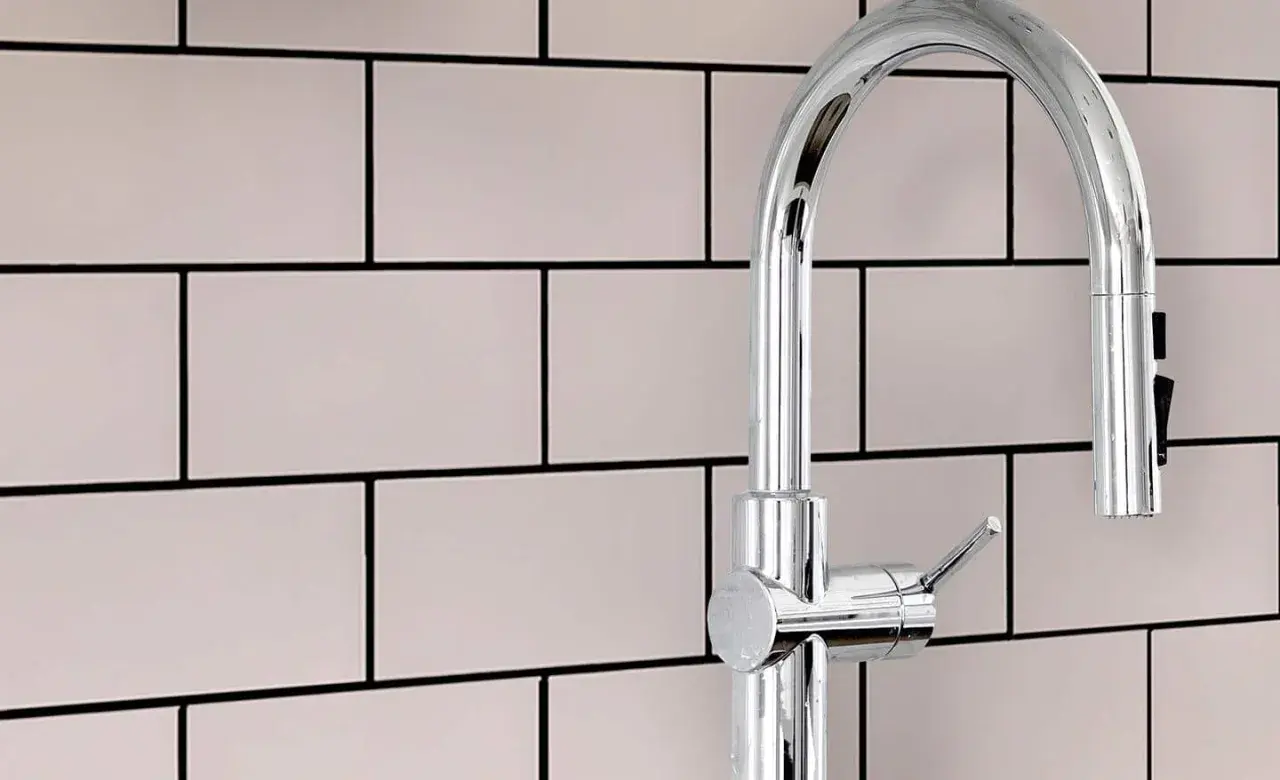
A clean grout line can change the whole read of a bathroom: it sharpens the tile pattern, keeps small joints from looking busy, and makes the surface feel intentionally finished. In practice, a smooth grout finish is less about chasing a single product than matching the right formula, joint width, and cleanup method to the tile in front of you. I treat that choice as a design decision, because it affects both the look and the maintenance burden.
The practical takeaways at a glance
- Non-sanded grout, often called unsanded grout, is usually the right choice for narrow joints and delicate tile faces.
- Once joints reach about 1/8 inch, sanded grout or a product-specific fine-aggregate grout usually performs better.
- Use grout in the field of the tile, but switch to color-matched caulk at corners and other movement joints.
- Most cementitious grouts should cure before sealing, with many manufacturers pointing to a 24- to 72-hour window.
- The cleanest finish comes from firm packing, controlled wiping, and resisting the urge to flood the surface with water.
What a smooth grout finish really is
When I talk about a smooth grout finish, I am usually talking about texture and surface profile, not a completely separate material. In most bathroom projects, that means a cement-based grout with little or no coarse aggregate, so the cured joint feels flatter, looks cleaner, and draws less attention than a sanded blend.That matters more than people think. On a small wall tile, a mosaic, or a polished surface, the grout line should support the design, not compete with it. A smoother joint helps the tile read as one continuous surface, which is exactly why it is so common on backsplashes, shower walls, and other places where the eye lands quickly.
The tradeoff is that smoothness and width do not always get along. The finer the mix, the less forgiving it tends to be in wider joints, so the finish has to be chosen with the tile layout in mind. That leads straight to the question of where this kind of grout actually works best.
Where it makes the most sense in real bathrooms
In bathrooms, I reach for a smooth or non-sanded joint most often on vertical surfaces and on tile with a refined face. It is a strong fit for:
- Shower walls with narrow joints
- Backsplashes and vanity surrounds
- Glass tile, polished porcelain, and polished stone
- Mosaic sheets with tight grout spacing
- Detail areas where a soft, uniform line is part of the design
The reason is simple: these surfaces usually ask for a cleaner visual finish, and they often use narrower joints anyway. A smooth joint also reduces the risk of scratching delicate tile faces, which is a real concern with some polished stone and glazed finishes.
It is not the best default for every floor, though. On wider joints or rougher tile, a finer mix may shrink, look weak, or leave the surface less durable than you want in a high-traffic area. That is why the material choice matters just as much as the look, which is where the comparison gets useful.
How it compares with sanded, epoxy, and fine-aggregate grouts
The easiest way to think about grout is by finish, joint width, and resistance to wear. Traditional cement-based products still dominate most residential work, but the newer fine-aggregate formulas have blurred the old sanded-versus-unsanded split. Some modern products are engineered to feel smoother while still handling a broader range of joints than older mixes.
| Type | Finish feel | Typical joint width | Best use | Main tradeoff |
|---|---|---|---|---|
| Non-sanded grout | Very smooth, fine, and clean-looking | About 1/16 to 1/8 inch | Glass, polished tile, marble, narrow wall joints | Can shrink or crack if pushed into wider joints |
| Sanded grout | Slightly gritty and more textured | About 1/8 to 1/2 inch | Floors, wider joints, more demanding wear | Can scratch delicate tile faces |
| Fine-aggregate high-performance grout | Smoother than traditional sanded grout, denser finish | Product-specific, sometimes from 1/16 up to 3/4 inch | Projects that need a refined look with broader flexibility | Check the label carefully; not every product behaves the same |
| Epoxy grout | Dense and polished once cured | Product-specific | Showers, wet zones, stain-prone areas | Less forgiving to install and usually more expensive |
One useful example: MAPEI’s fine-aggregate Ultracolor Plus Max is rated for joint widths from 1/16 to 3/4 inch, which shows how far modern grout chemistry has moved beyond the old one-size-fits-all rule. I still treat that as a product-by-product decision, though, because not every smooth-looking grout can cover the same range safely.
If you are choosing between options for a bathroom remodel, my bias is simple: use the least aggressive grout that still fits the joint width and the tile face. That keeps the surface visually quiet without setting yourself up for scratches or weak joints, and it brings us to the part most DIY jobs get wrong: the installation itself.
How to get a clean, even finish during installation
A polished grout look starts long before cleanup. I want the installer to know the tile type, the joint width, and whether the surface needs a grout release or a pre-sealer before any mixing begins. On rough stone or porous tile, that extra step can save a lot of haze and staining later.
- Match the grout to the joint width and the tile surface before opening the bag or tub.
- Mix only to the manufacturer’s ratio, because adding extra water makes the joint weaker and more likely to haze.
- Pack the joints firmly with a rubber float, keeping the float angled so the grout fills the joint instead of riding over it.
- Wipe diagonally with a damp sponge before the grout skins over, then rinse often so you are not smearing paste back across the tile.
- Buff the surface lightly with a microfiber towel once the first haze appears, instead of flooding the area with more water.
- Use color-matched caulk at corners, transitions, and other movement joints instead of rigid grout.
I also pay attention to temperature. LATICRETE’s product guidance places many cement-based grouts in roughly a 40°F to 90°F application window, and that is a good practical reminder that grout behaves differently in cold, damp, or very hot conditions. If the room is outside a comfortable working range, the finish becomes harder to control.
The cleanest results usually come from restraint. Overworking the surface, adding too much water, or waiting too long to clean are the three mistakes that turn a refined finish into a chalky one. Once the grout is in place, the job is not finished yet, because the next phase is protecting that surface.How to keep the surface smooth after it cures
For cementitious grout, sealing is still worth taking seriously. MAPEI notes that cement grout should cure for at least 24 to 72 hours before sealing, depending on the manufacturer’s instructions, and I would rather wait a little longer than trap moisture under a sealer. A good penetrating sealer helps reduce stain absorption without changing the look of the joint.
The important detail is that sealing and cleaning are not the same thing. A sealer helps with future spills, but it will not fix a rough or washed-out joint. For day-to-day care, I prefer a pH-neutral cleaner, soft cloths, and a soft brush for the corners of showers and niche shelves. Acidic cleaners can be useful in limited cases, but I do not treat them as routine maintenance on cement grout.
Some sealers are marketed as lasting up to three years, but the real-world lifespan depends on how often the shower is used, what cleaners you use, and how often the surface is scrubbed. In a busy family bathroom, I would inspect the joints once a year and reseal when water stops beading or staining starts to show up faster than it should.
Glazed ceramic and porcelain usually do not need sealing themselves, but the grout joints may still benefit from it. That distinction matters because people often think the whole surface is either sealed or not; in reality, the tile and the joint often behave very differently.
The small checks I would make before committing to the look
When I want a bathroom to feel crisp rather than busy, I check three things before I decide on grout: joint width, tile surface, and maintenance tolerance. If the tile is delicate, the joints are narrow, and the room is likely to get regular cleaning, a smoother joint usually makes sense. If the tile is rough, the joints are wide, or the floor will take a lot of abuse, I become more cautious and often move toward a more robust product.
- Ask for a sample board if the tile and grout combination will dominate the room.
- Confirm that corners and shower transitions are being caulked, not grouted.
- Test any cleaner or sealer on a spare tile before committing to the whole installation.
- Be skeptical of a mix that promises a perfect finish in every joint width; those claims usually hide a compromise.
That is the real lesson here: the best-looking grout is the one that suits the surface, the spacing, and the way the bathroom will be used. If you get those three decisions right, the finish looks intentional for years instead of merely looking smooth on day one.
