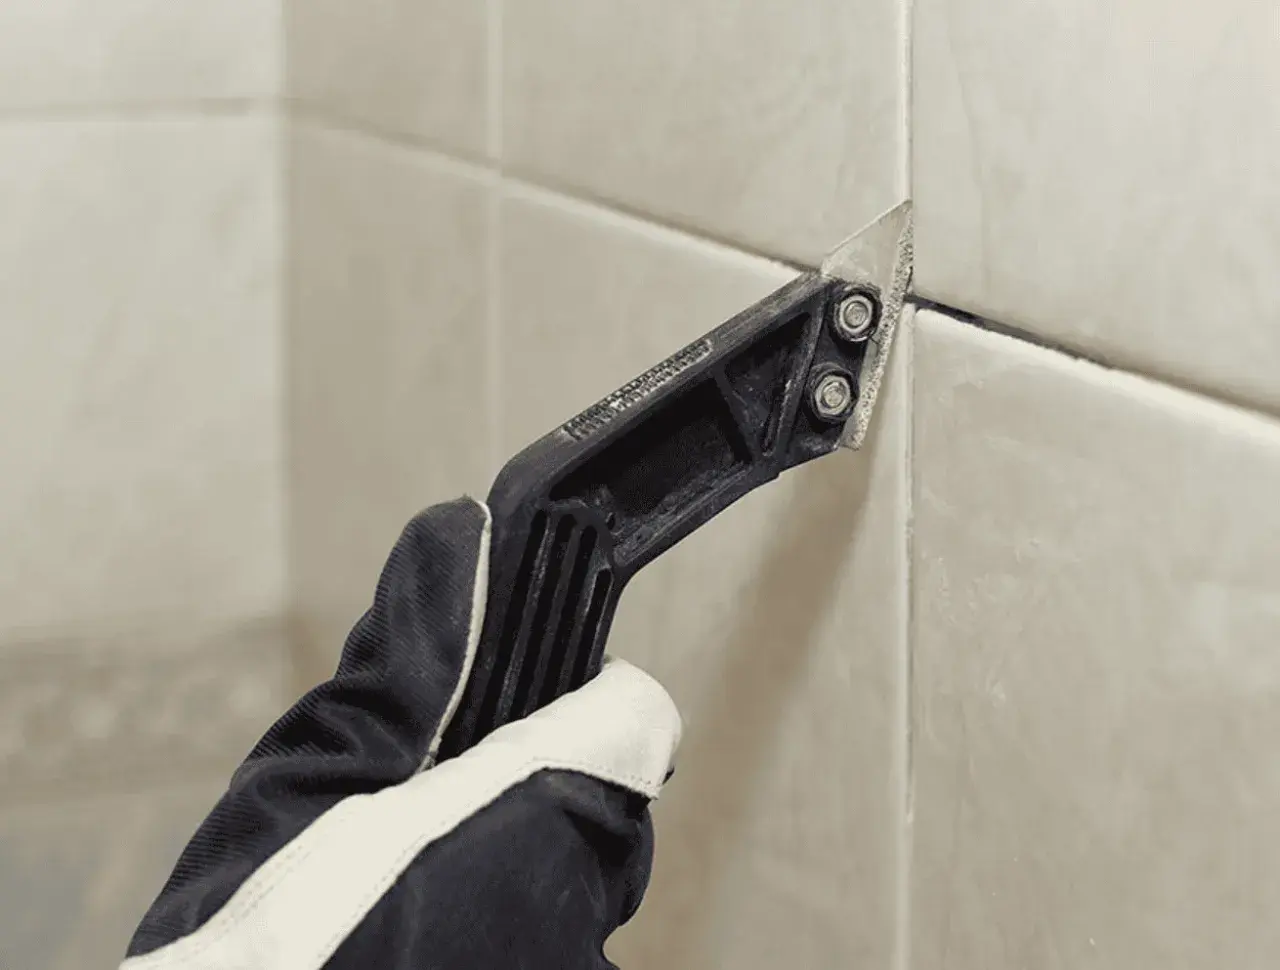
Here I’ll cover when that approach makes sense, how I prepare the lines, which grout types work best, and the mistakes that usually shorten the life of the repair. The goal is simple: help you decide whether to regrout, recolor, or remove the old material and begin again.
What matters before you add fresh grout
- The old grout has to be firm, dry, and tightly bonded to the tile.
- If the joints are flush, crumbly, or moving, a top layer will not hold.
- For stain or color problems only, a grout colorant is often the better fix.
- Wet areas like showers need more prep because moisture exposes weak joints fast.
- Most failures come from shallow prep and poor cleanup, not from the grout color.
When topping old grout makes sense and when it does not
I treat this as a targeted repair, not a universal shortcut. It works best when the original grout is still sound, the tile itself is well bonded, and the joint has enough depth to accept new material without just sitting on top like a skin.
| Condition | Best approach | Why |
|---|---|---|
| Grout is stained but still hard | Clean it, seal it, or use a colorant | The structure is fine; the problem is appearance |
| Grout is cracked but not loose | Remove enough material and regrout | Fresh grout needs depth to bond mechanically |
| Grout is powdery, missing, or soft | Remove the weak material and rebuild the joint | A weak base will keep failing under the new layer |
| Tiles move or sound hollow | Fix the tile or substrate first | Grout is not structural, so it cannot solve movement |
| There is recurring mold or moisture damage | Find the leak or ventilation problem first | Surface repair alone will not stop water intrusion |
The Spruce notes that you should not skip removal entirely; even a shallow regrout needs some of the old surface taken off so the new material has something to grip. That is the real dividing line between a repair and a temporary cover-up. Once you know the surface is a candidate, the next step is checking whether the joints are actually ready for work.
How I check the old joints before starting
Before I open a bag of grout, I look for three things: strength, cleanliness, and depth. If any one of those is off, the finish may look fine for a week and then start shedding, cracking, or discoloring again.
- I press a small tool into a hidden joint. If the grout crumbles like chalk, I remove more of it.
- I tap nearby tiles. A hollow sound usually means the tile bond is questionable, and grout will not fix that.
- I check corners, tub edges, and shower pan transitions. Those are movement joints, so they should stay flexible and get caulk instead of grout.
- I scrub away soap film, mildew, old sealer residue, and body oils. Grout will not bond well to a greasy surface.
- I confirm that the joint is not already flush with the tile face. If there is no recess left, the new layer has nowhere to settle.
For a light refresh, I usually want at least the top 2 mm of weak material gone. For a deeper regrout, especially with epoxy or in a shower, I prefer to remove closer to half the joint depth while leaving sound material behind. That prep determines how much trust I can place in the repair, which is why the application method matters next.
The step-by-step method I would use on a bathroom wall
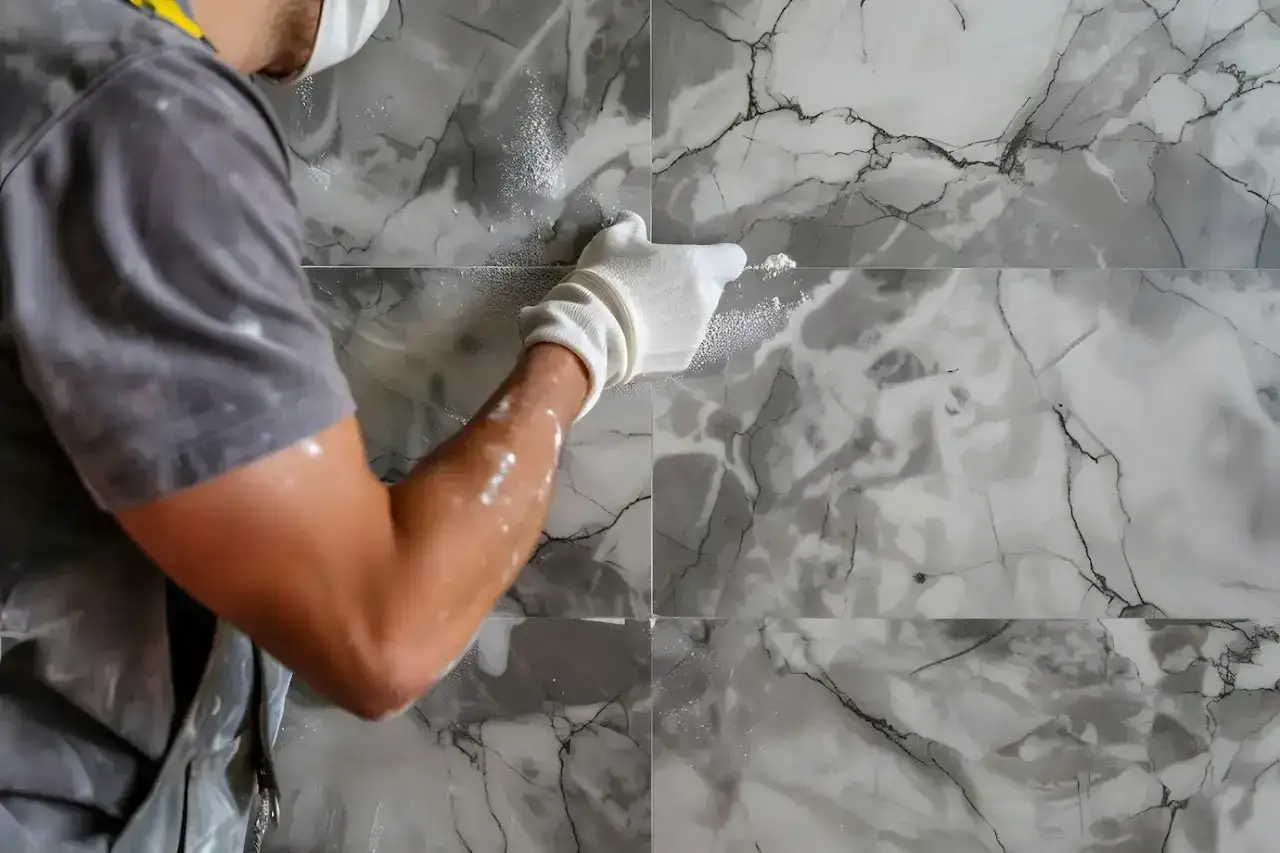
Once the joints are ready, I work in small sections so the grout does not set before I finish cleanup. A bathroom wall is a good example because it is visible, moisture-prone, and unforgiving if the cleanup is rushed.
- Remove loose material with a grout saw, oscillating tool, or a similar removal tool. I stop as soon as I reach sound grout and avoid chewing into the tile edges.
- Vacuum the dust, then wash the joints with a cleaner that cuts soap film and body oils. Rinse thoroughly and let the surface dry completely.
- Mask nearby finishes if the tile is polished, stone, or textured. That makes cleanup easier and protects delicate edges.
- Mix the grout exactly to the manufacturer’s ratio. Too much water weakens the finish and can leave the color patchy.
- Pack the grout diagonally across the joints with a float so the material compresses into the recess instead of skating over the top.
- Let it firm up before the first wash. The surface should feel set, not soft, before you start wiping.
- Clean with a damp sponge or microfiber pad, using light pressure. Excess water is a fast way to wash color out of the joint.
- After the haze lifts, do a final buff with a dry cloth and leave the area alone until it cures fully.
The key point is restraint. Most of the damage happens when people over-wet the sponge, scrub too aggressively, or use the shower again before the grout has had time to harden. The product choice matters just as much as the technique, so I look at the grout itself before I call the job done.
Choosing the right grout for the joint width and the room
Not every grout is a good candidate for a regrout job. The wrong choice can shrink, scratch a delicate tile, or fail in a wet environment. I start with joint width, then look at traffic, moisture, and tile type.
| Grout type | Best use | Main limitation |
|---|---|---|
| Sanded cement grout | Wider joints on floors and durable tile | Can scratch polished stone or very soft tile |
| Unsanded cement grout | Narrow wall joints and delicate finishes | Not ideal for wider joints because it can shrink or crack |
| Epoxy grout | Showers, high-use areas, and stain-prone spaces | Costs more and usually demands faster, cleaner work |
| Grout colorant or refresh product | Sound grout that only needs a new color or cleaner look | Does not repair weak, missing, or moving joints |
The mistakes that make fresh grout fail
I see the same problems over and over again, and most of them are preventable. If the repair fails early, it is usually because one of these details was ignored.
- Grouting over loose, powdery, or cracked material instead of removing it first.
- Using grout in corners, at tub edges, or along transitions where caulk should flex with movement.
- Mixing the grout too wet, which weakens the joint and can cause uneven color.
- Scrubbing with too much water and pulling pigment out of the surface before it cures.
- Using the wrong grout type for the joint width or the tile finish.
- Putting the shower back into service before the grout has fully cured.
- Ignoring the underlying cause, such as a leak, failed waterproofing, or tile movement.
That last point matters. If the substrate is moving or water is getting behind the tile, no fresh layer will behave like a real fix. Once those risks are ruled out, cost and scope become the final filter: some jobs are easy DIY repairs, while others are better handed to a professional.
What the repair may cost and when I would bring in a pro
For a small backsplash or a few damaged lines, a DIY repair can stay relatively inexpensive. For showers, the cost goes up quickly because of prep time, waterproofing concerns, and the amount of detail work around corners and fixtures. Angi's 2026 data puts professional shower regrouting at roughly $600 to $2,500, with many projects landing near $1,500.
| Approach | Typical budget | Best for |
|---|---|---|
| DIY spot repair | About $20 to $100 in materials and basic tools | Small damaged sections, backsplash touch-ups, minor color cleanup |
| DIY full regrout | Often under a few hundred dollars for a small room | Sound tile with widespread aging but no structural issues |
| Professional shower regrout | About $600 to $2,500 in many U.S. projects | Large showers, wet-area repairs, or jobs with moisture concerns |
| Tile replacement | Usually more than regrouting | Loose tile, failed substrate, or chronic water damage |
I would call a pro if the shower has loose tiles, recurrent mold, a failing pan, or grout that keeps breaking after cleaning. I would also bring in help if the tile is expensive, the joints are very narrow, or the area needs waterproofing review. If you want the repair to last, the final step is not more grout; it is the maintenance pattern that keeps the joints dry and stable.
The small habits that keep the repair looking new
Fresh grout does not stay attractive on its own. I get the best results when the room is maintained like a working wet area, not treated like a one-time cosmetic project.
- Run the bathroom fan after showers and keep moisture from lingering on the surface.
- Clean with a pH-neutral or grout-safe cleaner instead of harsh abrasives.
- Watch the corners and tub lines separately, because those flexible joints should stay caulked.
- Reseal cement-based grout after it has fully cured if the product calls for sealer.
- Check for beading water, hairline cracks, or dark spots every few months so you catch trouble early.
If I had to reduce the whole job to one rule, it would be this: fresh grout only succeeds when the old joint is still worth saving. Do the prep honestly, match the product to the space, and do not force grout to solve a moisture or movement problem it was never meant to fix.
