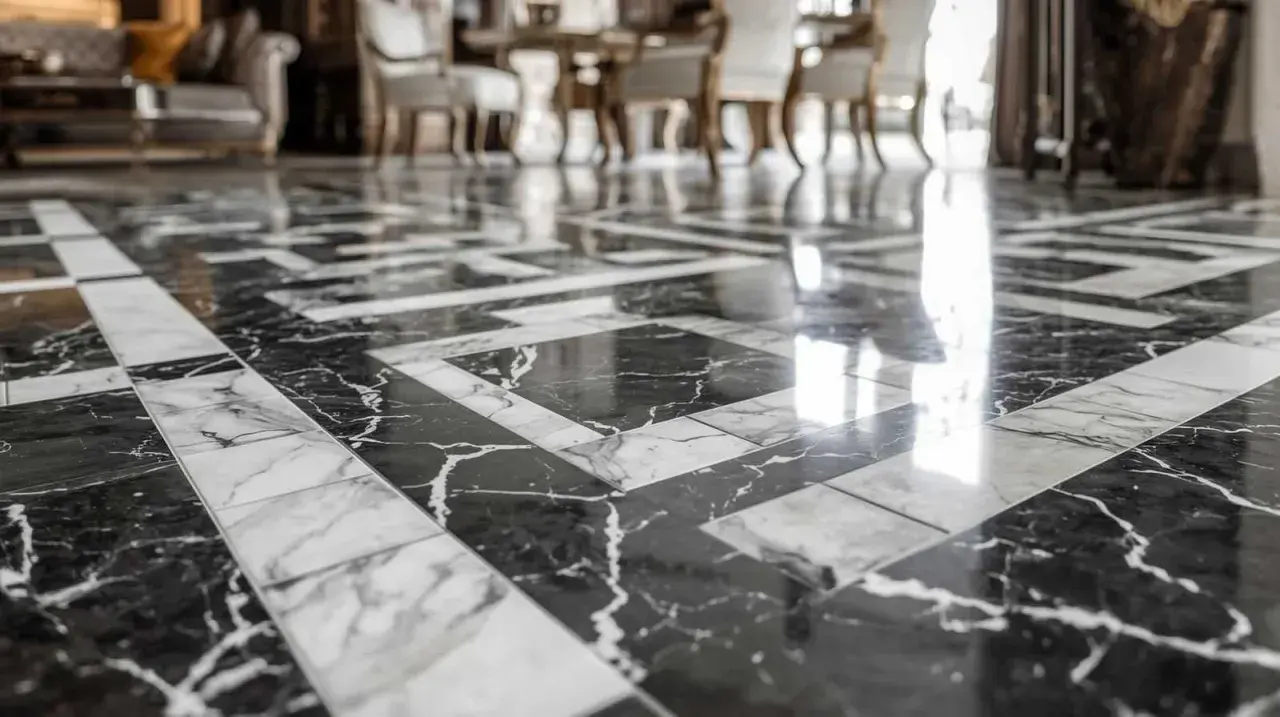
Marble tile with black grout can look sharp, architectural, and more deliberate than the usual white-on-white bath. The catch is that this pairing exposes everything: tile quality, joint width, cut accuracy, finish choice, and how well you maintain the stone afterward. In this article, I’m focusing on the design decisions that make the look work, the installation details that protect marble, and the cleaning habits that keep it looking intentional instead of tired.
Key points to keep the look crisp, not chaotic
- Black grout creates strong contrast, so the tile layout becomes part of the design.
- Charcoal often reads better than pure black when the marble has busy veining or the room is small.
- Tight joints, usually around 1/16 to 1/8 inch when the tile allows it, keep the surface looking tailored.
- Marble needs stone-safe prep and cleaning; acidic products can dull or etch the surface.
- Honed marble usually feels safer and softer on floors, while polished marble is often better on walls.
Why the contrast feels so crisp
The appeal here is simple: marble brings movement, while black grout brings structure. Together they turn a stone surface into a graphic pattern, which is why the look can feel modern even when the marble itself is classic. I like this combination when the goal is to make the tile layout visible on purpose, not hide it.
That said, the contrast is unforgiving. Every cut line, every uneven joint, and every bit of grout haze becomes easier to see, so the room has to earn the look. If the marble has soft gray veining, black grout can echo that linear movement and make the whole surface read as a deliberate grid. If the stone is already dramatic, though, the grout can start competing with it instead of supporting it.
In practice, I usually think of black grout as a framing device. It does not just separate tiles; it changes the visual weight of the stone itself. Once you understand that, the next question is where the pairing actually works best.
Where I would use it in a bathroom
This finish pairing is strongest where you want the surface to act like architecture, not background noise. I see the best results in places that have enough visual space for the contrast to breathe.
| Application | Why it works | Watch-outs |
|---|---|---|
| Shower walls | The vertical plane gives the grid room to read cleanly and makes veining look intentional. | Small stalls can feel busy fast, so joint consistency matters more here than almost anywhere else. |
| Vanity backsplash | It frames the mirror, sconces, and faucet line without taking over the whole room. | Water spots and toothpaste splatter show up quickly, so easy cleaning matters. |
| Feature niche or panel | A niche becomes a focal point instead of a utility detail. | Use a calmer marble if the surrounding bath already has strong pattern or dark finishes. |
| Floor in a larger bath | The contrast can anchor the room and make the marble pattern feel tailored. | For floors, I prefer a honed finish more often than polished because traction matters. |
For a small powder room, one strong marble surface is often enough. For a larger primary bath, the look can carry more area, but I still prefer to keep other finishes quieter so the room does not become visually heavy. That leads directly to the next decision, which is the one that changes the result more than most people expect: grout tone, width, and finish.
How grout tone, width, and finish change the result
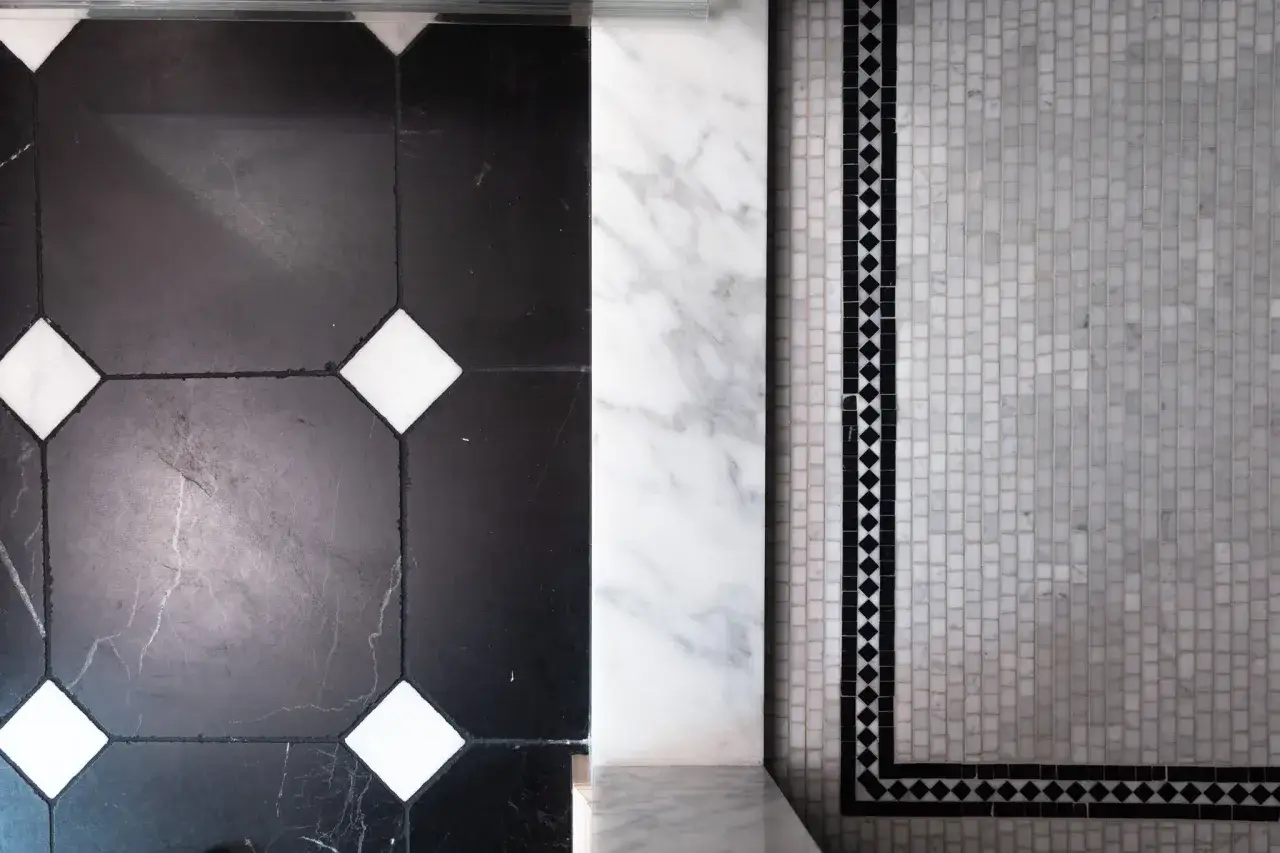
Not all dark grout reads the same. Jet black is the boldest option, but it is also the harshest. Charcoal gives you most of the structure with less visual aggression, and a warm gray can keep the surface graphic without making the grout line the star of the room. If the marble has a lot of movement already, I almost always lean away from absolute black.
| Grout tone | Visual effect | Best use |
|---|---|---|
| True black | Highest contrast, strongest grid, most architectural. | Clean-lined marble in a larger bath or a feature wall where you want the pattern to lead. |
| Charcoal | Still crisp, but softer and easier on the eye. | Carrara-style marble, smaller bathrooms, or spaces with mixed metals and softer lighting. |
| Warm gray | Quietest of the three; it supports the stone instead of overpowering it. | Marble with strong veining or rooms that already have a lot of contrast elsewhere. |
Finish matters too. Honed marble softens the contrast and is usually a better floor choice because polished stone can be slippery when wet. Polished marble on a wall or backsplash, by contrast, gives the black grout a sharper, more reflective edge. If you want the room to feel calmer, honed usually wins. If you want a more gallery-like effect, polished can be striking.
Installation details that protect marble from permanent marks
Marble is less forgiving than porcelain, so prep is not optional. The stone can absorb pigment, show grout haze, or react badly to the wrong cleaner if the install is rushed. In Daltile’s stone guide, some natural stones are recommended to be sealed before and after grouting, and joints under 1/8 inch are typically treated as a non-sanded-grout situation. That is the kind of detail that keeps black grout where it belongs: in the joint, not in the face of the marble.
- Use a pre-seal or grout release when the stone calls for it, especially on porous or textured marble.
- Confirm grout type before the install starts; the installer should not be improvising on site.
- Keep the work face clean while grouting so haze does not dry into a shadow on light stone.
- Let the setting materials cure as directed, which is often about 24 hours before grouting, but always follow the product label.
- Test a sample board in the actual room light before committing to the whole bathroom.
I also care about the edges. A marble install with dark grout looks best when the cuts are clean and the layout is deliberate. If the tile is chipped, the spacing drifts, or the grout is smeared across the surface, the contrast magnifies every defect. The stronger the color contrast, the cleaner the workmanship has to be. Once that is understood, maintenance becomes the next deciding factor.
Cleaning and upkeep without dulling the stone
Marble does not like acidic or abrasive cleaning. The Natural Stone Institute recommends neutral cleaners for stone surfaces and warns that acids such as vinegar can dull or etch calcareous stones. That matters here because black grout may hide some discoloration, but the marble itself still needs stone-safe care.
My routine would stay simple: squeegee shower walls after use, blot spills instead of wiping them in circles, and clean weekly with a pH-neutral product and a soft cloth or mop. A dark grout line can actually make soap film and hard-water residue more visible, because the pale residue sits on top of the dark joint like a chalk mark. If you rinse well and dry the surface, the whole installation looks more expensive for longer.
- Avoid vinegar, lemon, and other acidic DIY cleaners.
- Skip scouring powders and stiff brushes.
- Use a soft cloth, microfiber mop, or non-scratch sponge.
- Dry the stone after rinsing so water does not sit and mark the surface.
- Address soap scum early instead of letting it build into a film.
Black grout is often chosen because it feels lower-maintenance, but that is only partly true. It can hide staining in the joint better than white grout, yet it does nothing to protect the marble face. The stone still needs the same discipline, and in a wet bath that discipline is what separates a crisp look from a dull one.
Design mistakes that make the look feel heavy
The most common mistake is using too much contrast in a room that is already busy. Pure black grout with heavily veined white marble can look sophisticated in the right space, but in a small bathroom it can also turn the surface into visual static. When that happens, the stone stops feeling luxurious and starts feeling busy.
- Choosing absolute black when charcoal would give you the same structure with less visual force.
- Using polished marble on a floor where slip resistance matters more than shine.
- Letting grout joints drift wider than the tile edge quality can support.
- Skipping a full sample board and trusting a tiny color chip under showroom lighting.
- Pairing the tile with too many dark fixtures, which can flatten the room instead of giving it depth.
I would also be careful with very small mosaics. The more joints you introduce, the more dominant the grid becomes, and the more the tile reads as a pattern rather than a stone surface. That can work if you want the room to feel bold, but it is not the quiet, spa-like result most homeowners imagine when they start with marble. The safest path is to let one element be the star, not all of them at once.
A balanced spec I would start with in most bathrooms
If I were specifying this look for a typical bathroom, I would start with honed marble, charcoal rather than pure black grout, and joints kept as tight as the tile allows, usually around 1/16 to 1/8 inch. That combination keeps the geometry visible without making the grout line more important than the stone. It also tends to age better because the contrast still feels deliberate even when the bathroom has normal wear.
For placement, I would use the strongest version of the look on a shower wall, vanity backsplash, or feature panel, then calm everything else down with quieter surfaces. That gives the room a point of focus and keeps the marble from fighting with every other material in the space. If the bathroom is small, restraint matters even more.
My rule is straightforward: let the marble look like marble, let the grout do the framing, and make sure the maintenance plan matches the finish you choose. When those three things line up, the contrast feels tailored instead of trendy, and the room holds up much better over time.
