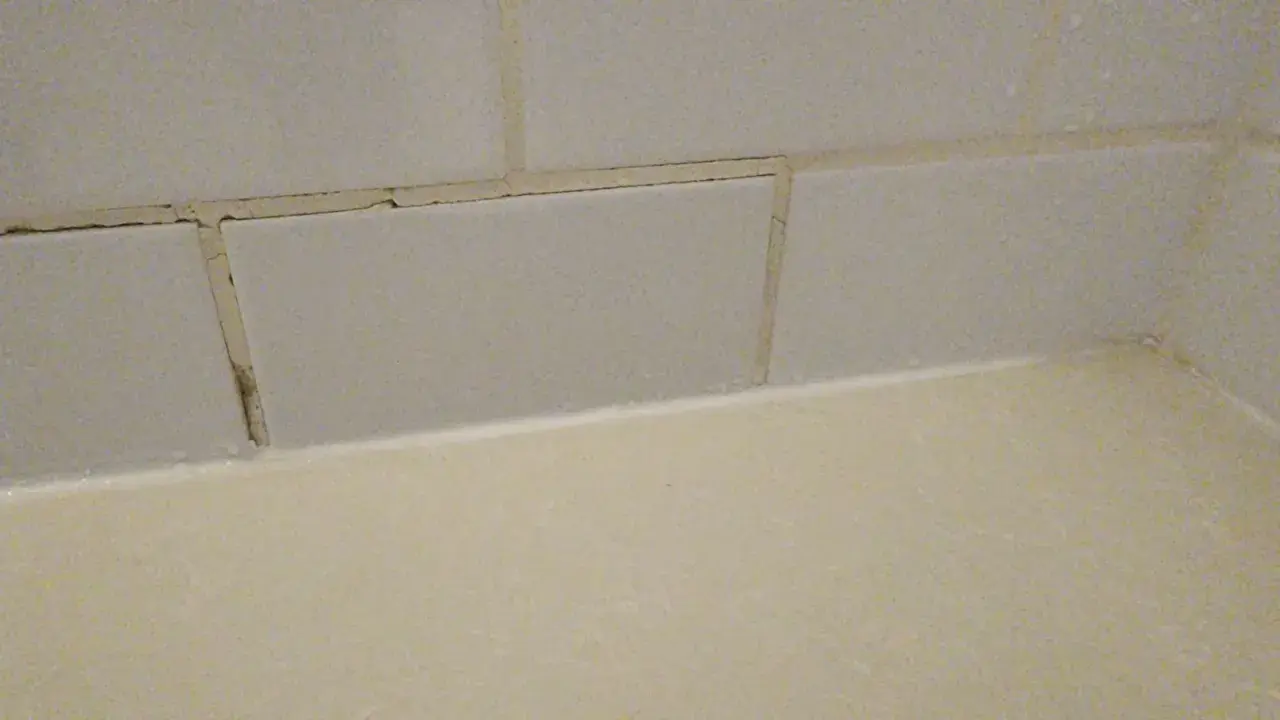
Fresh grout can improve the look of a tile surface quickly, but only if the joint is ready for it. In practice, the answer to can you grout over grout is usually no, at least not in the literal sense, because new grout needs depth, clean edges, and a sound joint to hold onto. That difference matters in showers, floors, and backsplashes, where moisture and movement can turn a shortcut into a repeat repair.
The practical answer before you start any repair
- Do not pack new grout over intact old grout and expect a durable bond.
- Remove enough old grout first so the new material can lock into the joint.
- If the grout is only discolored, a grout color seal may be smarter than regrouting.
- If tiles move, corners crack, or the joint is shallow, grout is not the real fix.
- Inside corners, tub joints, and wall-to-floor transitions usually need flexible caulk, not grout.
What usually works when grout is failing
When people ask this question, they are usually dealing with one of three problems: the grout is stained, the grout is cracked, or the grout has started to crumble out. Those are not the same problem, and they do not need the same repair. Staining can be cosmetic. Cracking often points to movement or a shallow joint. Crumbling usually means the material is past its useful life.
I treat grout as the finish layer, not the structure. If the tile bed, backer board, or substrate - the layer underneath the tile - is moving, fresh grout will not solve that. It will crack again. If the grout is sound but ugly, you may not need new grout at all. If the joint is broken down, you need enough depth and clean material removal for the repair to hold.
LATICRETE's guidance is straightforward on this point: remove at least half the depth of the existing joint before regrouting. That is the part many DIY repairs skip, and it is usually why the new work looks good for a week and then starts to fail.
Once you know which kind of failure you are dealing with, the prep work becomes much clearer.
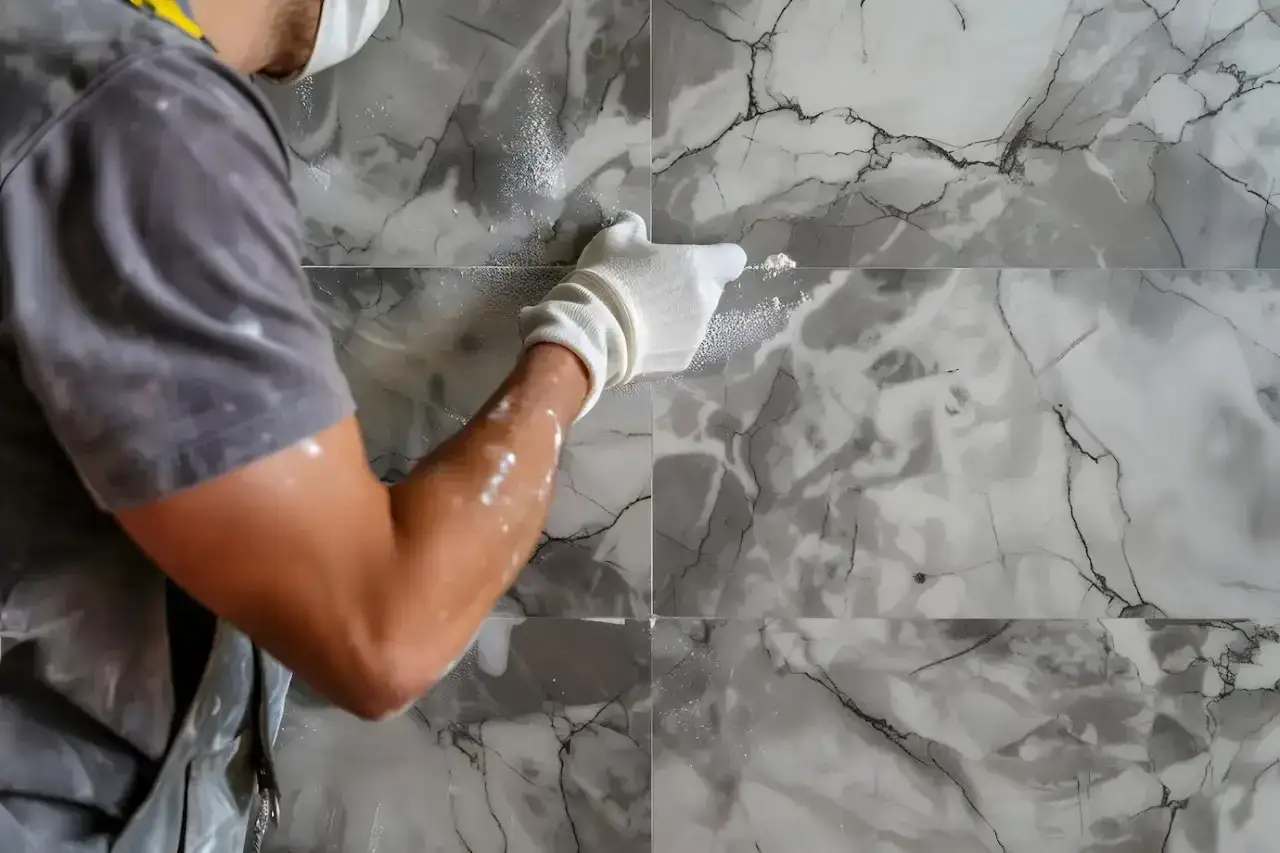
How I prep the joint before any new grout goes in
If I am regrouting a bathroom, I start with the boring part: cleaning, cutting back, and checking the joint condition. That prep is what gives new grout a chance to survive water, scrub pads, and everyday movement.
- Clean the surface first so soap scum, grease, and sealer residue do not get dragged into the joint.
- Remove loose or soft grout with a grout saw, carbide blade, or oscillating tool, depending on joint width and tile hardness.
- Vacuum the joint thoroughly so dust does not act like a release layer.
- Check for loose tile, hollow spots, or cracked substrate before you refill anything.
- Let the surface dry fully, then grout in small sections so cleanup stays controlled.
I am careful near tile edges, especially on softer ceramics or older glazed tile. Aggressive grinding can chip the edge and make the repair look worse than the original problem. If the joint is narrow, hand tools are slower but safer. If the tile is very hard and the joint is wide enough, a dust-controlled cutting setup can speed things up without sacrificing the tile.
The goal is not to scrape out every last trace of old material. The goal is to create a clean, stable cavity with enough depth for the new grout to grip.
How much old grout to remove
The practical target is usually simple: remove enough of the old grout that the new grout has real depth, not just a thin skin over a hard surface. A shallow smear of new grout over a filled joint does not have the same bite as grout packed into an opened seam.
| Situation | Practical target | Why it matters |
|---|---|---|
| Sound cement grout | Open the joint to at least half its depth | Gives the new grout room to lock in |
| Wider or more exposed joints | Many installers aim closer to two-thirds depth | Improves mechanical bond and reduces early failure |
| Shallow joints or fragile tile edges | Proceed carefully and test a small area first | Aggressive cutting can damage the tile faster than the grout |
| Loose tile or movement | Stop and fix the underlying issue first | New grout will crack if the assembly keeps moving |
That depth rule is why "grouting over grout" is usually the wrong mental model. What you really want is regrouting into a cleaned-out joint. If the joint is too shallow to allow that, I usually recommend a different fix instead of forcing more material into a space that cannot hold it well.
In other words, the joint depth decides the repair, not the other way around. That is the point where a color-based refresh or a different material can become the better call.
When a color seal is the smarter fix
If the grout is solid but the color is blotchy, dingy, or simply not what you wanted, I usually reach for a grout color seal before I reach for a grinder. This is especially useful on backsplashes, bathroom walls, and other areas where the joint is stable but the appearance is off. MAPEI offers grout color seals for exactly this situation: when the joint needs a visual reset more than a structural rebuild.
The logic is simple. A color seal changes the look of the joint without sacrificing depth. It can also help even out old grout that has aged unevenly, picked up stains, or varied in color from section to section. That makes it a better fit than regrouting when the tile is still sound and the only complaint is appearance.
| Best option | Use it when | What it fixes | What it does not fix |
|---|---|---|---|
| Color seal | Grout is hard, intact, and only looks tired | Stains, discoloration, uneven color | Cracks, loose tile, missing grout |
| Spot regrout | A few joints are broken or missing material | Small failures in isolated areas | Movement or widespread breakdown |
| Full regrout | The whole field is old, cracked, or porous | Age-related wear across the room | Structural movement under the tile |
| Retile | The tile assembly is moving or leaking | Root-cause failure in the installation | A problem grout alone cannot solve |
When the joint is still healthy, I think a color seal is the most underused option in bathroom maintenance. It saves labor, avoids unnecessary dust, and keeps you from removing material that was never the real issue.
The mistakes that make a regrout fail
Most failed regrouts are not caused by bad grout. They are caused by bad conditions around the grout. The common mistakes are predictable, and once you know them, they are easy to avoid.
- Not removing enough old grout leaves the new layer too shallow to hold.
- Grouting over dust or soap film weakens the bond from the start.
- Ignoring movement in the tile or substrate guarantees future cracking.
- Using grout at corners instead of flexible sealant creates brittle failure points.
- Skipping cure time and sealing too soon can trap moisture in the joint.
Two places deserve special attention in bathrooms: shower corners and the joint where the wall meets the tub or floor. Those should generally get a flexible sealant, not rigid grout, because the surfaces move differently. If you fill those transitions with grout, the crack often returns even when the rest of the repair is done well.
I also watch for efflorescence, the white mineral deposit that can form when moisture moves through cement-based materials. If that is part of the problem, regrouting alone is not enough. You need to look at water management, not just surface color.
How I would handle showers, floors, and backsplashes
Shower walls
Shower walls are usually the first place I inspect because they show staining, mildew, and hairline cracking quickly. If the grout is intact but ugly, a color seal can be enough. If it is cracked or soft, I remove the damaged material and regrout properly. If the wall has movement, that is a deeper problem and I do not pretend grout will hide it for long.
Shower floors
Shower floors are less forgiving. Water sits there longer, and the surface gets more movement from foot traffic and cleaning. I am stricter about joint depth on shower floors, and I pay close attention to the drain area and corners. If a floor patch keeps failing, I assume there is either a depth problem, a slope issue, or a waterproofing issue under the tile.
Read Also: White Tile Beige Grout - The Secret to a Calmer Bathroom
Backsplashes and vanity surrounds
These are the easiest surfaces to refresh because access is good and movement is usually lower. If the joints are stained, I often prefer a color seal or a targeted spot repair. If the grout is crumbling all over the field, then a full regrout makes more sense. The work is simpler here, but the same rule still applies: new grout needs a clean, open joint to hold onto.
That room-by-room view is useful because it keeps you from overrepairing a surface that only needs a cosmetic refresh. The next step is deciding which repair gives you the longest-lasting result for the least disruption.
The repair choice that tends to last longest
If I had to make the call fast, this is the rule I would use: sound grout gets refreshed, failing grout gets opened and replaced, and moving tile gets investigated before anything else. That keeps you from using grout as a patch for problems that belong to movement, moisture, or poor original installation.
- Choose a color seal when the grout is hard but visually tired.
- Choose regrouting when the joints are cracked, shallow, or missing material.
- Choose caulk at corners and change-of-plane joints.
- Choose a bigger repair if the tile, substrate, or waterproofing is failing.
That is the honest answer behind the question of whether you can grout over grout: sometimes the surface lets you pretend you can, but the repair only lasts when the joint is prepared correctly. If you treat grout as a finish layer and not a structural fix, you will make better decisions, spend less time chasing repeat damage, and end up with a bathroom that looks finished for the right reasons.
