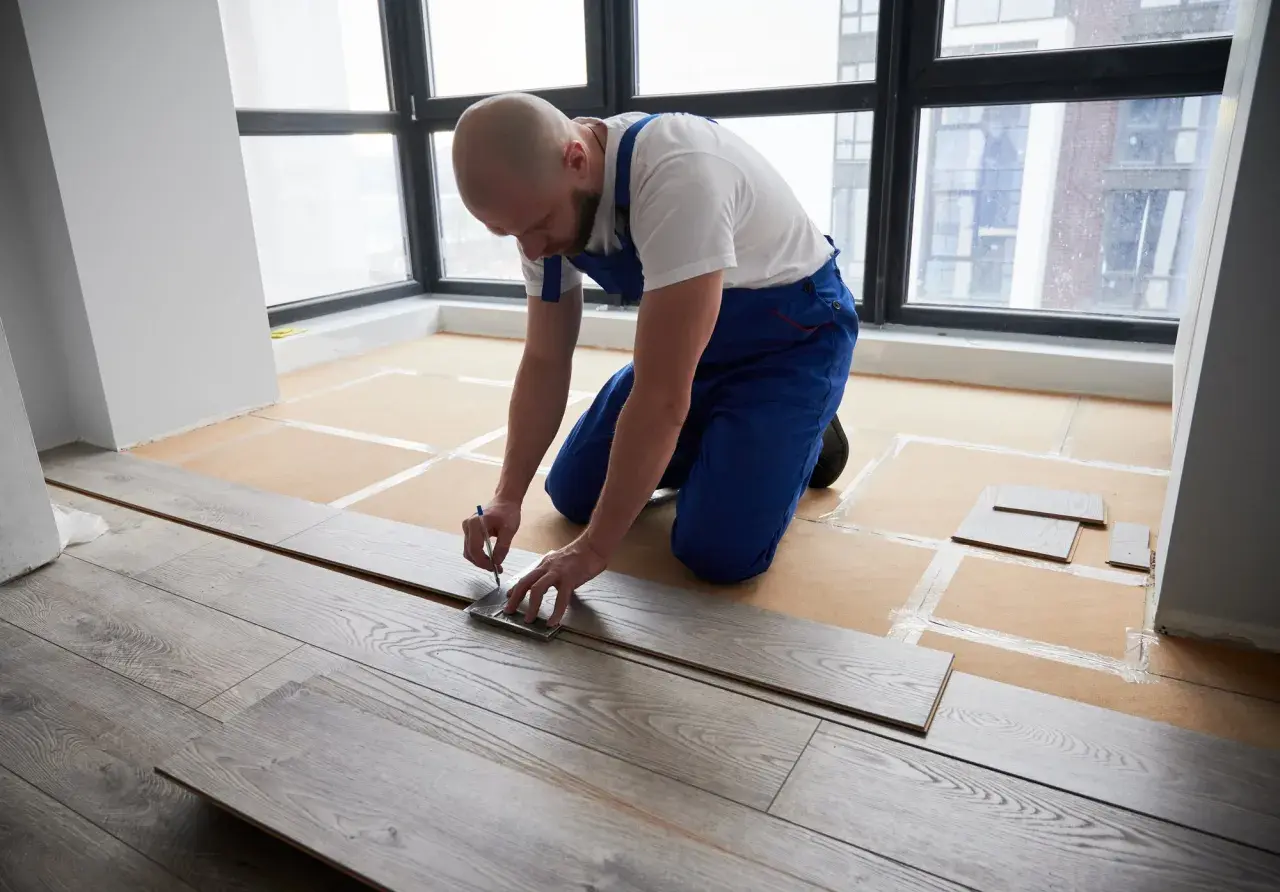
Laminate flooring can transform a room quickly, but the result depends less on force and more on order. In this guide, I walk through the full installation sequence, from checking the subfloor and planning the layout to clicking in the last row and hiding the perimeter gaps cleanly. Knowing how to install laminate flooring matters because the mistakes that ruin it are usually small: a floor that is not flat enough, a skipped expansion gap, or a rushed cut at a doorway.
The cleanest laminate install starts before the first plank goes down
- Check moisture, flatness, and room suitability before you open the cartons.
- Use the right underlayment or vapor barrier for the subfloor type, and do not double up padding if the planks already have it attached.
- Leave a consistent expansion gap around walls, jambs, and fixed objects so the floor can move naturally.
- Stagger end joints and balance the first and last rows so you do not finish with a narrow sliver.
- Finish with trim and transitions fastened to the wall, not through the floating floor.
Start with the room, not the planks
I always begin by deciding whether the room is actually ready for laminate, because the flooring is only as good as the surface underneath it. Laminate is a floating floor, which means the boards lock to each other but are not fixed to the subfloor. That makes moisture, movement, and flatness more important than many DIYers expect.
A dry bedroom or living room is usually the easiest win. Kitchens and mudrooms can also work well if spills are dealt with quickly and the product is designed for heavier use. For a full bathroom, I would only choose a product that is explicitly rated for that kind of moisture exposure. Standard laminate is not the floor I would trust where standing water is part of normal life.
| Room or condition | My take | What I would do |
|---|---|---|
| Dry bedroom or living room | Best case for laminate | Proceed with a standard floating installation |
| Kitchen or entryway | Good fit if moisture is controlled | Choose a durable product and protect vulnerable edges |
| Full bathroom | Higher-risk environment | Use only a product rated for wet-area use, or pick a different surface |
| Uneven or damp slab | Not ready yet | Fix flatness and moisture before you start |
Once I know the room makes sense, I move to the part that saves the most trouble later: gathering the right tools and making the subfloor behave before a single plank is clicked together.
Gather the tools and materials I actually trust
The best laminate jobs feel simple because the prep work was boring and disciplined. I keep the tool list tight, but I do not skip the pieces that protect the floor from movement or bad cuts.
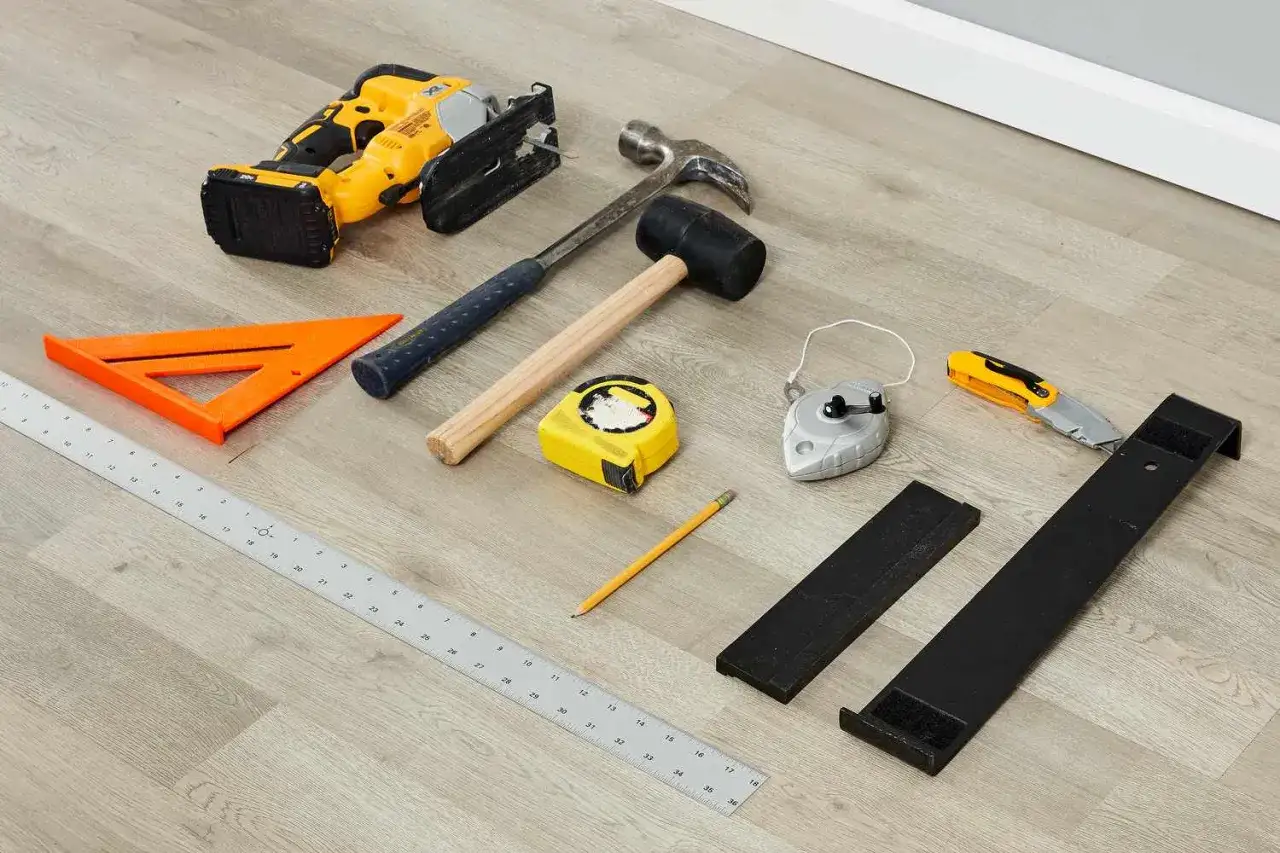
Tools I keep close
- Measuring tape and pencil
- Chalk line
- Spacers, usually around 3/8 inch unless the product says otherwise
- Rubber mallet, tapping block, and pull bar
- Jigsaw, circular saw, miter saw, or laminate cutter
- Jamb saw or oscillating tool for door casings
- Utility knife and straightedge
- Safety glasses, knee pads, hearing protection, and a dust mask
Read Also: Bathroom Flooring - Pick the Best Material for Your Home
Materials that make the difference
- Laminate planks
- Underlayment, if the product does not already include it
- Vapor barrier for concrete or other moisture-prone installs when required
- Trim, baseboard, or quarter round for the finish
One detail that saves people money is this: if the planks already come with attached underlayment, I do not add another cushion layer unless the manufacturer specifically allows it. Too much padding can make the floor feel soft in the wrong way and can interfere with the locking system. With the right materials on hand, the next step is making the subfloor flat enough to deserve the floor you are about to install.
Prepare the subfloor until it is flat, dry, and quiet
This is the part I refuse to rush. A laminate floor can look great and still fail early if the surface below it is uneven, wet, or noisy. I clear the room, remove old flooring if needed, pull out protruding nails, and vacuum every bit of grit I can find. Then I check for squeaks, loose panels, and hollow spots that would turn into movement later.
For a wood subfloor, I screw down loose sections, repair damaged boards, and address any squeaks before I go farther. For concrete, I think first about moisture: if the slab is not dry enough or the product calls for a barrier, I install one before the underlayment. I also check flatness, because most products want the floor within a narrow tolerance rather than merely “close enough.” A common target is roughly 2 mm over 1 m, or a similar manufacturer-specific limit.
| Subfloor type | What I check | Typical fix |
|---|---|---|
| Wood | Squeaks, loose panels, nails, flatness | Fasten, patch, sand, and clean before underlayment |
| Concrete | Moisture, cure time, cracks, flatness | Test moisture, repair defects, and add the required barrier |
I also undercut door jambs before the flooring reaches them. That lets the planks slide underneath the casing instead of butting awkwardly into it, which looks better and gives the floor room to move. When the base surface is ready, the layout becomes much easier to control, which is exactly where the next section pays off.
Plan the layout before you lock in the first row
I like to think of layout as the part that decides whether the room feels intentional or slightly off. Before I cut anything, I measure the room, add about 10% for waste and mistakes, and decide which wall will anchor the first run. In most rooms, that is the longest straight wall or the wall that gives the cleanest visual line from the entry.
Then I dry-plan the first and last rows. If the last row is going to end up too narrow, I redistribute some width between the first and last row so the floor looks balanced. I also keep the end joints staggered, with at least 12 inches between seams where possible, because repeating joints too closely can make the floor look forced and can weaken the overall pattern.
- Mix planks from several boxes so the color variation spreads naturally.
- Snap a chalk line so the first row stays straight.
- Leave a consistent 3/8-inch expansion gap around the perimeter unless the product says otherwise.
- Start on the side of the room that gives you the cleanest threshold if the door is on a short wall.
- Avoid ending with tiny slivers by adjusting the first row before you begin.
I also check plank lengths before I start cutting. A short last board on every row can make the install look amateurish fast, so I plan cuts that keep the pattern smooth instead of just mathematically correct. Once the layout is settled, the actual install becomes a steady rhythm instead of a guessing game.
Install the planks with a steady click-lock rhythm
Most modern laminate floors use a click-lock system, so the real job is to keep the planks aligned, supported, and free to expand. I start with the tongue side facing the wall and spacers already set around the room so the perimeter gap stays consistent from the start.
- Lay the first plank along the chalk line and verify that it is square to the room.
- Lock the next plank into place according to the manufacturer’s edge profile.
- Use a tapping block and rubber mallet only when the system needs a gentle assist.
- Cut end pieces with the finished side up when using a saw, which helps reduce chipping.
- Keep checking the rows as you go so the floor does not drift off line.
I am careful not to strike the boards directly with a hammer, because that is how people chip tongues or damage the locking edges. For cuts around pipes, I leave clearance, make a clean opening, and finish the edge with the allowed trim or filler method the product calls for. Doorways deserve the same discipline: if the casing is already undercut, the plank can disappear underneath it and look built-in instead of patched in.
If I reach the last row and the math says the pieces will be too narrow, I stop and rebalance the layout rather than forcing an awkward strip into place. That small correction is often the difference between a floor that feels finished and one that feels temporary. From there, the finish work becomes the part that protects the installation you just built.
The final details that keep the floor looking right for years
When the last plank is down, I do not call the room finished until the floor can move freely and the trim is doing its job correctly. That means removing all spacers, fastening baseboards or quarter round to the wall, and never pinning trim through the floating floor itself. The floor has to expand and contract under the molding, not fight it.
I also install transition strips where laminate meets another floor height or material, because a clean transition protects the edges and helps the room look deliberate. In moisture-prone areas, I follow the product instructions closely for perimeter sealing and edge treatment. This is one of those places where the carton matters more than generic advice, because brands differ on what they allow.
- Vacuum sawdust and grit before they scratch the finish.
- Check that no plank is trapped by trim or fixed cabinetry.
- Confirm that every perimeter gap is still open and consistent.
- Walk the floor and listen for any movement that suggests a loose lock or a missed support issue.
- Keep spare planks from the same batch for future repairs.
The big mistake I see most often is treating laminate like a floor that can be forced into place and then forgotten. It works better when it is treated like a precise floating system: flat base, clean layout, correct gaps, and careful finishing. If you respect those limits, the result is usually cleaner, quieter, and far more durable than the average DIY install.
