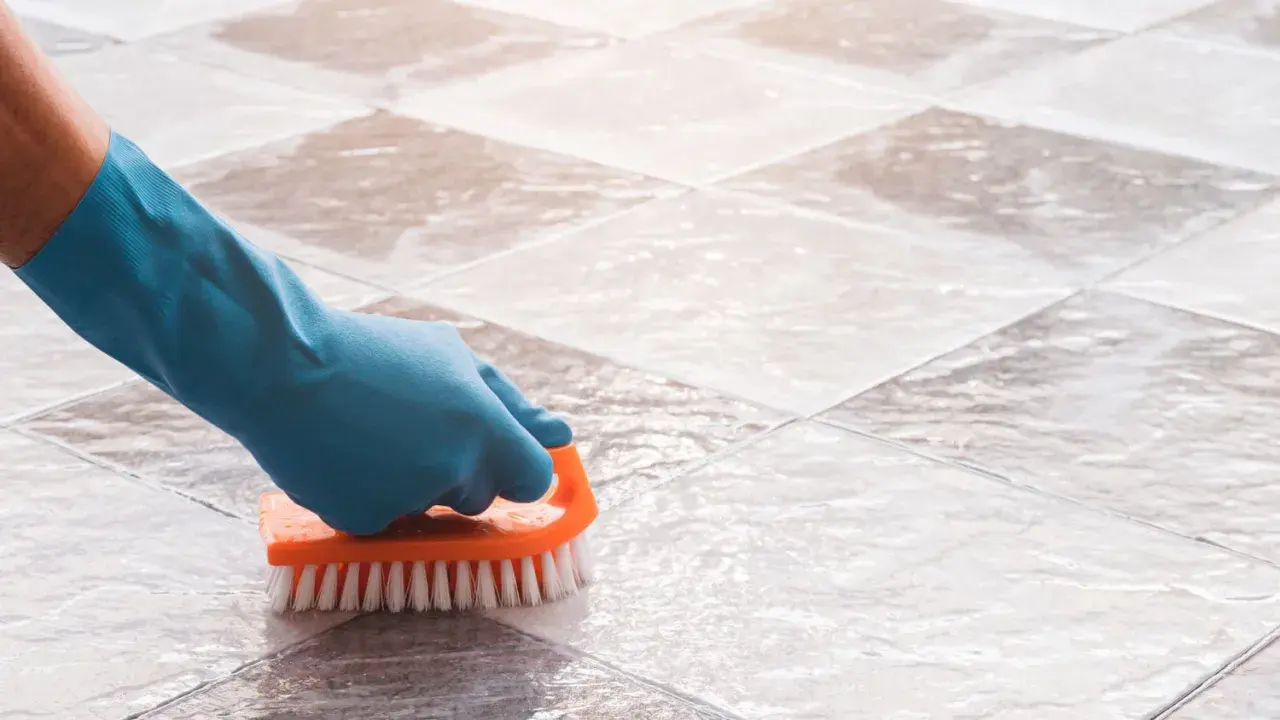
Dirty grout is usually a maintenance problem before it becomes a cosmetic one. The safest answer to how to clean grout on tile floor depends on the tile, the grout type, and how much buildup has settled into the joints, but the process is usually straightforward: loosen the soil, scrub the lines, remove the dirty water, and dry everything properly. In this guide, I’ll show you which cleaners work best, what to avoid, and when it makes more sense to reseal or repair instead of scrubbing harder.
Start with the right cleaner, not the hardest scrub
- Vacuum or sweep first so loose grit does not get dragged deeper into the grout lines.
- Use a pH-neutral cleaner first on ceramic or porcelain floors; move to stronger options only if the soil is embedded.
- Scrub with a nylon brush and work in small sections so the cleaner does not dry before you rinse.
- Rinse and dry the floor well because dirty rinse water can leave grout looking gray again.
- Avoid vinegar, bleach, and abrasive pads as routine cleaners, especially on natural stone or older grout.
- Seal grout when needed so future cleaning takes less effort and stains do not sink in as fast.
Start by identifying the grout you actually have
I always begin here because grout is not one-size-fits-all. Ceramic and porcelain tile can usually handle more cleaning options than natural stone, but the grout itself is porous, so the floor needs a method that respects both surfaces.
Ceramic and porcelain are forgiving, stone is not
For most bathroom and kitchen floors in the United States, ceramic and porcelain are the easy case. They can usually tolerate a neutral cleaner, a damp mop, and a light scrub. Natural stone, such as marble, travertine, slate, or limestone, is a different story: acids can etch the surface and make the whole floor look dull even if the grout itself is cleaner.
Sanded, unsanded, and epoxy grout behave differently
Sanded grout is common in wider joints and is generally durable, but it still absorbs dirt. Unsanded grout is smoother and often used in narrower joints, yet it can still discolor if grime is left to sit. Epoxy grout is the most stain-resistant of the three, which means it usually needs less aggressive cleaning, though I still avoid abrasive pads because they can dull the finish.
Sealed and unsealed grout do not clean the same way
If water beads on the grout, it is probably sealed. If it soaks in quickly, the grout is likely unsealed or overdue for a fresh coat. That matters because sealed grout gives you more flexibility with steam and moisture, while unsealed grout can wear down faster if you overdo the water or the pressure.
Once you know the surface, the cleaner choice gets much easier, and that is the next decision I would make before touching the floor with a brush.
Choose a cleaner that matches the amount of buildup
Not every grimy line needs a strong chemical. For light soil, I start with something mild and work up only if the grout still looks dingy after a proper scrub and rinse. A cleaner that is too harsh can brighten the grout for a day and weaken it over time.
| Cleaner or tool | Best for | Typical cost in the US | My take |
|---|---|---|---|
| pH-neutral tile and grout cleaner | Routine maintenance on ceramic and porcelain floors | $8-$20 | The safest first choice for most floors and the one I reach for most often. |
| Warm water with a small amount of dish soap | Light dust, footprints, and everyday residue | $2-$5 | Good for quick upkeep, but not strong enough for deep discoloration. |
| Baking soda paste | Spot cleaning and lightly stained grout | $1-$3 | Helpful for targeted scrubbing, but you still need to rinse well. |
| Hydrogen peroxide and baking soda | Dingy white or light grout | $2-$6 | More effective on stubborn stains, but I always spot-test first. |
| Handheld steam cleaner | Sealed grout with embedded soil | $40-$150 | Useful when used carefully, but not my first move on unsealed grout. |
| Bleach or vinegar | Occasional exception only, not routine care | $2-$8 | I do not use either as a regular maintenance cleaner because both can create long-term problems. |
For most ceramic or porcelain floors, a pH-neutral cleaner and a nylon grout brush are enough to restore a surprising amount of color. If the lines still look dark after that, the issue is usually embedded soil, residue, or damaged grout rather than simple surface dirt. That is where the cleaning method matters more than the product label.
Clean the grout step by step without damaging the joints
This is the part where technique makes the difference. I prefer small sections, controlled moisture, and enough dwell time for the cleaner to loosen grime without soaking the floor.
- Clear the floor completely. Pick up rugs, trash bins, and anything else that blocks the joints.
- Sweep or vacuum first. Dry debris becomes mud the moment it mixes with cleaner, so remove it before you add moisture.
- Apply the cleaner in a small area. I usually work in 3 to 4 square foot sections so the product stays wet long enough to work.
- Let it sit briefly. Five minutes is a good starting point for most ready-made cleaners unless the label says otherwise.
- Scrub across the grout line. A soft or medium nylon brush lifts soil out of the seam better than a sponge mop or a rag.
- Lift the dirty water off the floor. Wipe it up with clean towels, a microfiber mop, or a wet/dry vac if you have one.
- Rinse with clean water. This removes leftover cleaner and keeps the joints from drying with a film on top.
- Dry the floor thoroughly. A dry grout line is less likely to collect fresh dirt, soap film, and mildew.
For a floor that is only lightly dirty, this routine is often enough on its own. For a floor that is older or heavily used, I repeat the process once more on the worst sections instead of scrubbing harder in a single pass. That keeps the grout intact and usually gives a cleaner result.
Read Also: Remove Soap Scum from Marble - Safe & Effective Methods
What I do when the grime is stubborn
If a section stays dull after the first round, I switch to a paste made from baking soda and hydrogen peroxide and let it sit for 5 to 10 minutes before scrubbing again. On a sealed floor, a low-pressure steam cleaner can also help break up embedded soil, but I test a hidden spot first because not every grout installation tolerates heat the same way.
Once the lines are clean, the next challenge is preventing the same buildup from coming back two weeks later. That is where maintenance habits matter more than any one product.
Avoid the mistakes that make grout look worse
Most grout damage I see comes from cleaning habits that are too aggressive or too casual. The floor may look cleaner in the moment, but the joints quietly weaken, collect residue, or hold moisture longer than they should.
- Do not use dirty mop water. It redeposits soil into the grout and leaves a gray film behind.
- Do not scrub with steel wool or abrasive pads. They can scratch tile and erode grout edges.
- Do not flood the floor. Too much water works its way into the joints and can keep mildew alive.
- Do not treat vinegar as a universal grout cleaner. It may be tolerated occasionally on some ceramic or porcelain installations, but repeated use can weaken cement-based grout and it should never be used on natural stone.
- Do not rely on bleach for routine cleaning. It is an exception product, not a maintenance product, and overuse can discolor or weaken grout.
- Do not use a steam cleaner on damaged or unsealed grout without testing first. Heat and moisture can exaggerate existing problems.
- Do not skip the rinse. Leftover cleaner dries into a haze that makes the floor look dirty again.
I also avoid rushing through the job with too much pressure on the brush. Grout is not supposed to come clean by force alone. If you have to attack it like concrete, the floor is telling you to change the method, not the muscle.
Keep grout cleaner between deep cleans
The easiest grout to maintain is the grout that never gets a full chance to stain. In a busy bathroom, small habits make a bigger difference than most people expect.
- Vacuum or sweep weekly so sand, dust, and hair do not settle into the joints.
- Mop with a pH-neutral cleaner instead of a heavy soap that leaves residue.
- Change rinse water often so the floor is being cleaned, not re-soiled.
- Dry the floor after mopping with a microfiber towel if you want the grout to stay brighter longer.
- Spot-clean spills fast because oils, makeup, soap, and hard-water residue stain faster than dry dust.
- Check the sealer once a year by placing a few drops of water on the grout and watching what happens.
Here is how I think about sealing: it does not make grout waterproof, but it does slow absorption and gives you more time to clean up spills before they stain. In many homes, resealing every 1 to 2 years is a practical rhythm for floor grout, while high-traffic or high-moisture areas may need attention sooner. If the water-drop test stops beading, the grout is telling you it needs protection again.
That routine is especially useful in bathrooms, where soap residue and humidity can darken grout faster than the floor itself ages. A little prevention now usually saves a much bigger cleanup later, and it also reduces the chance that you will mistake residue for permanent staining.
When the grout still looks dark after cleaning
If the grout is still shadowed after a careful clean, I stop assuming it is just dirt. Cracking, missing grout, old sealant failure, or a deep-set mildew issue can all keep the lines looking dirty even when the surface is technically clean.
At that point, color sealing or partial regrouting may be a better fix than another round of scrubbing. Color sealing is useful when the grout is intact but unevenly stained, while regrouting makes more sense when the joints are crumbly, missing, or visibly deteriorating. If the floor is brand new and the tile looks cloudy rather than dirty, you may be dealing with grout haze instead, which usually needs a haze remover rather than a normal maintenance cleaner.
For most ceramic and porcelain bathroom floors, the winning formula is simple: vacuum first, use a neutral cleaner, scrub with a nylon brush, rinse well, and dry the joints completely. If the lines still stay dark after that, the problem is probably no longer just cleaning, and that is the point where repair or sealing is the smarter next step.
