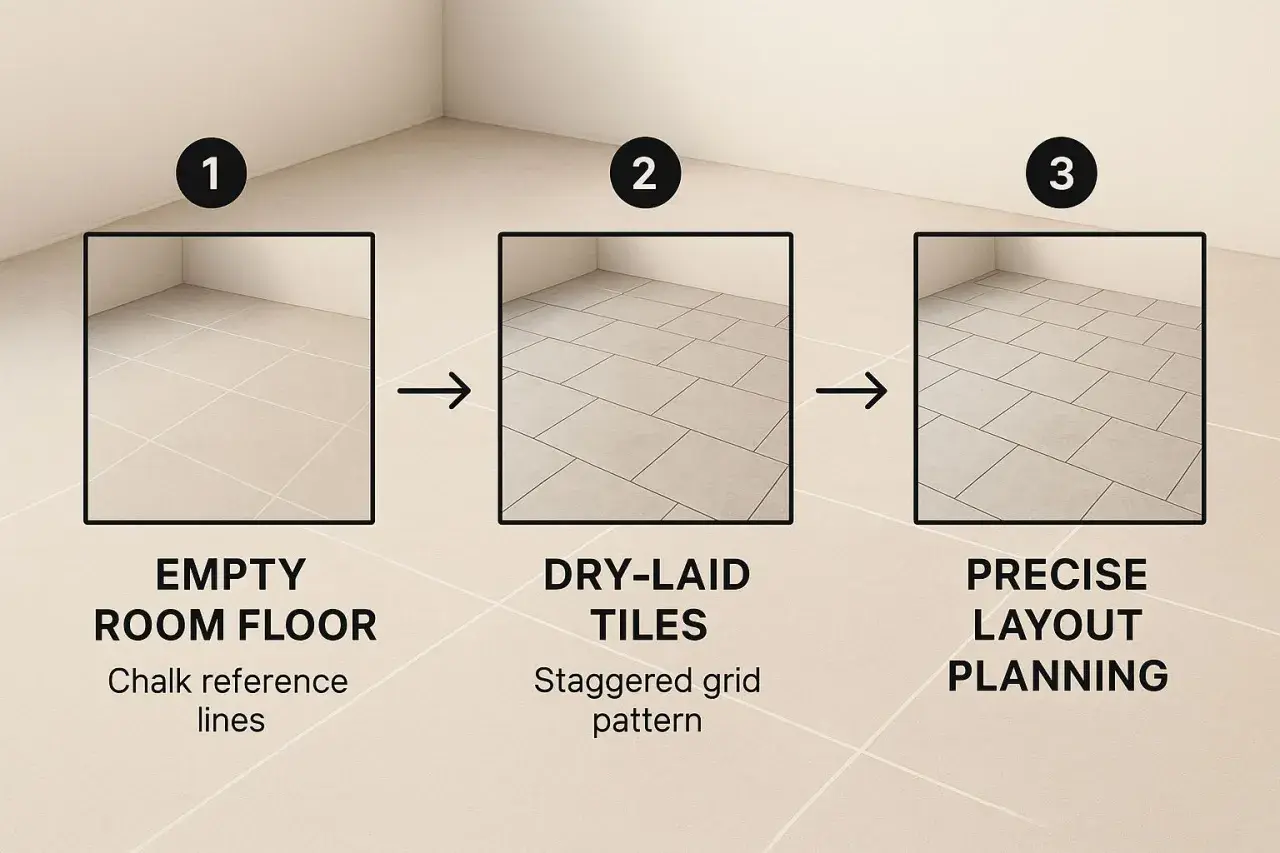
Grouting floor tiles is less about pushing paste into gaps and more about building a clean, durable surface that can handle movement, moisture, and daily wear. The right grout, the right joint prep, and the right cleanup rhythm make the difference between a floor that looks finished and one that starts cracking, hazing, or staining too early. In this guide, I focus on the practical decisions that matter most: grout type, joint prep, application, curing, and the mistakes that usually cause callbacks.
The essentials in one glance
- Choose grout by joint width, traffic, and moisture exposure, not only by color.
- Most floor joints should be clean, open, and filled to at least two-thirds of the tile depth.
- Pack grout diagonally with a float so it goes into the joint instead of sitting on top.
- Too much water during cleanup is one of the fastest ways to weaken color and leave a chalky surface.
- Seal cement-based grout only when the product calls for it; epoxy and some single-component grouts usually do not need sealing.
- Movement joints around the perimeter and at changes of plane should stay flexible, not packed with rigid grout.
Choose the grout that fits the tile and the room
Before I open a bucket, I look at three things: joint width, tile material, and how hard the floor will be used. A kitchen, mudroom, or primary bath usually needs a tougher, more stain-resistant approach than a low-traffic guest bath, and the wrong grout can make maintenance harder than it needs to be.
In most U.S. product guidance, sanded grout is the standard choice for wider floor joints, unsanded grout is used for tighter lines, and epoxy grout is the most resistant option when the floor has heavy traffic or more moisture exposure. The exact range still depends on the brand, so I treat the label as the final word rather than guessing from the packaging name alone.
| Grout type | Best for | Strengths | Trade-offs |
|---|---|---|---|
| Sanded cement grout | Most floor joints at roughly 1/8 inch and wider | Good strength, better shrink resistance, widely available | Can scratch polished marble or very soft stone; more porous than epoxy |
| Unsanded cement grout | Narrow joints around 1/16 to 1/8 inch | Smoother finish, easier on delicate tile surfaces | Can shrink or crack if forced into wider joints |
| Epoxy grout | Busy kitchens, baths, entry floors, and stain-prone areas | Very stain resistant, low porosity, usually no sealing required | More expensive, shorter working time, cleanup is less forgiving |
I also keep one practical rule in mind: if the floor will see repeated spills, tracked-in grit, or damp cleaning, I lean toward a product that resists absorption first and color issues second. That choice matters before a single joint is filled, because the next step is making sure the tile bed is actually ready for grout.
Prepare the joints before any grout touches the floor
Good grout work starts below the surface. If thin-set, dust, or debris is still packed into the joints, the grout has less depth to grip and a higher chance of cracking or pinholing later. I want the joints clean, open, and dry enough to accept the material properly.
Most manufacturer guides point to a simple baseline: after tile setting mortar has cured, wait until the floor is ready for grout, which is often about 24 hours in standard installations. That can shift with the mortar type, tile size, room temperature, and humidity, so I never rush this step just because the tile looks firm.- Vacuum or brush the joints so loose dust does not weaken the bond.
- Remove thin-set ridges and keep at least two-thirds of the tile depth open in the joint.
- Leave perimeter gaps and other movement joints open for flexible sealant, not grout.
- Make sure the tile surface is clean and dry before mixing.
- If the room has radiant heat, keep it off during installation and bring it back slowly after cure.
I like to inspect the joints with side lighting before I start. It is a small check, but it catches leftover debris that is easy to miss from a standing position. Once the joints are prepared properly, the actual application becomes more controlled and a lot less frustrating.
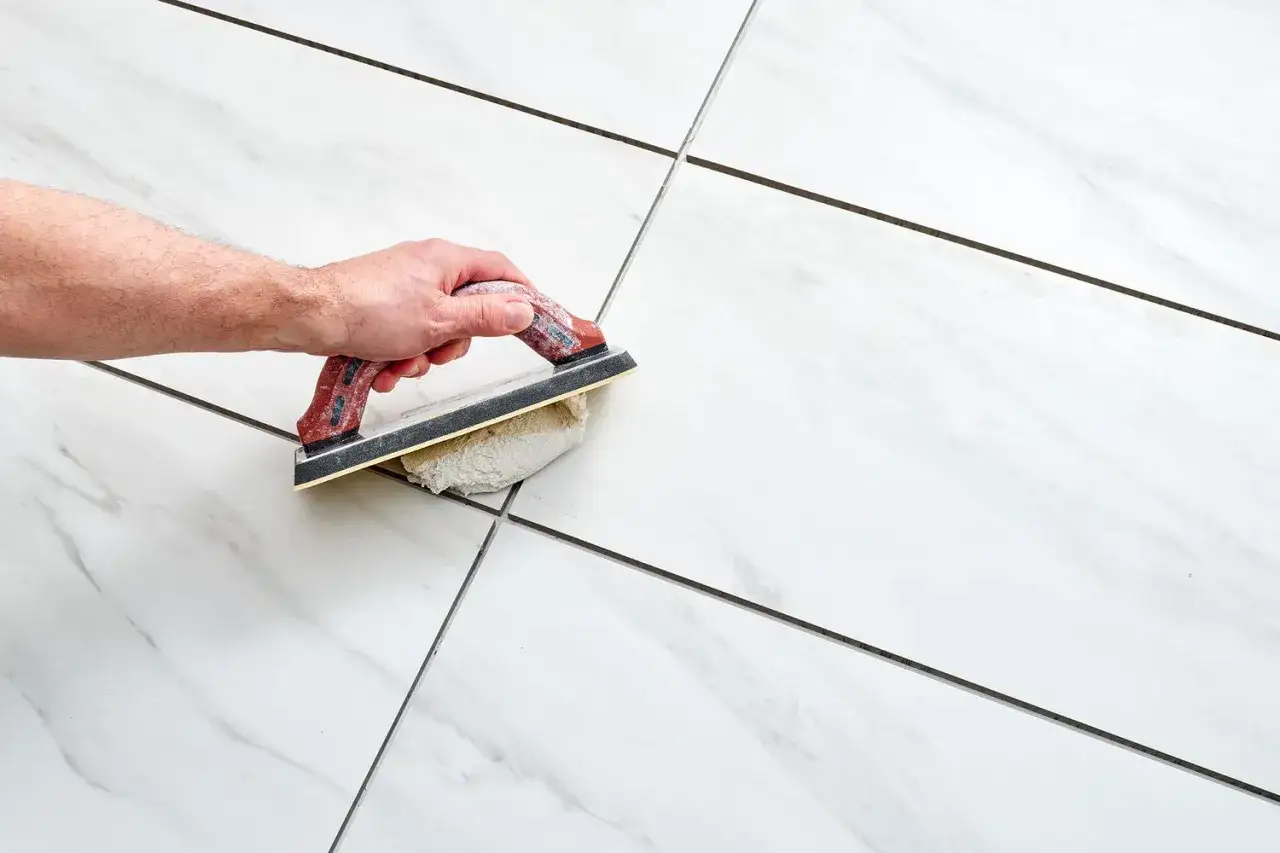
Apply grout in manageable sections
When I apply grout, I work in small sections so I can pack, strike, and clean before the surface skins over. On a typical floor, that usually means a few square feet at a time rather than trying to cover the whole room in one pass.
- Mix the grout to a firm, spreadable consistency. It should move under the float without running.
- Load the float and press the grout diagonally across the joints at about a 45-degree angle.
- Pack the joint from multiple directions so the voids fill fully instead of trapping air.
- Hold the float nearly upright when removing excess from the tile face.
- Let the grout firm up, then wipe with a barely damp sponge in light diagonal passes.
- Rinse the sponge often and avoid flooding the joints with water.
- Finish with a clean microfiber cloth or dry towel if a light haze remains.
The point is not to scrub the tile clean immediately. The point is to leave the grout in the joint and remove only the excess. If I see people overworking this stage, it is usually because they are trying to make the floor look finished too early, and that is where color washout and weak joints start. Once the joints are packed correctly, the next question is how long the floor needs to cure before it can handle real use.
Let it cure before you test the surface
Cure time is where a lot of otherwise good work gets damaged. The floor may look ready after the final wipe, but grout still needs time to harden, stabilize, and lose excess moisture before it is walked on or sealed.
- Keep foot traffic off the floor until the grout has reached the manufacturer’s early cure window, which is often 24 hours or more.
- Avoid mopping, steam, or wet cleanup during the initial cure period.
- Do not seal cement grout until it has fully cured and the product instructions say it is ready.
- Remember that some modern grout formulas do not need sealer at all, while others benefit from it.
- If haze is still visible, remove it within the recommended cleanup window before it hardens into a stubborn film.
I treat cure time as part of the installation, not downtime. A grout line that is forced into service too early can turn soft, blotchy, or weak at the edges, and no amount of polishing later fixes that. Once curing is respected, the remaining problems are usually about technique and avoidance of the classic mistakes.
The mistakes that make a good tile job look rough
Most grout failures are predictable. They are not dramatic, and they usually come from a small decision that was rushed: wrong joint width, too much water, poor cleanup, or ignoring movement in the floor itself.| Mistake | What it causes | Better move |
|---|---|---|
| Using the wrong grout for the joint width | Cracking, shrinkage, weak edges, or a sandy finish | Match sanded, unsanded, or epoxy grout to the joint range on the label |
| Adding too much water during cleanup | Color variation, soft joints, powdery residue | Use a well-wrung sponge and change rinse water often |
| Filling perimeter or movement joints with rigid grout | Cracks where the floor naturally moves | Leave those joints flexible and caulk them with the correct sealant |
| Letting haze sit too long | Dull film that is hard to remove later | Clean haze while it is still in the manufacturer’s recommended window |
| Ignoring substrate movement or a bad underlayment | Cracks that return no matter how carefully the grout was applied | Fix the floor structure first; grout is not a structural repair |
The hardest truth here is simple: grout cannot compensate for a moving floor. If the substrate flexes, the joints will telegraph that movement sooner or later. That is why the final check is never only about appearance; it is also about whether the floor is built to stay stable.
The details I check before I call the floor finished
When the last joints are filled, I still do a few things that pay off later. I compare the grout color in daylight and warm indoor light, because some shades look cleaner in one setting and flatter in another. I also keep a small record of the exact grout batch, especially on larger projects, so touch-ups are easier if I ever need them.
- Use a pH-neutral cleaner for routine maintenance instead of harsh acid or bleach.
- Re-seal cement grout only when the product requires it and on the schedule the room actually needs, not just a generic promise on the box.
- Refresh caulk at changes of plane when it starts to split, because those joints are meant to move.
- Keep a little extra grout from the same lot if you can, since color matching later is rarely perfect.
- If one section keeps cracking, look for movement or moisture behind the tile rather than simply regrouting it again.
For me, the best floor grout work is the kind people stop noticing after a while. The lines stay even, the color stays stable, and the floor cleans without drama. If you get the product choice, joint prep, and cure time right, the rest of the maintenance becomes straightforward instead of constant.
