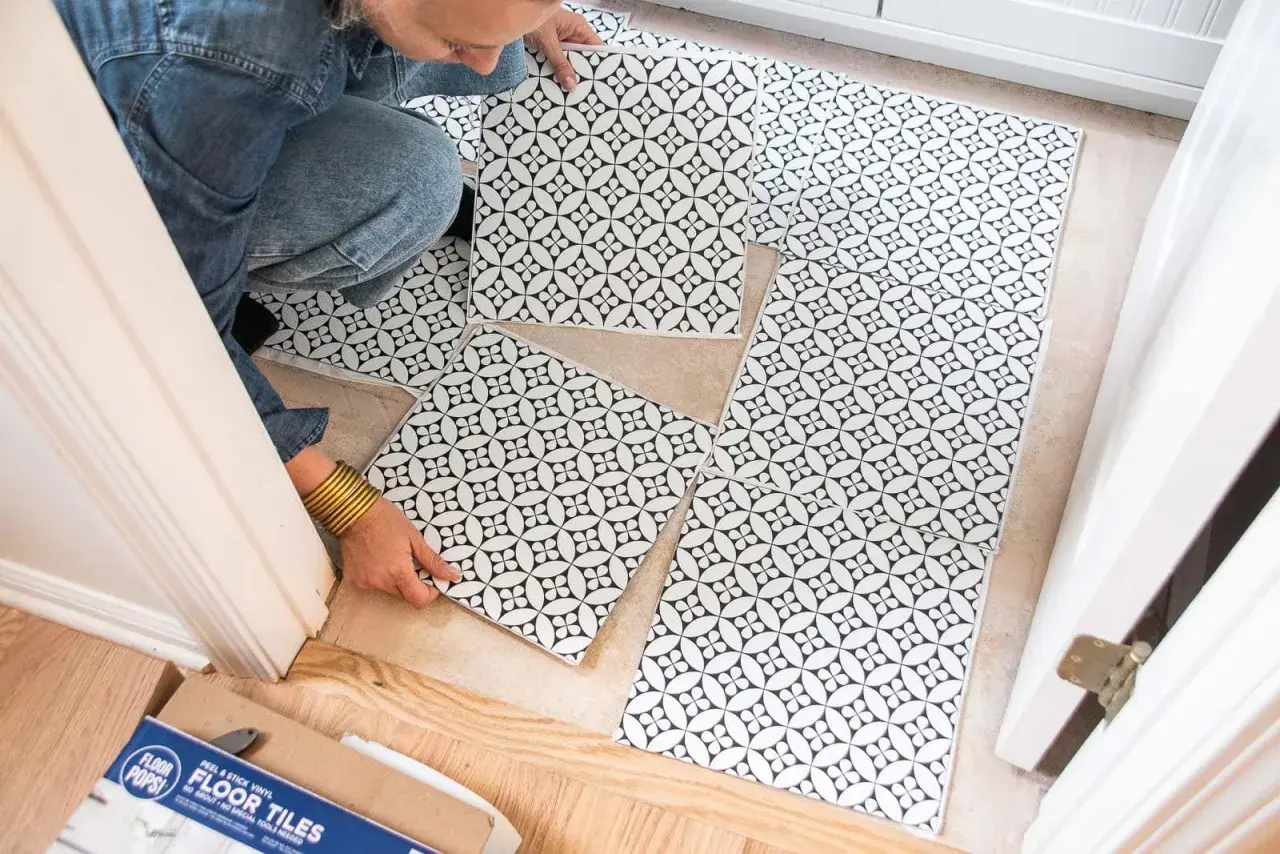
Grout can make peel-and-stick tile look much closer to real ceramic, but the result only holds up when the product is actually designed for it. The details that matter are simple: the edge profile, the adhesive backing, the grout type, and the flatness of the surface underneath. In a bathroom, those details decide whether the finished wall looks sharp for years or starts to fail at the seams.
The few checks that decide whether grout will work
- Yes, you can grout some peel-and-stick tile. Standard square-edge products usually are not meant for it.
- The label matters more than the look. If the box says groutable, follow that system and its grout type.
- Use vinyl-tile grout, not a random bag of cement grout. Premixed acrylic grout is common for this job.
- Prep is non-negotiable. The surface must be clean, smooth, flat, and dry before the tile goes down.
- Bathrooms need restraint. Vanity backsplashes and dry accent walls are a better fit than showers or standing-water areas.
- Timing matters. Many vinyl-tile guides allow grouting after an overnight wait, but the product instructions always win.
The type of tile decides the answer
The practical answer to can you grout peel and stick tile is yes, but only for the right product. I start by checking whether the tile is sold as groutable, because standard peel-and-stick tile usually has square edges and a design that assumes no grout at all. By contrast, groutable products often have rounded or micro-beveled edges that create a visible joint and make the finish look closer to traditional tile.
| Tile type | Can it be grouted? | What it usually means | Best use |
|---|---|---|---|
| Standard peel-and-stick tile | Usually no | Square edges, adhesive backing, no joint designed for grout | Fast cosmetic updates where you want a simple install |
| Groutable peel-and-stick tile | Yes | Rounded or micro-beveled edges, or a joint profile made for grout | Projects where you want a more authentic tile look |
| Traditional ceramic or porcelain tile | Yes | Installed with thinset and grouted as a full tile system | Higher-wear areas and long-term remodels |
I like this comparison because it cuts through the marketing language. The word “tile” does not tell you enough. Once you know which category you have, the next question is whether grout actually helps the installation or just adds another way to make a mistake.
When grout helps and when it gets in the way
Grout is not structural in a peel-and-stick installation. It is mostly about appearance, joint definition, and making the finished surface read more like a real tile layout. That is useful when the product was engineered for it, especially on a backsplash or a low-moisture wall where the visual payoff is worth the extra step. Lowe’s notes that some peel-and-stick tiles can be grouted, but only according to the product instructions, and that is the right mindset here.
Grout becomes a problem when people treat every self-adhesive tile the same way. If the box says no grout needed, I would not try to force it. If the edges are square and the joints are tight, grout has nowhere sensible to go. You are more likely to create haze, stress the seams, or shorten the life of the adhesive than improve the result.
Use grout when the product explicitly calls for it. Skip it when the manufacturer designed the tile to be installed without grout. That simple split is what keeps the project honest, and it leads naturally into the part that matters most: the actual installation sequence.
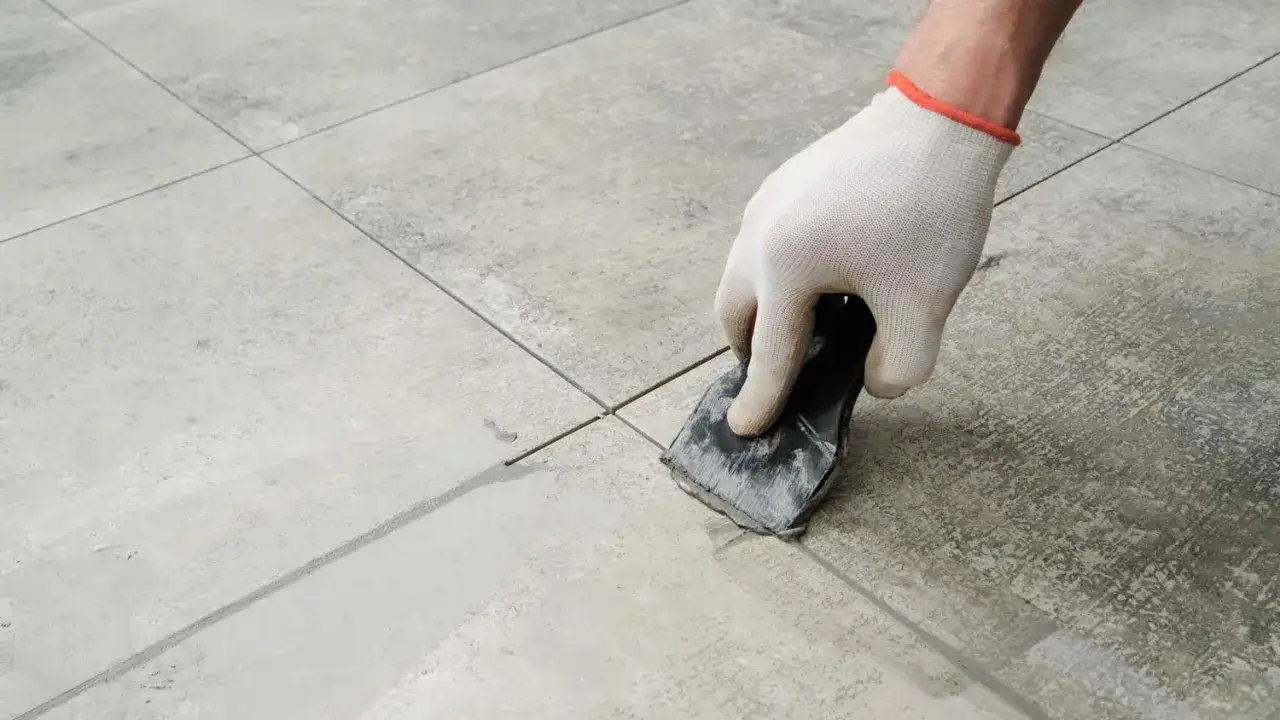
How I would grout a groutable installation
When I install a groutable peel-and-stick product, I treat the process like a vinyl project first and a grout project second. The adhesive bond has to be protected before the grout ever touches the surface.
- Prep the surface until it is truly flat. Clean off dust, grease, and wax. If you are going over existing tile, fill deep grout lines first so they do not telegraph through the new surface.
- Acclimate the tiles. Let the boxes sit in the room for about 48 hours so the material adjusts to the space.
- Install the tiles carefully. Keep the layout straight, press each piece firmly, and roll or smooth the surface so the adhesive fully engages.
- Wait before grouting. Many installation sheets allow grouting after an overnight window, and some vinyl-tile guides are comfortable at about 8 hours. I would follow the product label rather than guess.
- Use the right grout. A premixed acrylic grout made for vinyl tile is the safer choice. Armstrong’s vinyl-tile guidance points in that direction, and it is the kind of grout that belongs in this job.
- Work in small sections and clean as you go. Press the grout into the joints, remove the excess, and wipe the face before it skins over.
- Let it cure properly. A number of vinyl-tile grouts allow light foot traffic after 24 hours and reach full cure around 7 days, but again, the product label wins.
If the grout product recommends a sealer, use it. If it explicitly says it does not need sealing, do not add one just because you would on ceramic tile. Vinyl systems are their own category, and they should be treated that way. The details above are what separate a clean finish from a sticky mess, which is why the most common mistakes deserve their own section.
The mistakes that cause peeling, haze, and edge lift
Most failures are not dramatic at first. They start as tiny problems, then show up later as lifted corners, cloudy grout, or seams that look dirty no matter how much you clean them.
- Grouting a non-groutable tile. If the edges are square and the product never asked for grout, do not improvise.
- Using the wrong grout type. Standard cement grout is not the same thing as a vinyl-tile premix, and it can be a poor match for the adhesive-backed surface.
- Installing over a rough substrate. Dust, dirt, oil, and uneven grout lines weaken the bond under the tile.
- Cleaning too aggressively. Too much water or harsh scrubbing can lift grout residue into the seams and make the finish look dull.
- Rushing the cure. If you mop too soon or press the surface before the adhesive has set, the edges are the first place to suffer.
- Skipping the room conditions. Very damp or poorly ventilated areas are harder on peel-and-stick systems than dry, stable spaces.
That is why I treat surface prep as part of the finish, not a boring pre-step. If the substrate is wrong, grout will not save the project, and the next question becomes where this method actually makes sense in a home.
Where this approach fits in a bathroom
In bathroom design, I see groutable peel-and-stick tile work best where the splash level is moderate and the visual payoff is high. A vanity backsplash is the obvious example. A powder room accent wall can also work well. Laundry rooms and mudroom-style utility zones are other good candidates because they benefit from a quick refresh without the commitment of a full tile install.
I am much more cautious in wet zones. A shower surround, shower floor, or any area that sees standing water is not where I would gamble on a self-adhesive system unless the manufacturer clearly approves that exact use. Even then, I would read the fine print carefully. Products like FloorPops and similar lines often emphasize that they need a flat, smooth base and that some versions are meant to be installed with no grout at all, which tells you how specific these systems can be.
The rule is simple: use groutable peel-and-stick where moisture is manageable and the surface is stable. If the room is going to stay wet, a different tile system is usually the better long-term choice. That leads directly to the fallback options when your tile is not meant to be grouted.
If your tile is not groutable, choose another finish strategy
When the tile is not designed for grout, I would not try to force a ceramic look out of it. There are better options. The easiest is to install it as intended and let the seams remain tight and clean. If you want a more finished perimeter, use matching caulk at transitions and corners rather than pushing grout into a joint that was never built to take it.
If your goal is a more authentic tile appearance, buy a groutable version from the start. That one decision usually costs less time than trying to retrofit the wrong product. For a more permanent bathroom remodel, traditional ceramic or porcelain still wins on durability, especially in rooms with repeated moisture, frequent cleaning, or heavy traffic.
I also pay attention to the visual tradeoff. Some peel-and-stick designs already print or texture the grout line into the surface, which means they deliver the look without the extra maintenance. In small bathrooms, that can be the smarter move because it keeps the room easy to clean while still giving you definition between the “tiles.” The final choice comes down to how permanent you want the result to feel.The rule I use before a bathroom project goes ahead
My rule is straightforward: if the box does not clearly say groutable, I do not grout it. That one habit eliminates most avoidable failures and keeps the installation aligned with the way the product was engineered to work. If the tile is groutable, I still check the joint width, the grout type, the cure time, and the room conditions before I begin.
That is the safest way to think about peel-and-stick tile in 2026. Grout can elevate the finish, but it only works when the tile, the substrate, and the grout system are all compatible. If those three pieces line up, the result can look surprisingly close to a real tile installation. If they do not, the cleaner move is to skip grout and choose a better-suited product instead.
