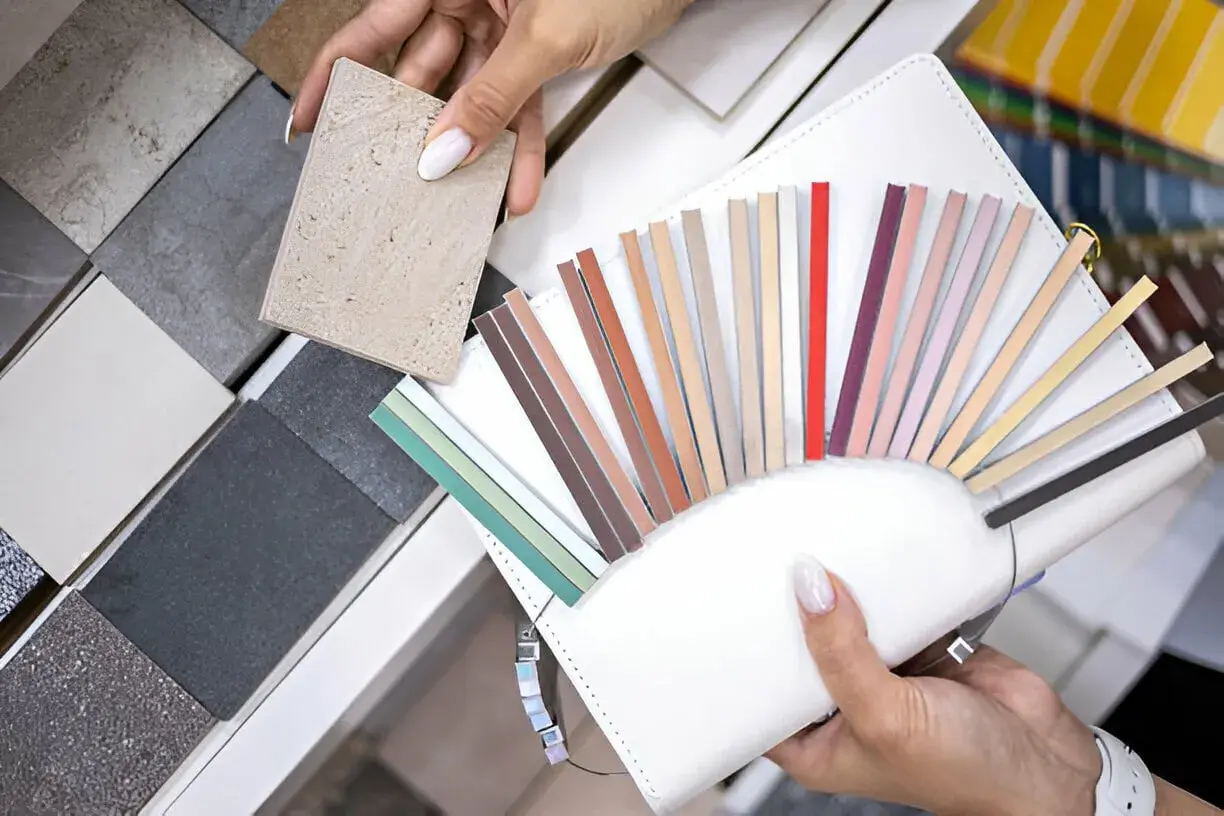
Choosing the best grout for porcelain tile comes down to more than color. The right choice depends on joint width, whether the tile is going into a shower or a dry floor, and how much maintenance you want to live with later. In practice, I narrow it to four things: joint size, moisture exposure, stain resistance, and the look you want once the tile is installed.
The right grout for porcelain tile depends on the joint, the room, and the finish
- For most interior porcelain tile, a high-performance cement grout is the best all-around starting point.
- For showers, steam-heavy spaces, and stain-prone areas, epoxy grout is the toughest option.
- For narrow joints under 1/8 inch, unsanded or fine-aggregate grout is usually the safer fit.
- For easier DIY cleanup, single-component grout gives you a useful middle ground.
- Grout fills and finishes the joint; it is not the waterproofing layer.
What porcelain tile really asks from grout
Porcelain is a dense, very low-absorption tile, so the grout is not there to be absorbed into the surface. It is there to fill the joint cleanly, hold a consistent line, and survive cleaning, traffic, and moisture without looking tired after a few months. That is why I do not start with the product label alone. I start with the tile edge, the joint width, and the room.
There is also a common misunderstanding that grout somehow makes the installation waterproof. It does not. The waterproofing belongs behind the tile in a properly built assembly, while the grout line handles appearance, support at the edges, and day-to-day wear. Once you look at it that way, the choice becomes more practical and much less mysterious.
That practical mindset is what separates a grout that looks good on day one from one that still looks good after regular cleaning and real life. Once those basics are clear, the product families are easier to compare.
The grout types I would actually compare
I rarely think in terms of a single universal winner. I think in terms of fit. This is the short version of how I compare the main grout families for porcelain tile installations in the U.S.
| Grout type | Best for | Why I pick it | Watch-outs |
|---|---|---|---|
| Unsanded cement grout | Narrow joints under 1/8 inch, especially on walls or polished tile | Smooth finish, easier to pack into tight joints, lower risk of a gritty look | Not ideal for wider joints; more prone to shrinkage and staining than premium formulas |
| Sanded cement grout | Joints 1/8 inch and wider, especially floors | Better strength and stability in wider joints | Can feel coarse and may be too aggressive for delicate or glossy porcelain |
| High-performance cement grout | Most residential porcelain floors and walls | Good balance of appearance, workability, and stain resistance | Still cement-based, so it is less forgiving than epoxy in wet or messy spaces |
| Epoxy grout | Showers, steam rooms, kitchens, laundry rooms, and high-traffic areas | Excellent stain and chemical resistance, very strong in daily-use wet areas | Higher cost, shorter working window, and more demanding installation |
| Single-component grout | DIY projects, remodels, and homeowners who want easier cleanup | No mixing, consistent color, and a simpler workflow | Not every formula is ideal for every constantly wet or high-heat application |
If the joint is narrow, I lean toward a smooth formula. If the joint is wider, I want a body that can fill it cleanly without looking sandy or weak. That is why the joint width matters as much as the brand name on the bag.
How I would choose it for showers, floors, and backsplashes
Room type changes the answer fast. A porcelain tile backsplash and a daily shower are not asking the grout to do the same job, even if the tile looks similar on the wall. Here is how I narrow it down when I am choosing for a real project.
Showers and tub surrounds
For a shower, I usually favor epoxy grout first because it handles moisture, soap residue, and staining better than standard cement-based options. If the installer is less comfortable with epoxy, a high-performance cement grout is the next sensible choice, but I would be realistic about maintenance. In a shower, the grout line gets cleaned often and sees standing moisture more than people admit.
If the shower has tight joints, a dense unsanded or fine-aggregate formula can work well, but the waterproofing still needs to be handled in the substrate and at the seams. Grout is the finish, not the defense system.
Bathroom floors
For a bathroom floor, my default is a high-performance cement grout or a single-component product if the homeowner wants easier cleanup. Floors usually see a mix of bare feet, cleaning products, and tracked-in grit, so stain resistance matters, but so does the ability to live with the surface over time. A mid-tone gray or warm neutral tends to age better than bright white in a family bathroom.
Read Also: White Subway Tile with Light Gray Grout - The Smart Choice
Kitchen backsplashes and utility areas
Backsplashes are where I often choose the easier-to-clean option rather than the absolute toughest one. A single-component grout or a premium cement grout is usually enough for porcelain tile behind a sink or cooktop. If the area gets a lot of splatter, I move up to epoxy, because grease and food stains are where cheaper grout choices start to show their limits.
So the room does more than determine durability. It tells you how much installation complexity you can justify and how much maintenance you will actually tolerate later.
Color and finish change the result more than people expect
Grout color can make porcelain tile look seamless, graphic, or visibly segmented. I think of it as part of the design, not just a technical afterthought. The same tile can feel quiet and spa-like with one grout color and sharp and architectural with another.
| Look you want | Color strategy | What it does | Tradeoff |
|---|---|---|---|
| Seamless, calm surface | Match the tile closely or stay within one shade | Softens the grid and makes the installation read as one plane | Less visual contrast, so layout lines disappear |
| Graphic, architectural look | Choose a darker or clearly contrasting tone | Emphasizes the tile pattern and the joint geometry | More visible layout means the installation has to be very clean |
| Lowest-maintenance appearance | Use a mid-tone neutral such as gray, taupe, or warm beige | Hides everyday soil better than bright white | Less crisp than a true match, especially on very light tile |
On polished or heavily textured porcelain, I also test the grout on a sample board before committing. That small step matters because haze, shadowing, and cleanup issues are often about the surface texture, not the grout chemistry itself. If the tile has a finish that clings to residue, a grout-release or light pre-seal can save time and protect the look of the installation.
Once you decide on the visual direction, the installation details become the next place where good or bad results are won.
Installation details that decide whether it lasts
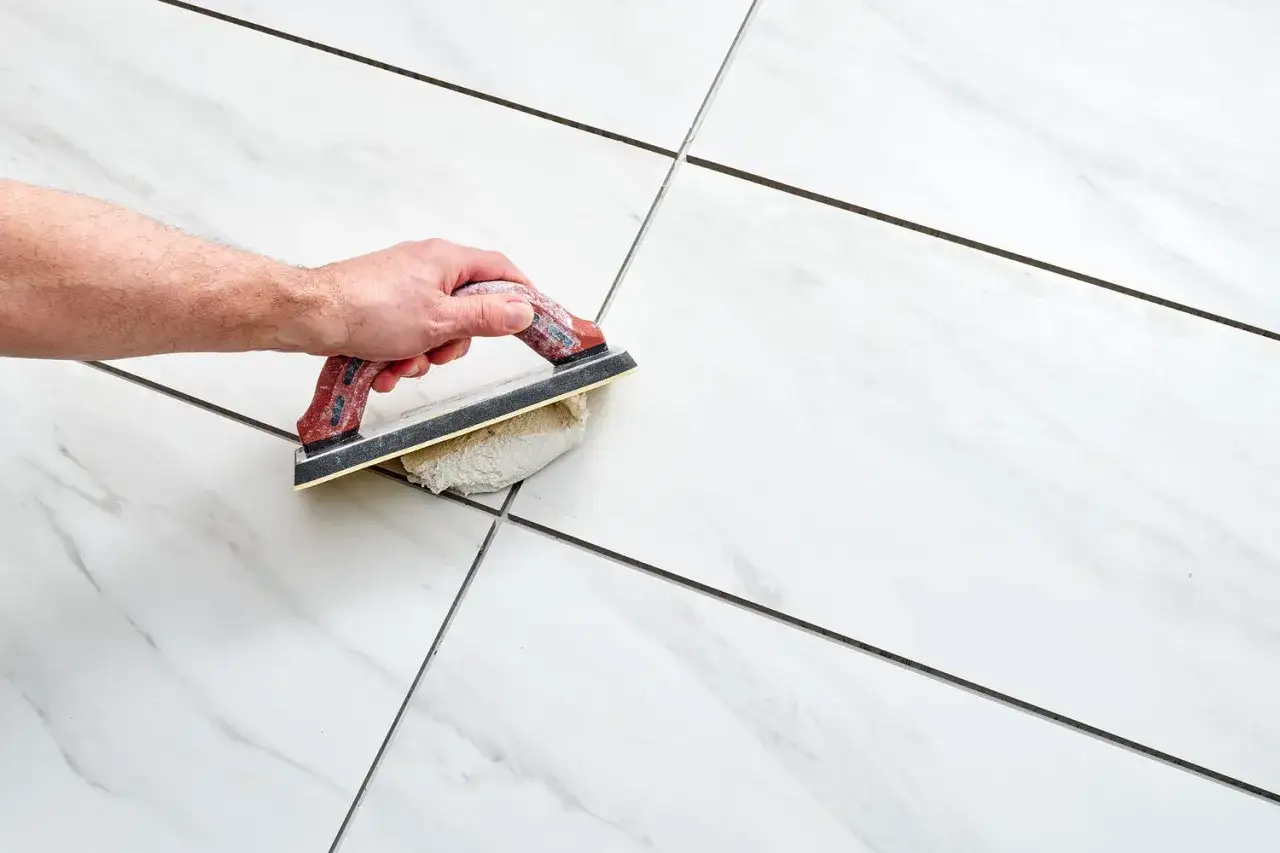
Even the right grout can fail visually if the installation is sloppy. I care about joint preparation, water management, and movement joints because those are the details that usually separate a durable job from one that cracks, powders, or stains too quickly.
- Keep the joints clean and uniform. Grout needs consistent depth to perform well, not thin bridges over leftover mortar.
- Mix and wash carefully. Too much water can weaken the surface, change the color, and pull material out of the joint.
- Do not grout movement joints. Corners, plane changes, and perimeter gaps should be treated with the right sealant, not hard grout.
- Use the waterproofing system correctly. In showers, the membrane or backer system does the moisture control work, not the grout line.
- Allow proper cure time. Cement-based products need the time the manufacturer specifies before heavy cleaning or sealing.
I also avoid overcomplicating the joint itself. The cleaner the tile layout and the more consistent the joint depth, the better the grout will look after it cures. That is one reason rectified porcelain is often paired with tight, very deliberate grout lines: the whole installation depends on precision.
If you get these details right, the grout choice becomes a design decision instead of a repair decision. That leads directly to the practical question most buyers actually care about: what would I choose if I were buying today?
The choice I would make in a real bathroom
When I strip away the marketing, my decision tree is pretty simple. I look at the joint width first, then the moisture level, then how much maintenance the homeowner is willing to accept. That order matters more than product hype.
- If the joints are under 1/8 inch, I start with unsanded or fine-aggregate grout.
- If the joints are 1/8 inch and wider, I move toward sanded or high-performance cement grout.
- If the room is a shower, steam area, or spill-prone space, I seriously consider epoxy grout.
- If the project is DIY and cleanup simplicity matters, single-component grout is often the best compromise.
- If the tile finish is delicate, glossy, or heavily textured, I test on a sample before committing to the full room.
For an average porcelain-tile bathroom floor, I would usually start with a high-performance cement grout in a mid-tone neutral and only move to epoxy if the room is getting very heavy daily use. That approach gives me a good balance of durability, appearance, and installation ease. In other words, the smartest grout choice is the one that fits the tile, the room, and your maintenance reality at the same time.
