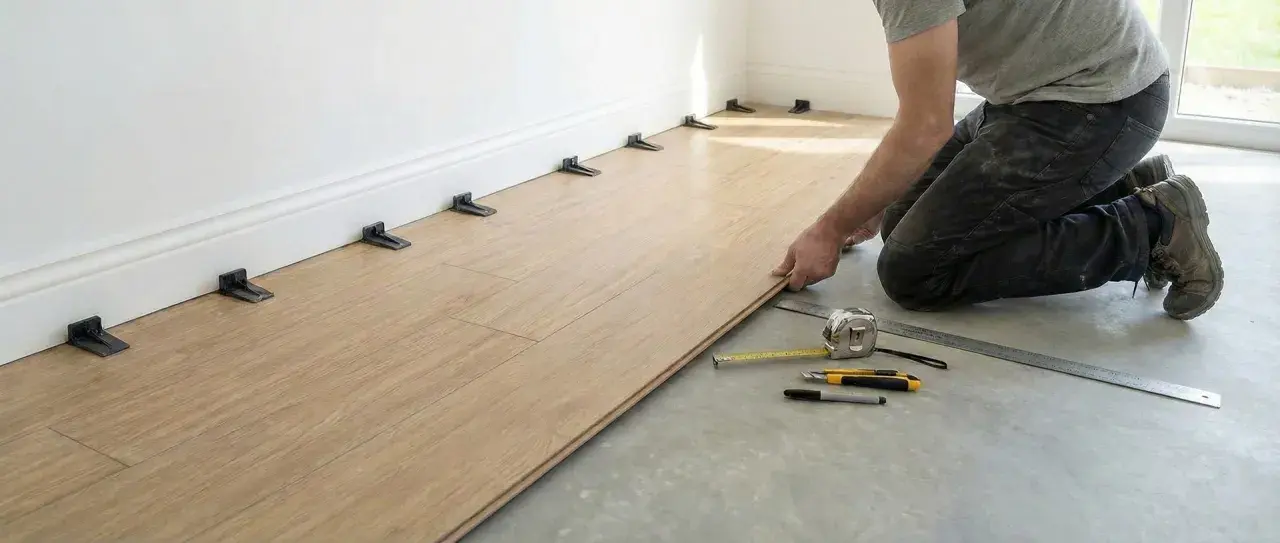
Vinyl plank floors are durable, but they only stay that way if you clean them the right way. This guide on how to clean vinyl plank flooring walks through the routine I would use in a real home: what to remove first, which cleaners are actually safe, how to deal with scuffs and spills, and which habits keep the surface looking crisp instead of cloudy.
The safest routine is dry first, damp second, and dry again
- Pick up grit before you add moisture. Sand and dust are what scratch the finish fastest.
- Use a damp microfiber mop with a vinyl-safe cleaner. Wet mopping is where most mistakes start.
- Blot spills right away. Letting liquid sit is harder on seams and edges than most people realize.
- Avoid steam, wax, and abrasive scrubbers. They can dull the wear layer instead of cleaning it.
- Spot-treat scuffs and sticky marks. Small fixes are better than re-cleaning the whole floor.
What vinyl plank flooring needs most
The clear protective top layer, often called the wear layer, is what does the heavy lifting. Grit scratches it, residue dulls it, and standing water can work its way into seams. That is why the best routine is not heroic scrubbing; it is steady grit removal, light moisture, and fast drying.
Some products tolerate a little more moisture than others, but I still treat excess water as a problem rather than a cleaning method. If the floor is newly installed, I would wait for the installer’s cure window before any wet cleaning. That can be a few days on some glued-down products, while floating systems, meaning planks that lock together rather than glue down, are often ready sooner. The safe rule is simple: do not wash early unless the manufacturer says the floor is ready.
I also separate cleaning from restoring shine. Vinyl plank usually does not need polish. It needs the finish left alone so it can keep doing its job. Once a floor looks hazy, the problem is often buildup, not a lack of wax. That distinction matters, because the products you choose next either protect the wear layer or slowly cloud it.
The next step is choosing tools that clean without creating more residue or more damage.
The tools and cleaners I would keep on hand
pH-neutral means the cleaner is balanced enough to lift soil without being acidic or alkaline enough to attack the finish. I do not make vinegar my default unless the flooring maker specifically allows it, because the safer baseline is a cleaner made for vinyl.
| What I need it for | What I use | What I skip |
|---|---|---|
| Daily grit | Microfiber dust mop or vacuum on hard-floor mode | Beater bar, stiff brush roll |
| Routine washing | Damp microfiber mop with a vinyl-safe, pH-neutral cleaner | Soaking wet mop, soap-based detergent |
| Scuffs and tacky marks | White cloth with a little isopropyl alcohol, then plain water | Abrasive sponge, steel wool |
| Texture and grooves | Soft nylon detail brush | Scouring powder |
| Surface care | Clean dry cloth for the final wipe | Wax, polish, mop-and-shine products |
If a cleaner smells heavy, leaves a shiny film, or needs a lot of scrubbing to work, I would pass on it. On vinyl, the least dramatic product is usually the one that keeps the floor looking best.
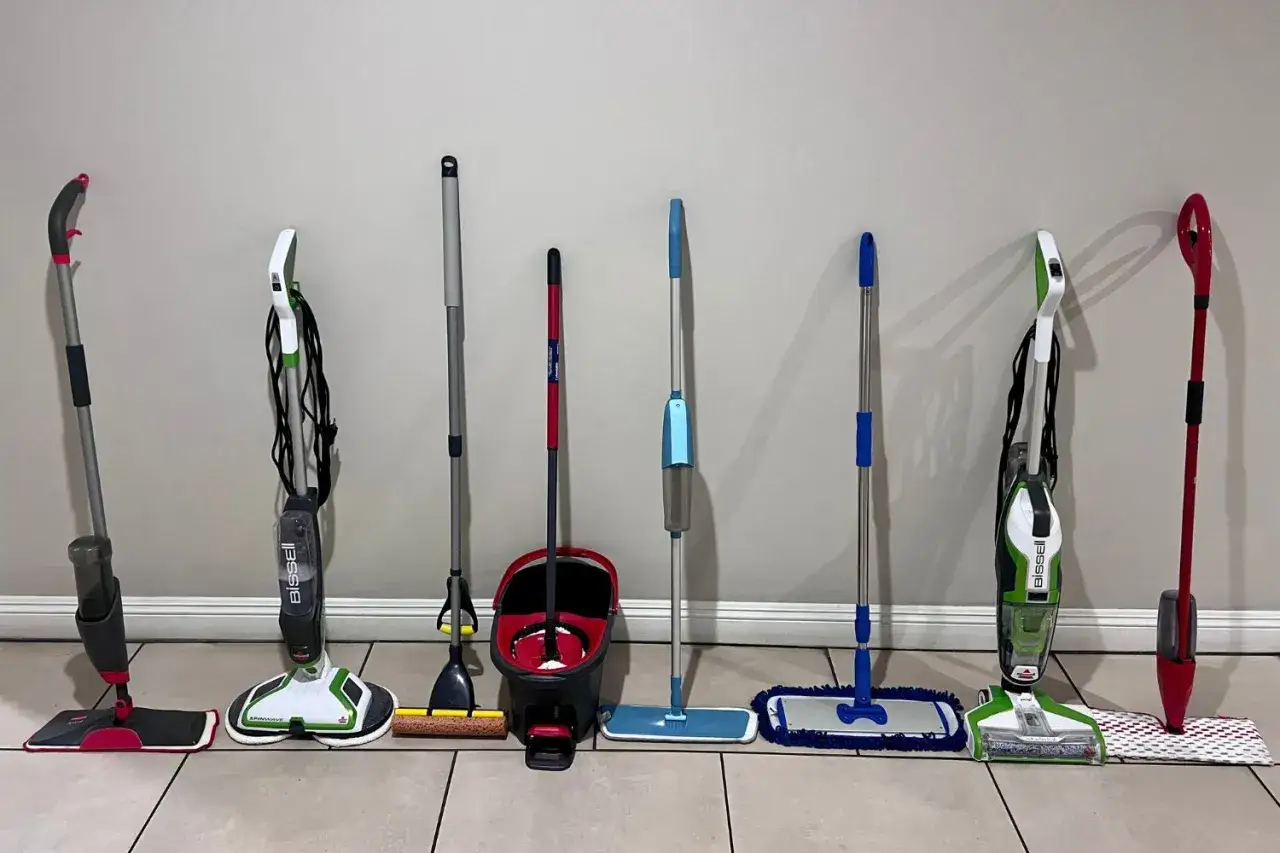
A routine that cleans without over-wetting the floor
For everyday cleaning, I keep the process deliberately boring. That is usually what works best on vinyl plank.
- Remove loose grit first. Sweep, dust mop, or vacuum before any liquid touches the floor. If you skip this step, you are basically dragging sand across the finish.
- Mop with just enough moisture to glide. Wet the microfiber pad, wring it out well, and use a neutral cleaner only as directed. The mop should feel damp, not wet enough to leave trails.
- Work in manageable sections. Clean a small area, then move on. This keeps cleaner from drying on the surface and makes streaks less likely.
- Change the pad when it loads up. A dirty pad spreads grime instead of lifting it, especially in kitchens and entryways.
- Dry the floor if needed. If you see a sheen of water, wipe it with a clean dry cloth or towel. Vinyl plank does not benefit from standing moisture.
In a typical home, I would do this once a week and more often in bathrooms, kitchens, and entryways. High-traffic spaces collect grit fast, and grit is what ages the floor first. If the floor still looks streaky after a good cleaning, I usually suspect too much product before I suspect too little effort.
That leads directly to the small messes people tend to overreact to, even though they are usually easy to fix.
How to handle spills, scuffs, and sticky buildup
The best spot treatment is the one that stays local. I do not want to re-wet an entire floor just because one corner has a mark on it.
Fresh spills
Blot liquids immediately with a white cloth or paper towel. I do not rub at this stage, because rubbing pushes the spill wider and drives moisture into the texture. Follow with a lightly damp microfiber cloth and dry the area.
Scuffs and heel marks
For dark scuffs, a small amount of isopropyl alcohol on a cloth often works better than scrubbing. Keep it local to the mark, then wipe the spot with plain water and dry it. I would test in an out-of-sight corner first if the planks have a very matte or specialty finish.
Read Also: Clean Marble Floors Right - Avoid Common Mistakes
Grease, soap film, and sticky residue
Use a neutral cleaner, not a harsher degreaser unless the flooring maker specifically allows it. Grease and bathroom residue are often easiest to remove when you act early; once they dry, the floor may need a second pass rather than more pressure.
For ink, nail polish, or paint, I would not improvise with random solvents. Those stains are where brand-specific guidance matters most, because the wrong remover can damage the finish faster than the stain itself. For stuck-on debris, I use a plastic scraper at a shallow angle instead of metal. That keeps the wear layer intact and avoids the tiny gouges that catch dirt later.
Once you know how to spot-treat the floor, the next real gain comes from avoiding the habits that create the damage in the first place.
What I would never use on vinyl planks
Most damage I see on vinyl plank comes from well-meant over-cleaning: too much heat, too much product, or something abrasive that leaves the floor looking permanently tired.
- Steam mops can push heat and moisture into seams and edges.
- Bleach, ammonia, and harsh solvents can attack the finish or leave discoloration.
- Abrasive pads, scouring powders, and melamine sponges can haze the surface.
- Soap-based detergents and mop-and-shine products often leave a film that attracts more dirt.
- Wax or polish is usually a bad fit for vinyl plank unless the product instructions say otherwise.
- Soaking wet mops are risky in every room, especially where planks have seams.
If a product promises quick shine, I read the label with suspicion. On vinyl, shine is usually the result of a clean surface, not an extra coating. That is especially true in rooms that get humidity, soap spray, and frequent splash water.
Bathrooms and kitchens ask for a stricter version of the same routine
In bathrooms and kitchens, I treat vinyl plank as a surface that needs faster intervention, not a different chemistry. Splash zones around tubs, toilets, sinks, and dishwashers collect soap, body oils, toothpaste, cooking grease, and tracked water. None of that is difficult to remove if you stay ahead of it.
- Use a bath mat or runner that is vinyl-safe and colorfast, not rubber-backed if it can discolor the floor.
- Wipe standing water around toilets, tubs, and sinks as soon as you see it.
- Keep a dry towel nearby after showers so humidity and splash water do not linger in seams.
- In kitchens, remove grease spots before they spread into the texture.
- Clean cosmetic spills and hairspray overspray soon, because sticky film attracts dust quickly.
In a bathroom, I am especially cautious with shiny residue, because humidity makes film show up faster than it does in a bedroom or hall. The point is not to baby the floor. It is to stop small messes before they become residue layers.
Once those room-specific habits are in place, the rest is mostly maintenance discipline.
The small habits that stop vinyl plank from looking tired early
The longest-lasting vinyl plank floors usually have the same few habits behind them: they get less grit, less water, and less product than people expect.
- Put felt pads under chairs and stools.
- Use walk-off mats at exterior doors and vacuum them often.
- Vacuum on hard-floor mode instead of using a beater bar.
- Keep cleaning pads and mops genuinely clean, not just damp.
- Check the care sheet for your exact floor before trying a new cleaner.
- Keep the floor dry after mopping instead of letting it air-dry into streaks.
In my experience, vinyl plank stays easiest when you stop treating it like a floor that needs to be polished and start treating it like a surface that needs to stay free of grit. Keep the routine light, keep the pad damp, and the finish will usually hold its look for years.
