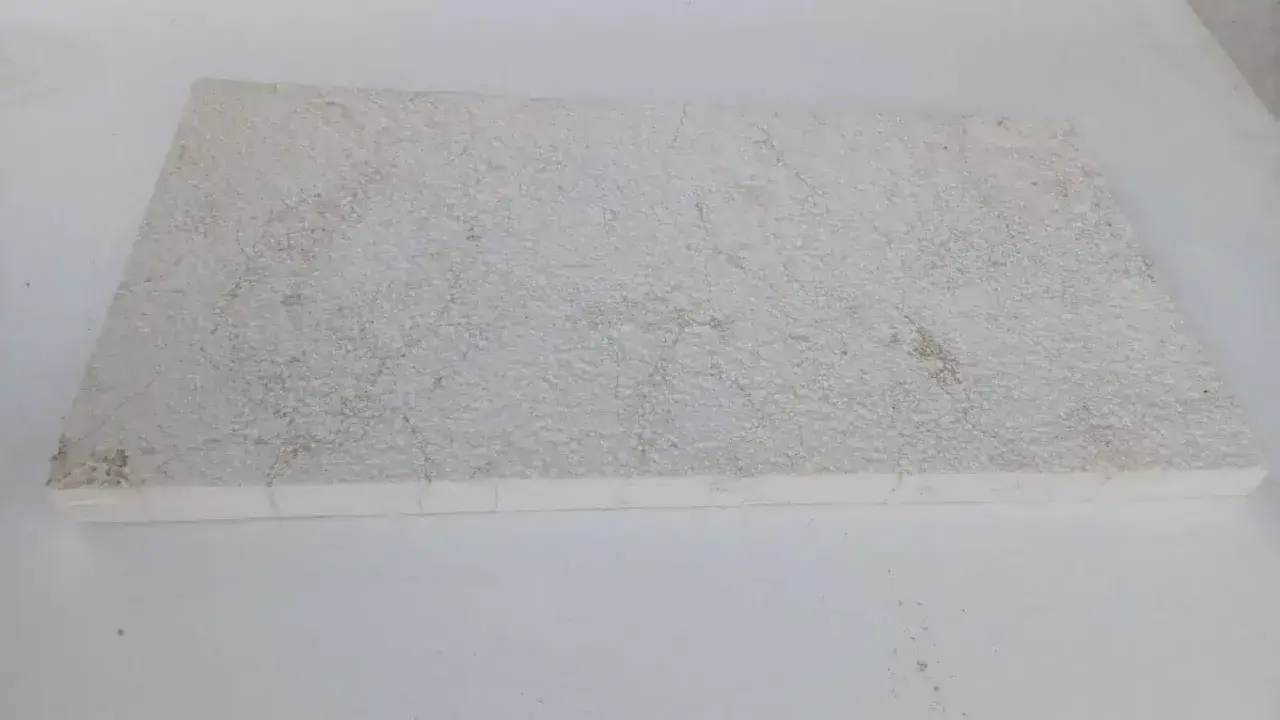
Limestone brings warmth to bathrooms, but it also asks for a different kind of care than ceramic tile or quartz. The short answer to how to clean limestone is simple: keep the chemistry mild, rinse thoroughly, and dry the surface before mineral film has time to settle. In the sections below, I cover the routine I trust, the products I would actually use, how to deal with soap scum and stains, and the habits that keep the stone looking like stone instead of looking tired.
The safest limestone care routine is gentle, dry, and consistent
- Use a pH-neutral stone cleaner or a mild dish soap solution for routine cleaning.
- Avoid vinegar, lemon, and other acidic bathroom cleaners because they can etch the stone.
- Dry the surface after cleaning; standing water and soap residue are the biggest day-to-day problems.
- Handle stains by type, because oil, organic residue, and mineral film each need a different response.
- Sealer helps with absorption, but it does not make limestone stain-proof or acid-proof.
Why limestone needs a gentler routine than most bathroom surfaces
Limestone is a calcareous stone, which means it is mostly calcium carbonate. That matters because acids do not just sit on the surface; they react with the stone and leave a dull, etched patch that looks like damage even when the room is clean. On polished limestone, that change can show as a hazy ring or a lighter spot; on honed stone, it often looks like a flat, chalky mark.
I also think about porosity. Limestone can absorb water, oils, dyes, and bath-product residue more easily than denser materials, so the goal is not aggressive scrubbing. It is controlled cleaning, fast drying, and keeping the wrong liquids from lingering in the first place. Once that distinction is clear, the day-to-day routine becomes simple.
A daily and weekly routine that keeps the surface calm
I start with dry cleaning before I reach for any liquid. Grit is what scratches a floor finish, so a soft broom, dust mop, or vacuum with a hard-floor setting comes first.
- Wipe or sweep away grit, hair, and dust.
- Mix a pH-neutral stone cleaner with warm water, or use a mild liquid dish soap solution if the surface only needs light cleaning.
- Wipe the stone with a soft microfiber cloth or a clean rag mop. I keep the surface damp, not soaked.
- Rinse with clean water so soap residue does not turn into film.
- Dry the area with a soft cloth, especially around shower ledges, vanity edges, and sink splashes.
In a bathroom, I add one extra move: I squeegee shower walls and benches after use. That one habit cuts down soap scum more than any fancy spray, and it keeps water spots from building into a stubborn layer. With the routine in place, the next decision is which products deserve a place under the sink and which ones should stay out of it.
The cleaners and tools I trust, and the ones I avoid
Most limestone damage starts with a product that was designed for something else. Tile and glass cleaners often rely on acids, and that is exactly what limestone does not want.
| Product or tool | My take | Why it matters |
|---|---|---|
| pH-neutral stone cleaner | Use it | This is the safest choice for regular maintenance on limestone surfaces. |
| Mild liquid dish soap mixed with warm water | Use it sparingly | Good for light soil, as long as you rinse well and dry the stone afterward. |
| Soft microfiber cloth or rag mop | Use it | It lifts soil without scratching the finish. |
| Non-acidic soap-scum remover | Use it when needed | Useful in showers, but I still keep the application controlled and thorough. |
| Vinegar, lemon, citric acid, or acidic bathroom sprays | Avoid it | These can etch limestone and leave permanent dull spots. |
| Abrasive powders, scouring pads, and rough scrubbers | Avoid it | They can haze polished stone and wear down the surface over time. |
| Bleach or ammonia | Limited use only | They may help with some stains, but they are not routine cleaners and should never be mixed. |
If I use a dilute ammonia solution for a stubborn soap-scum patch, I treat it as a spot treatment, rinse it thoroughly, and never combine it with bleach. The usual dilution is about 1/2 cup ammonia to 1 gallon of water, and even that is not something I would make routine. When that toolbox is set, the real question is how to respond when a mark is already on the stone.
How I handle soap scum, hard-water film, stains, and etching
The trouble with limestone is that several different problems can look similar at first glance. A white haze can be soap residue, mineral scale, or etching, and each one needs a different fix.
| Problem | What it usually is | What I do first |
|---|---|---|
| Soap scum | Body wash, shampoo, and soap residue that builds up on shower walls and ledges | Use a non-acidic soap-scum remover or a stone-safe cleaner, then rinse and dry. |
| Hard-water film | Mineral scale from repeated wetting and drying | Use only a cleaner labeled safe for calcareous stone; do not use an acid descaler. |
| Oil or makeup stain | Lotion, sunscreen, facial oils, cosmetics, or bath products | Blot first, then use a gentle degreasing cleaner or a poultice if the stain has soaked in. |
| Organic stain | Dyes or plant-based residue from toiletries, hair color, or similar spills | Clean gently, then consider hydrogen peroxide-based treatment if the stain remains. |
| Etching | Surface damage caused by acid rather than dirt | This is not a cleaning issue; it needs honing or polishing by a stone-restoration professional. |
When a stain has sunk below the surface, a poultice is often the right next step. I make one by mixing a liquid cleaner with a white absorbent material until it feels like peanut butter, spread it about 1/4 to 1/2 inch thick, cover it with plastic, and let it dry for 24 to 48 hours. The drying process is what pulls the stain out, and difficult marks may need repeated applications, sometimes up to five rounds. Deep rust or metal transfer can be stubborn enough that I would rather call a pro than keep experimenting on the stone.
That distinction between stain removal and surface restoration matters more than people expect, and it leads directly to the next layer of care: prevention.
Sealing helps, but it does not make limestone bulletproof
I never treat sealer as a shield against poor habits. It slows absorption, which buys you time when a spill happens, but it will not stop acid from etching the surface and it will not prevent every stain.
- Check the sealer in wet areas at least once or twice a year. If water stops beading and starts darkening the stone quickly, it is time to reseal.
- Keep toiletries on trays so lotion, perfume, and skincare acids are not sitting directly on the stone.
- Wipe toothpaste, shampoo, and soap residue before they dry.
- Use bath mats and prompt drying around tubs, sinks, and niches where water pools.
- Ventilate the room well so the stone is not staying damp all day.
That prevention work sounds basic, but it is what keeps limestone looking even. The most expensive mistakes usually come from ignoring a few small habits, which is why I call them out explicitly next.
The mistakes that damage limestone fastest
I see the same errors repeat because they feel efficient in the moment. They are not.
- Using vinegar or lemon-based cleaners. They may remove soap film on other surfaces, but on limestone they can leave a permanent dull spot.
- Scrubbing with abrasive powders or pads. These can haze a polished finish and leave a honed surface looking worn faster than expected.
- Leaving spills to dry. Toothpaste, mouthwash, lotions, and cosmetics are all easier to remove before they set.
- Relying on sealer as protection against acid. Sealer helps with absorption, not with chemistry.
- Using bleach or ammonia carelessly. They have a place in limited stain work, but not as daily cleaners, and they should never be mixed.
Once those habits are out of the picture, the maintenance plan becomes boring in the best way: quick cleanup, quick drying, and a regular inspection cadence that catches small issues early.
A maintenance rhythm that actually holds up in a busy bathroom
I like maintenance systems that fit real life, not ideal life. This one is simple enough to follow even when the bathroom is being used constantly.
| Frequency | What I do | Why it matters |
|---|---|---|
| After each shower or bath | Squeegee walls, wipe standing water, and dry the sink ledge | Stops soap scum and mineral film from settling. |
| Weekly | Dust or vacuum, clean with a pH-neutral solution, rinse, and dry | Removes grit and residue before they build up. |
| Monthly | Inspect corners, seams, grout, and around dispensers or trays | Catches early staining or dulling before it spreads. |
| Every 6 to 12 months | Test water beading and reseal if absorption is increasing | Keeps liquids from soaking in too fast. |
| As needed | Treat spots by type instead of attacking the whole surface | Prevents overcleaning and accidental etching. |
Once you know how to clean limestone the right way, the surface stops feeling fragile and starts feeling manageable. I treat it like a material that rewards consistency: gentle cleaner, quick drying, spill control, and periodic resealing when the stone tells me it is ready. That is usually enough to keep limestone calm, clean, and visually balanced in a bathroom for years.
