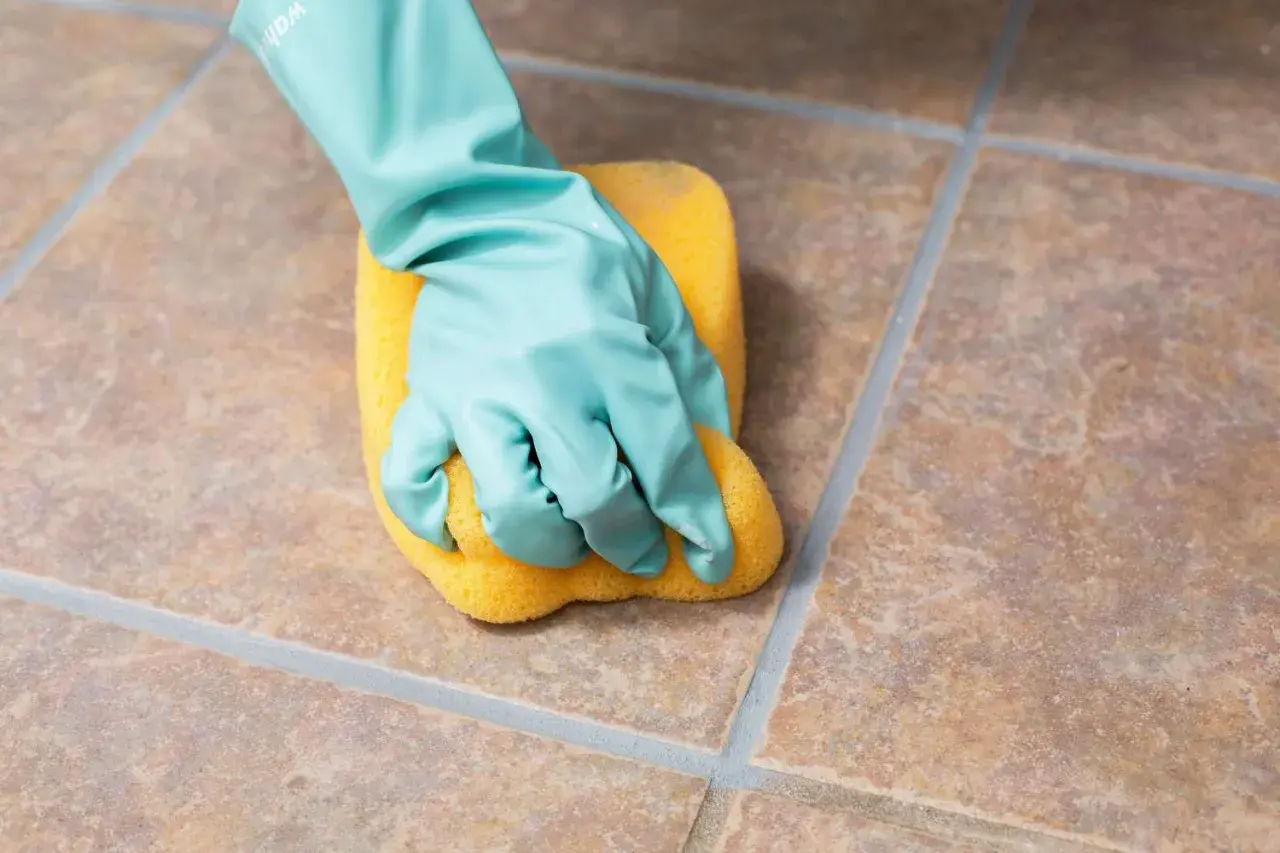
Unglazed ceramic tile looks elegant in bathrooms, mudrooms, and kitchens, but it behaves differently from glazed tile because the surface is more absorbent and easier to mark with the wrong cleaner. Knowing how to clean unglazed ceramic tile is mostly about using the least aggressive method that still removes the mess, then rinsing so nothing is left behind. In this guide, I cover the daily routine, the safest products, stain-specific fixes, and when sealing actually helps.
The safest routine is simple, neutral, and well rinsed
- Start dry: sweep, vacuum, or dust-mop before any liquid cleaner touches the surface.
- Use a pH-neutral cleaner for regular maintenance so you do not dull the tile.
- Apply cleaner in small sections, agitate with a microfiber mop or soft nylon brush, and rinse thoroughly.
- Reserve heavy-duty products for specific problems such as grease, wax residue, or grout haze.
- Avoid vinegar as a default, waxy cleaners, abrasive pads, and any product that leaves a film.
- If you want extra stain protection, consider a penetrating sealer on the tile or a sealer for the grout, but test first.
What makes unglazed tile harder to clean
Unglazed ceramic does not have the same sealed, glasslike top layer as glazed tile. That means dirt, soap residue, and oils can sit in the microtexture instead of wiping away instantly. In a bathroom, that often shows up as a gray film near the shower, a chalky edge around the tub, or darker patches where water dries slowly.
That does not make the tile fragile. It just means I treat it as a surface that rewards discipline. The more residue you let build up, the more tempted you will be to reach for a harsh cleaner later, and that is usually where people damage the finish. Once you understand that, the daily routine becomes much easier to keep under control.
The everyday cleaning routine I would use first
For routine care, I keep the process short and repeatable. The goal is not to scrub the tile into submission; it is to remove grit before it scratches and lift everyday soil before it bonds to the surface.
- Dry clean first. Sweep, vacuum with a hard-floor setting, or use a microfiber dust mop to remove grit.
- Mix a neutral cleaner in a bucket, following the label on the product. A 1-gallon bucket is usually enough for a small bathroom floor.
- Work in manageable sections so the cleaner does not sit and dry on the tile.
- Agitate lightly with a microfiber mop, soft sponge, or non-metallic brush if the tile is textured.
- Rinse with clean water. This part matters more on unglazed tile than many people expect.
- Dry the surface with a clean towel or let air flow do the rest, especially on floor areas that should not stay damp.
If the floor is in a shower room or a bathroom with hard water, I would keep a squeegee or microfiber cloth nearby for the wettest spots. Fewer minerals and less standing water mean less cleaning later, which is the kind of maintenance habit that actually pays off. From there, the next question is what to use when the problem is more than ordinary dust.
Match the cleaner to the residue
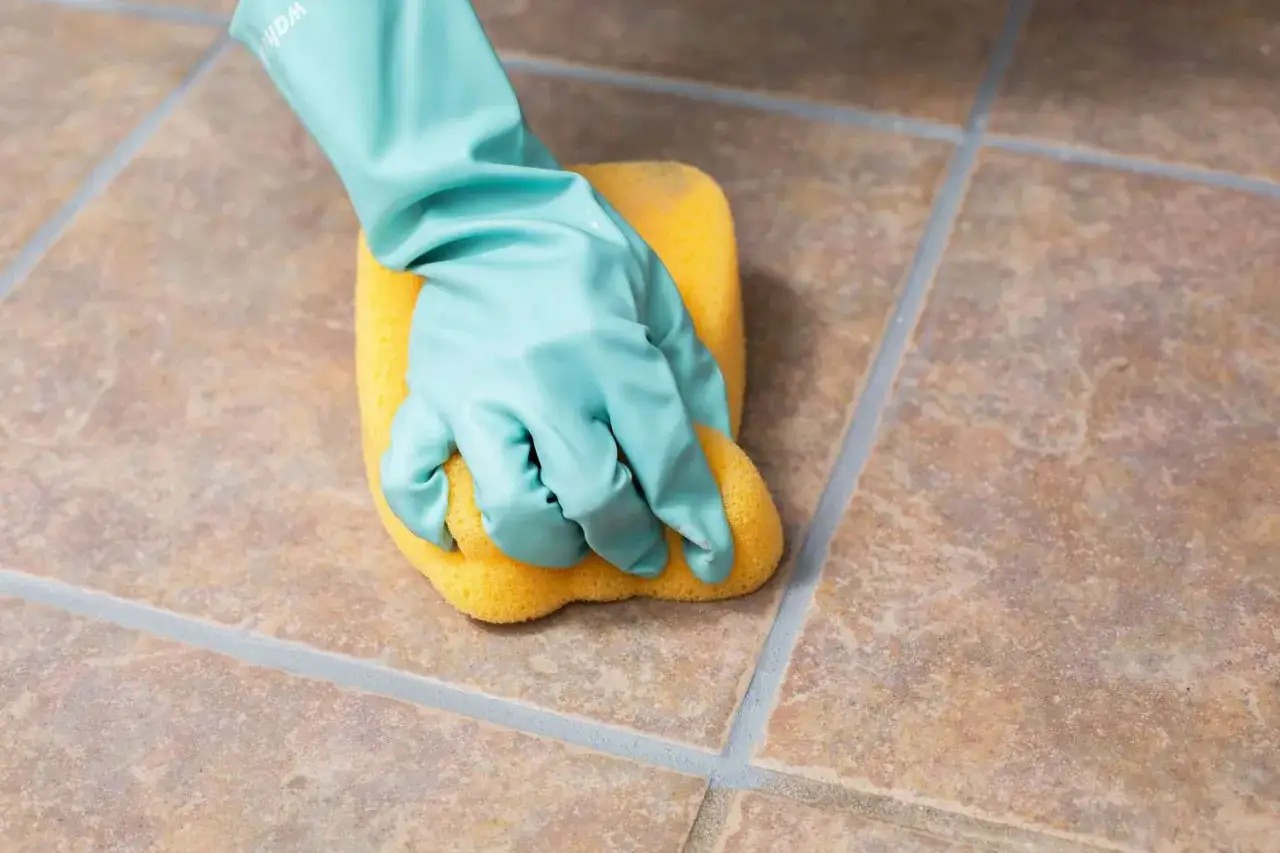
Not every mark on unglazed ceramic calls for the same product. Soap scum, cooking grease, grout haze, and wax buildup behave differently, so I choose the cleaner based on what is actually sitting on the surface.
| Problem | Best approach | What to watch for |
|---|---|---|
| Dust and tracked-in soil | Dry sweep or vacuum, then mop with a neutral cleaner | Do not skip the dry step; grit is what causes scratchy wear |
| Soap scum and bathroom film | Use a bathroom-safe tile cleaner that is compatible with unglazed surfaces | Rinse well so the surface does not feel slick or cloudy |
| Kitchen grease or body oils | Use a concentrated tile cleaner or mild degreaser designed for ceramic tile | Test first on textured or darker tile, because residue can settle in the pores |
| Cement grout haze after installation | Use a dedicated grout haze remover made for ceramic tile | Use it only on cured grout and follow the dwell time on the label |
| Wax or topical sealer residue | Use a ceramic-safe sealer or wax remover | Do not use the same product on natural stone without checking compatibility |
That table covers the messes I see most often in bathrooms and kitchens. The common thread is that the product has to match the residue, not just the surface. That is also why there are a few things I avoid completely.
What I avoid on unglazed tile
My default rule is simple: if a product is acidic, waxy, heavily scented, or designed to leave a shine, I look twice before using it on unglazed tile. The finish should look cleaner after you wash it, not coated.
- Vinegar as a default cleaner - it is too easy to overuse, and acidic cleaners are not my first choice on a surface that is already less protected.
- Bleach and ammonia-heavy mixes - they can create more problems than they solve, especially around grout.
- Wax-based or oil-based cleaners - they often leave a film that attracts dirt and can make the floor feel slippery.
- Steel wool, scouring pads, and stiff abrasive brushes - those can scratch textured tile and rough up the finish.
- No-rinse products that leave residue - residue is exactly what makes unglazed tile look tired fast.
- Steam mops without manufacturer approval - heat and moisture are not worth guessing about on a porous surface.
If a cleaner sounds impressive because it is strong, that is usually the wrong clue. I want controlled cleaning, not aggressive chemistry. That becomes even more important when you are deciding whether sealing will help or whether it is just a distraction.
When sealing helps and what it cannot fix
Some unglazed ceramic tiles benefit from a penetrating sealer, which sinks into the surface instead of sitting on top like a film. I like that kind of sealer because it can buy you more time when spills happen, especially on absorptive or textured tile. It does not make the tile stain-proof, but it can make maintenance more forgiving.
Two things matter here. First, check the tile maker’s guidance before sealing the tile body, because not every installation needs the same treatment. Second, grout usually deserves its own protection. Grout is commonly sealed after it has cured, often around 72 hours after installation if the product and installer call for it, and some sealers need renewal over time depending on traffic and care. I would not skip the label instructions, because sealer mistakes are harder to undo than most cleaning mistakes.
What sealing will not do is replace regular cleaning. If dirt and soap film keep sitting on the surface, a sealer only slows the problem down. Once that expectation is clear, the best long-term strategy is simple upkeep.
The habits that stop buildup before it starts
The real secret is not one dramatic deep-clean session. It is a set of small habits that keep grime from becoming a project.
- Vacuum or sweep high-traffic tile before you mop, especially near entryways and vanity areas.
- Wipe up spills promptly, before coffee, makeup, shampoo, or cooking oil has time to sit.
- Rinse bathroom floors after using a stronger cleaner so no film dries in place.
- Use mats or runners in the spots that collect grit fastest, and wash them before they start shedding dirt back onto the tile.
- Check the grout periodically. If it looks dark, patchy, or absorbs water quickly, resealing may be due.
- Test any new product in a hidden corner first, even if the label says it is safe for ceramic.
That is the part of care most people skip, and it matters more than switching brands every few months. If you keep the surface free of grit, use neutral cleaners for routine work, and reserve stronger products for true residue problems, unglazed tile stays clean without losing its character. In practice, that is the balance I aim for: minimal damage, maximum control, and no surprises the next time the bathroom gets wet.
The habits that keep the finish from becoming a project
When I clean this kind of tile, I think in terms of prevention, not rescue. A dry pre-clean, a neutral wash, a thorough rinse, and a careful choice of specialty cleaner when needed will handle most situations without dulling the finish. If the surface still looks stubborn after that, I look at residue, grout, or sealer buildup before I blame the tile itself.
If you are dealing with an older bathroom or a floor that has already picked up film, start with the least aggressive method and work up slowly. That approach takes a little longer on day one, but it is usually what saves the tile for the long run.
