Shower tile usually gets dirty in two different ways: a dull film on the surface and darker buildup in the grout. Knowing how to clean shower tiles without dulling the finish is mostly about matching the cleaner to the surface and giving grout its own treatment. In this guide, I cover the safest cleaners for ceramic, porcelain, and natural stone, the step-by-step routine I use for soap scum, and the mistakes that turn a cleaning job into a repair job.
The safest path is to match the cleaner to the surface and let grout have its own method
- Glazed ceramic and porcelain can usually handle more cleaning options than natural stone, but grout still needs care.
- Never use vinegar on marble, travertine, limestone, or any shower surface you cannot confidently identify as stone-safe.
- Let cleaners sit for 5 to 15 minutes before scrubbing so you are lifting grime instead of grinding it in.
- Use a nylon brush or non-scratch sponge; abrasive pads and steel wool can leave permanent marks.
- Grout, mildew, and hard-water film often need different approaches, not one all-purpose spray.
- Drying the shower after cleaning matters almost as much as the cleaning itself.
Choose the right cleaner before you start
Before I scrub anything, I identify the tile and the grout. That step saves more damage than most people realize. The Natural Stone Institute advises avoiding vinegar and other acids on many stone surfaces, while Mapei notes that vinegar is only an occasional option on porcelain or ceramic with cement grout, not a routine maintenance cleaner.
| Surface | Best cleaner | Avoid | Why it matters |
|---|---|---|---|
| Glazed ceramic or porcelain | pH-neutral bathroom cleaner, or diluted white vinegar for occasional soap scum | Routine acid use, abrasive powders, steel wool | The glaze is durable, but grout and sealant lines still need a gentle touch |
| Natural stone | Stone-safe pH-neutral cleaner | Vinegar, lemon, and other acidic cleaners | Acid can dull or etch the stone finish |
| Cement grout | Grout cleaner, baking soda and hydrogen peroxide, or oxygen bleach | Frequent acids and heavy scrubbing | Grout is porous and can discolor or weaken if treated too aggressively |
| Caulk and silicone joints | Mild cleaner and light scrubbing | Hard scrubbing, harsh chemicals, and aggressive tools | Damaged caulk lets moisture and mildew move behind the joint |
A simple routine for glazed ceramic and porcelain
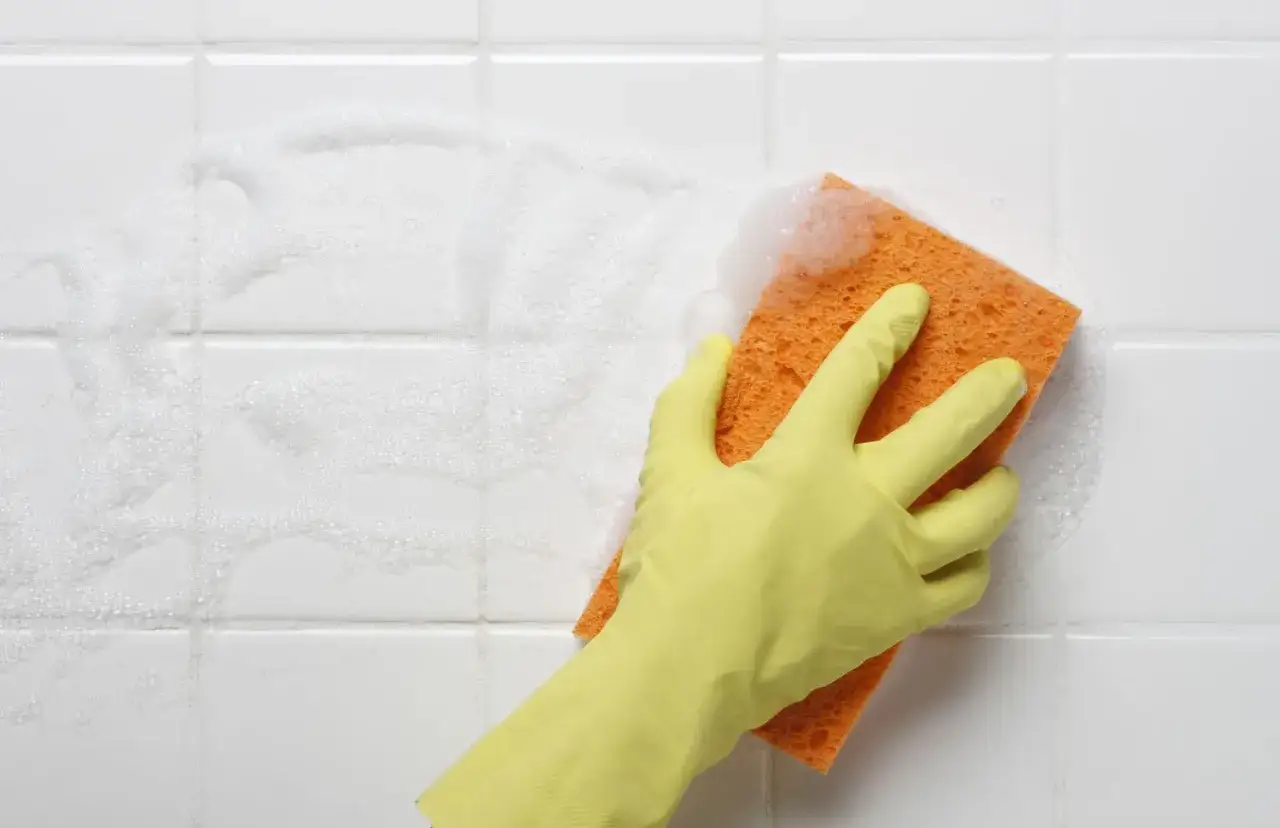
For most shower walls, I keep the process simple: rinse, spray, dwell, scrub, rinse again, and dry. Overcomplicated recipes tend to create residue, and residue is part of why shower tile gets dirty so quickly in the first place.
- Clear the shower of bottles, soaps, and loofahs so you can reach every corner.
- Rinse the walls with warm water to loosen surface dust and fresh soap residue.
- Spray a pH-neutral bathroom cleaner across the tile, or use a diluted vinegar mix only on glazed ceramic or porcelain when soap scum is heavy.
- Let the cleaner sit for 5 to 10 minutes. For thicker buildup, 15 minutes is usually better than more elbow grease.
- Scrub with a nylon brush or non-scratch sponge, working in small sections from top to bottom.
- Rinse thoroughly with clean water so no film is left behind.
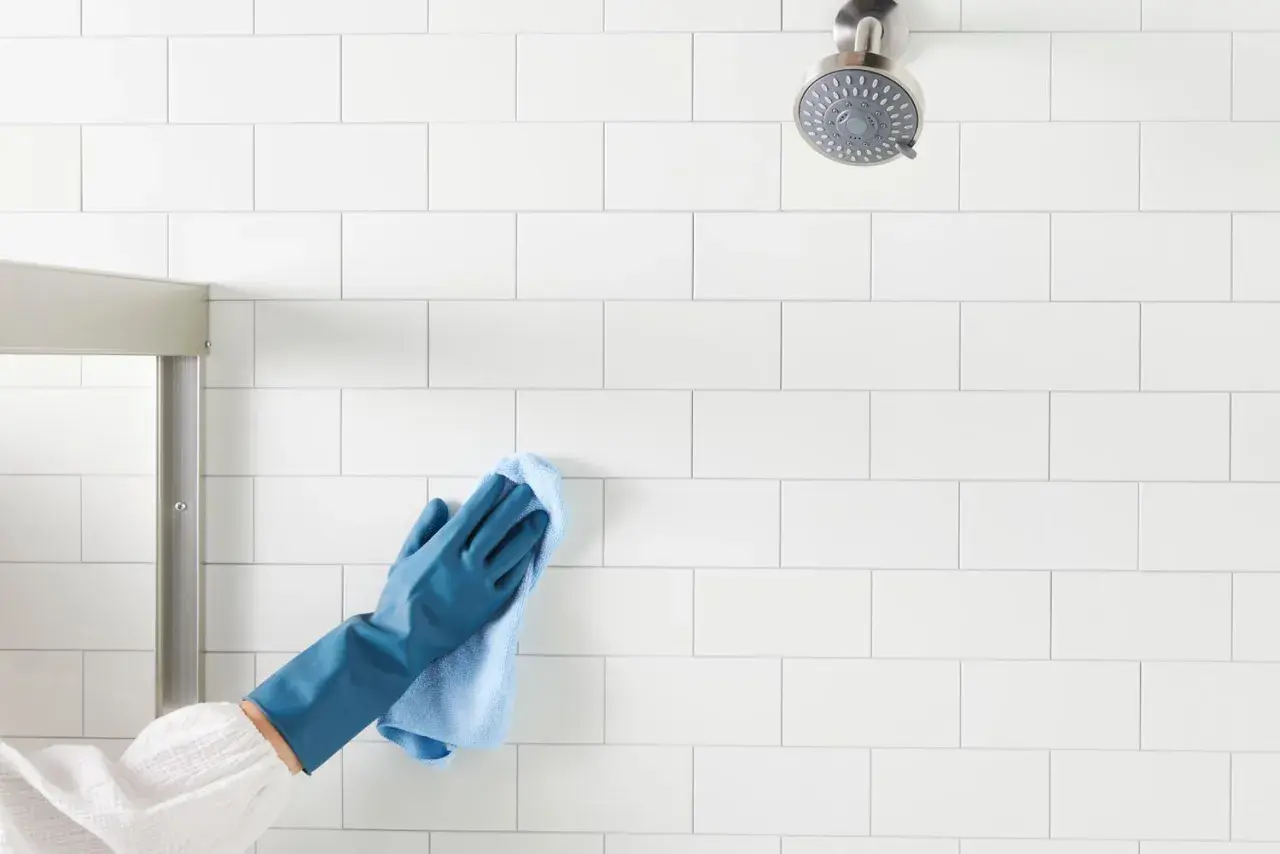
- Finish with a squeegee or microfiber cloth to pull water off the surface and out of the grout lines.
For tougher soap scum on glazed surfaces, I sometimes use a spray bottle with 2 cups white vinegar, 1 cup warm water, and 1 teaspoon dish soap. That mix cuts through the greasy part of shower buildup better than plain water, but it still belongs in the glazed-tile category only. If the grout is still dark after the walls look better, move to the lines next.
Give grout its own cleaning method
Grout is where shower dirt hides. It is porous, so it absorbs moisture, body oils, and the dust that settles during daily use. That is why the walls can look acceptable while the grout makes the whole shower feel neglected.
My first choice for dirty grout is a baking soda and 3% hydrogen peroxide paste. A practical mix is 3/4 cup baking soda, 1/4 cup hydrogen peroxide, and a tablespoon of mild dish soap. I spread it on the grout lines, let it sit for about 5 to 10 minutes, then work it with a grout brush before rinsing clean. It is a small step, but it does a better job on packed-in dirt than a general shower spray.- For light discoloration, a paste is usually enough.
- For mildew marks or deep grime, a steam cleaner can help because heat reaches into the groove instead of just skimming the surface.
- For colored grout, I prefer oxygen bleach over chlorine bleach because it is less likely to strip color.
Remove soap scum and hard-water film before it bonds
Soap scum and mineral deposits are different problems, even though they often look like the same cloudy film. Soap scum is greasy and dull; hard-water scale is chalky and stubborn. If you live in an area with hard water, the film tends to come back faster because every shower adds a little more mineral residue.
On glazed ceramic or porcelain, a vinegar-based cleaner works well for this kind of buildup because it helps break down the mineral layer. On stone, I stay with a stone-safe cleaner or a product made specifically for hard-water deposits on natural stone. Acid is simply too risky on marble, travertine, and limestone.
- Use a plastic scraper for dried spots instead of a metal blade.
- Work from the top of the wall down so dirty runoff does not streak cleaned areas.
- Do not let cleaner dry on the tile; reapply or rinse if the shower is warm and the product flashes off too quickly.
- Use a squeegee after each shower if you want a real reduction in film, not just a nicer-looking wall for a day.
When film keeps returning in the same spots, I start looking at ventilation and drying time, not just the cleaner. That leads directly to the mistakes that quietly undo the work.
Avoid the habits that cause more damage than dirt
Most shower tile problems I see are made worse by one of four habits: too much acid, too much abrasion, too much moisture left behind, or too much confidence in one cleaner for every surface. The shower is a mixed-material environment, so the cleaning approach has to respect that mix.
- Do not use steel wool, abrasive pads, or gritty powders on tile or grout.
- Do not mix vinegar with bleach or any bleach product.
- Do not scrub caulk so hard that you open a gap behind it.
- Do not assume a product safe for ceramic is also safe for stone.
- Do not skip rinsing, because leftover cleaner becomes the next layer of grime.
I also avoid cleaning when the shower is still wet from use. A damp surface dilutes the cleaner too much, and a dripping wall makes it harder to see where the buildup actually is. The best cleaning routine is the one that is gentle enough to repeat regularly without wearing the shower down.
Keep the next cleaning shorter with a simple maintenance rhythm
The easiest showers to keep clean are the ones that dry quickly. I treat that as part of care, not just part of cleaning. Run the exhaust fan for 20 to 30 minutes after bathing, leave the door or curtain open when possible, and wipe high-splash areas with a microfiber cloth once a week.- Use a squeegee after each shower if water spots are a recurring problem.
- Refresh grout sealer and stone sealer only on the schedule recommended for the product, often about every 12 to 24 months in busy showers.
- Replace failing caulk instead of trying to scrub it white again.
- Spot-clean early instead of waiting for a full rewrite of the shower surface.
In practice, the best results come from a small routine: use the right cleaner for the material, give it time to work, scrub lightly, rinse well, and dry the surface when you are done. That keeps shower tile looking finished instead of tired, and it keeps the next deep clean much shorter.
